Draw this shape with ellipse tool :

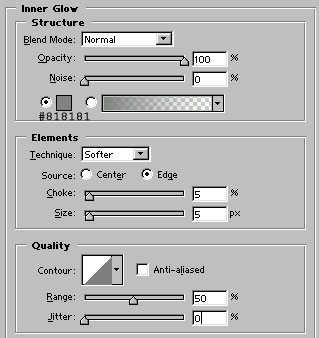
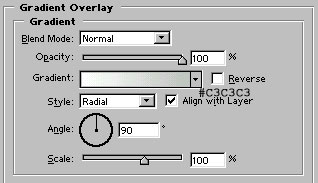
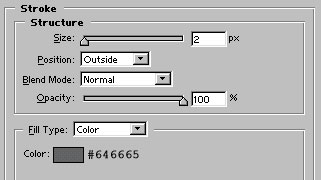
Apply these layer styles in it:

Create a new layer. Select Elliptical Marquee tool and draw a selection as shown. Fill the selection with white color
(I know the white color is not appearing but its just due to web optimization of the image
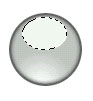
Now, reduce the opacity of this layer to 66%.

Now, draw any shape which you want to use for icon. For this tutorial, I have used an autoshape. Make sure that this shape/image should be appear below the second layer (or it should be the middle layer)

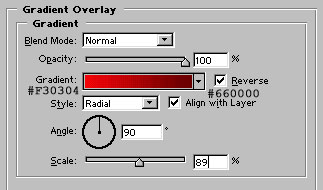
Now apply gradient overlay as shown. If you are not satisfied with the result, try to move lighter color to your desired location while applying Gradient Overlay by selecting the move tool and dragging the lighter color within the shape to your desired location. I have used this trick in both the layers (in first and in the last layer)
Our glossy icon is ready :)
