Firstly we need to create a new file with 1024x768 px and 72 dpi and then select the Rectangle Tool (U) to represent the background for the picture to be:

Fill 0% in layer's panel and make a right mouse's click on the marked layer to set the next parameters:
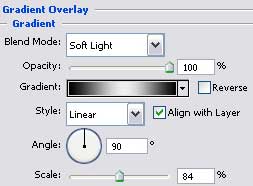
Blending Options>Gradient Overlay
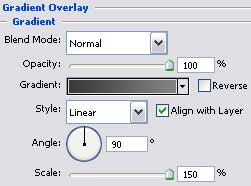
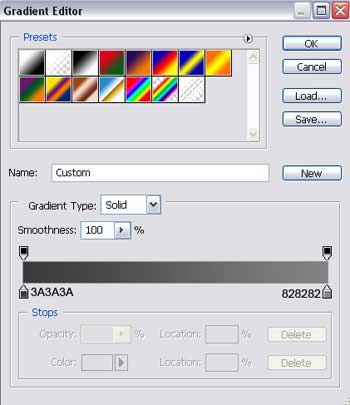
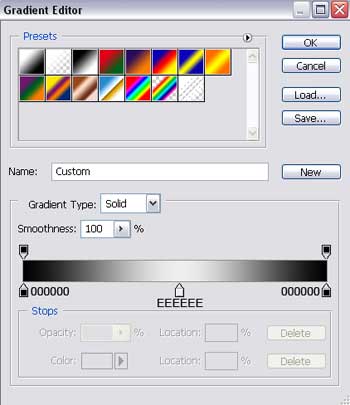
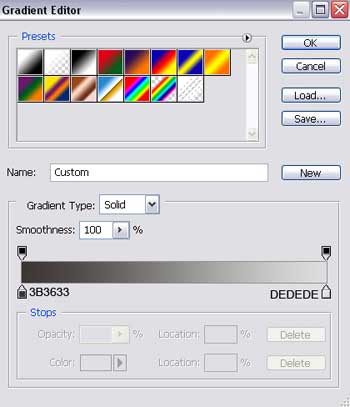
Gradient's parameters:
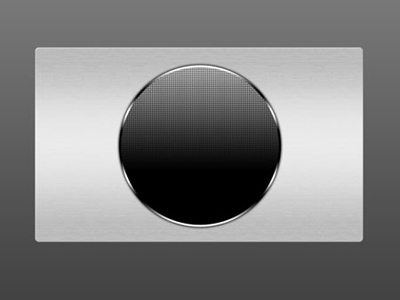
Select now the Rounded Rectangle Tool (U) to draw a kind of metallic plate with rounded edges:

Set the parameters in the layers' panel:
Fill 0%
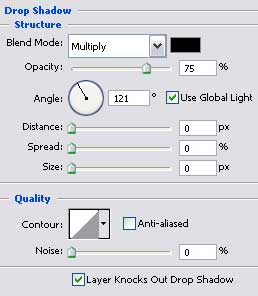
Blending Options>Drop Shadow
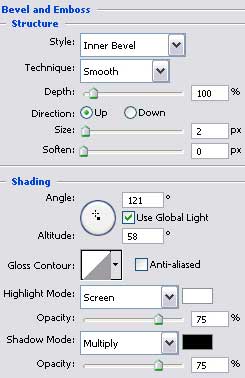
Blending Options>Bevel and Emboss
Blending Options>Gradient Overlay
Gradient's parameters:
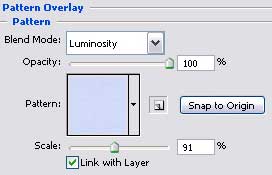
Blending Options>Pattern Overlay and select the Color paper in the Blue Textured
Using the Ellipse Tool (U) on the plate's surface, draw the cover of net shape:
Set the next parameters on the layers' panel:
Fill 0%
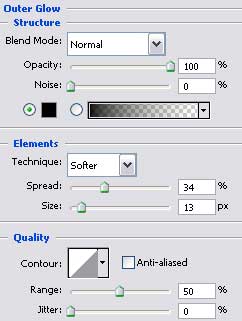
Blending Options>Outer Glow
Blending Options>Gradient Overlay
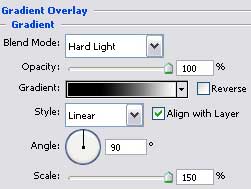
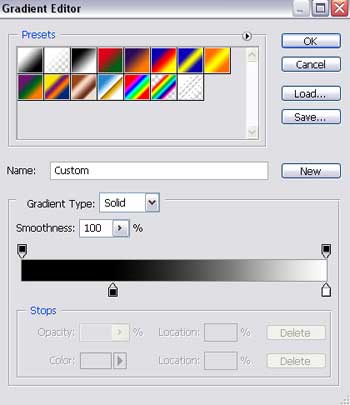
Gradient's parameters:
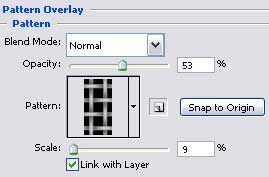
Blending Options>Pattern Overlay, taking as we did earlier from the texture's library Patterns, the texture Woven Flat.
Blending Options>Stroke
Gradient's parameters:
Try to represent now on the inside net's surface a kind of ring, applying the same Ellipse Tool (U).


Set the layer's parameters:
Fill 0%
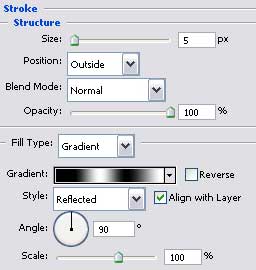
Blending Options>Stroke
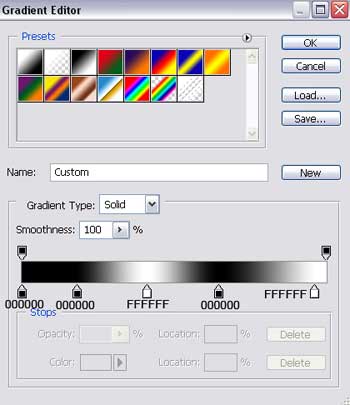
Gradient's parameters:

Make a copy of the new made layer and select the Free Transform option to enlarge the copy and change the layer's parameters:


The parameters of the copied layer:
Fill 0%
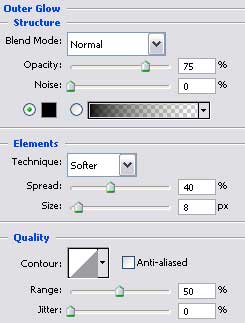
Blending Options>Outer Glow
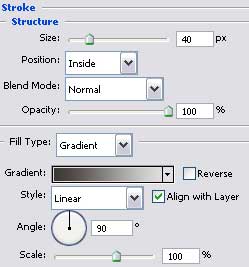
Blending Options>Stroke
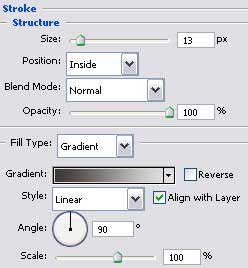
Gradient's parameters:
The next stage includes creating a flare of white color on the picture, setting previously the layer's parameters by changing Blending Mode - Normal on Soft Light.
Fill 50% on the layers.


Now we have to put in an insertion of red color on the net's central part, using the last instrument.