Have you ever wanted to create your own avatar with a Movie Effect? Maybe a nostalgic Old Movie Effect? Now you can do it! Study this step-by-step tutorial and you will be able to create an Old Movie Effect using your photo.
So first you need to pick out a photo.
I've chosen a picture with the friend of mine, George.
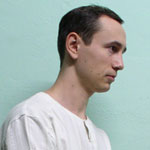
Now create a new Photoshop document 150x150 px with a #725F3B background. Drag the photo over to this document.
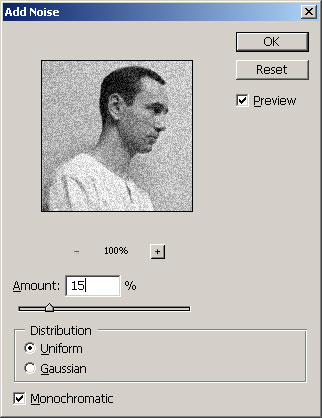
Next, we need to make this photo look old. So, desaturate the image, then use the Add Noise filter with the following settings:
You'll get something like this:
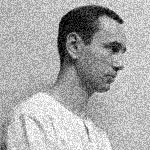
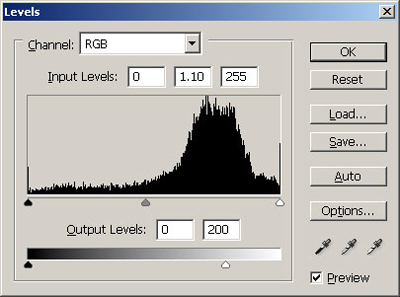
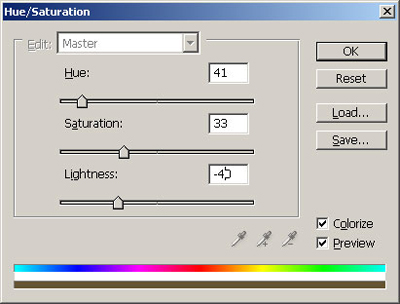
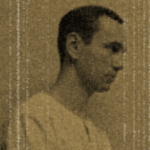
Now we need to darken and color the picture using the Levels and HueSaturation with the following values:
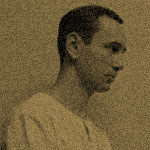
Here's what I've got:
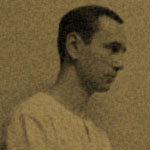
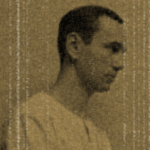
It looks a little rough, so you use the Blur filter and repeat.
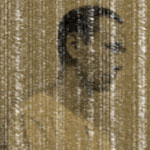
Not bad. But it's a little boring with the picture so static. Let's liven it up by adding some degraded stripes and shifts. Let's begin with the stripes.
Create a new layer and paint it black. Use the Grain Filter with the following values:
Now change the Blending Mode for Screen and you'll get something like this:

This will be one of the shots. To create the other 5 shots you need to repeat the procedure: create the new layer, paint it black, use the Grain Filter with slightly changed values and change the Blending Mode for Screen. And there's a much easier way to do this. Duplicate the layer with the stripes and then repeat the use of the last filter. Do that 5 times.
You should get this:
Don't be afraid of too much noise. We will correct it in Image Ready.
To make the correction make all layers with the Grain invisible. Then in the Animation Panel push the button Duplicate current frame 10 times.
Make visible the first layer with Grain for the first shot. Now the second layer - for the second shot and etc. The seventh shot leave with the sixth visible layer, the eighth with the fifth, and so on in a reverse sequence.

Now we've got some movement, but it is very quick. Select all the shots and then set delay time to 0.1 sec.
Almost done. The last thing I'd like to add is a shift for a couple of the shots.
Select the sixth shot (where the shot with Grain repeats), select the layer with the picture and shift it for several pixels below and to the right. Then select the next seventh shot and shift it for several pixels to the right. Save it - and enjoy the results:
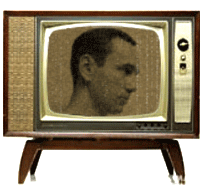
The only thing you could add to this is to put the picture on an old TV screen.