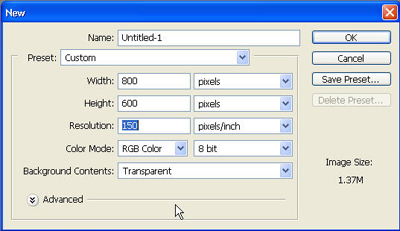
Start a new File 800x600 - 150 DPI and a transparent background.
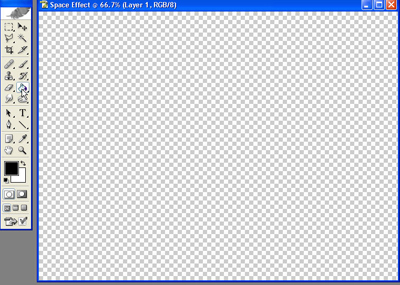
Go to the tools pallet and choose fill, make sure the colour is set to black and then fill the canvas with black
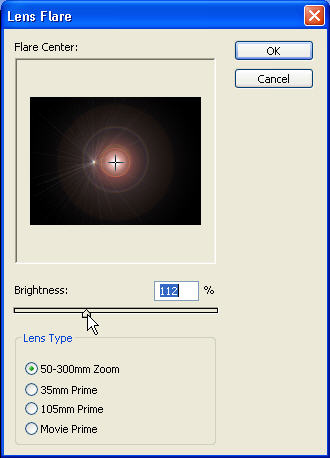
Next up go to filer>render>Lens Flare, use the settings that are on the image.
Now go to the tools pallet again and select the smudge tool. Set the brush up to be like the ones on the image and then
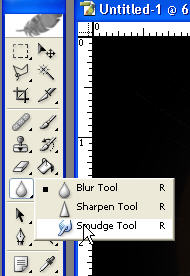
Draw out the edge so the its like in the image, start from the center of the lens flare.
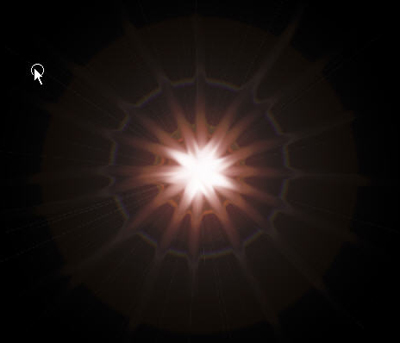
Now change the size of the smudge brush to 16 and do the same as before until you get something like the image below.
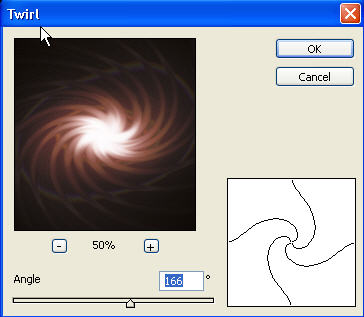
Next step is to go Filter>Distort>Twirl.
Copy the background layer, name it as you wish and then go
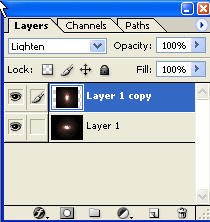
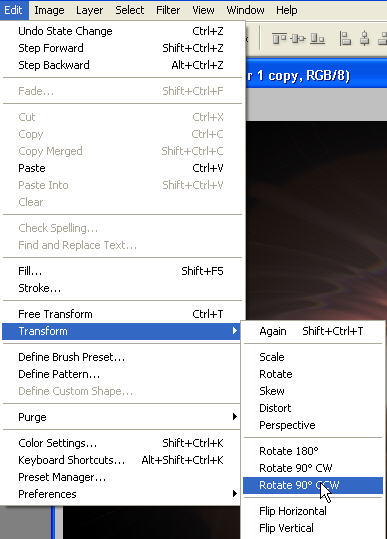
Edit>TRansform>Rotate 90 CCW (Counter Clock Wise).
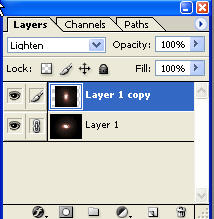
Change the setting of this layer style to 'Lighten'.
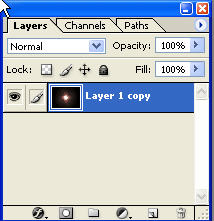
Now merge the top layer and the background layer by creating a little small 'chain' by click on the little box which should make it appear. Next press CTRL+E and the two image should be merged into one.
Finally give it some colour by going CTRL+U and use the same settings as i have or give it your own colour.

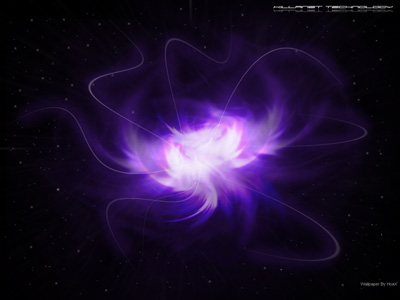
You should get this:
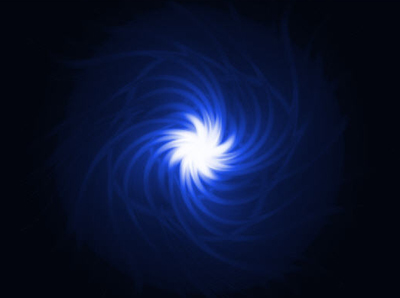
This s a very simple tutorial to a simple effect, which can turn out pretty cool like the image below if you play around with it.