Start with a 500x500 transparent image, 72dpi, colour mode set to RGB and 8 bit.
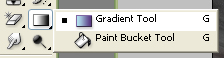
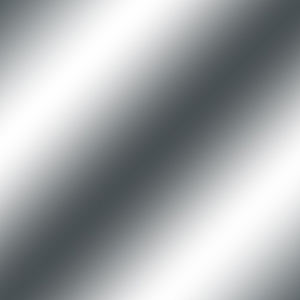
Step 1: Select a gradient-for this tutorial I used a silver/grey on a Linear setting but you can use any gradient you wish for different effects.
![]()
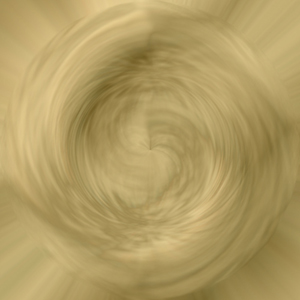
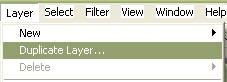
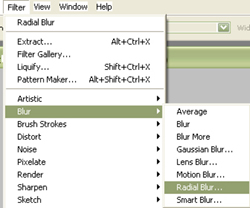
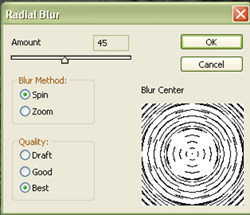
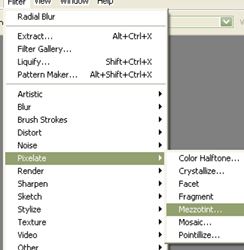
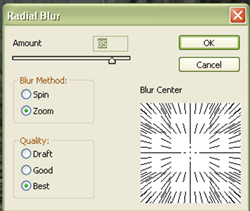
Step 2: Duplicate your background layer. Next go to Filter>>Blur>>Radial Blur and set it to Spin, 45, Best.
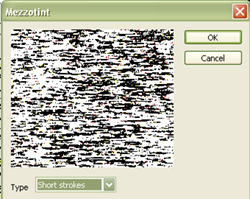
Step 3: Now go to Filter>>Pixelate>>Mezzotint and select Short Strokes.
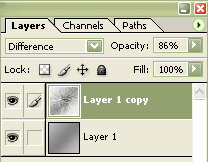
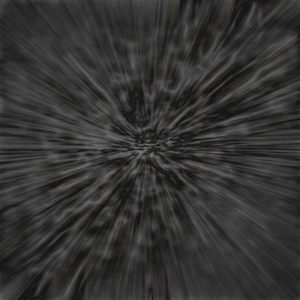
Step 4: Filter>>Blur>>Radial Blur. Set this to Zoom, 85, Best. Set the Layer Properties to Difference and the Opacity to 86.
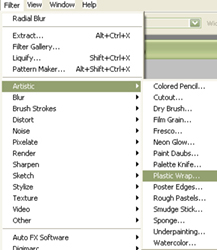
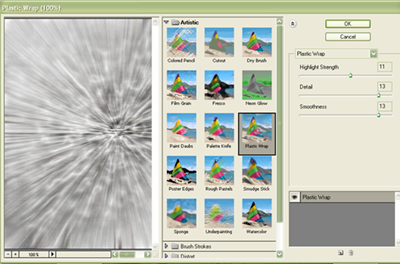
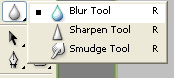
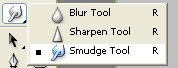
Step 5: Filter>>Artistic>>Plastic Wrap. Set this to Highlight: 11, Detail: 13; Smoothness: 13. Next select your Blur Tool, set at 40 pixels in size, Hardness set to 0%, Mode at Normal and Strength at 10%. Following the "grain" of the image, go over it with your Blur Tool to decrease the graininess of the pixelation filter in Step 3.
![]()
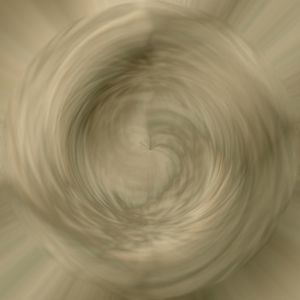
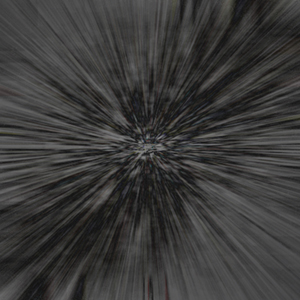
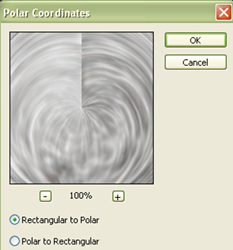
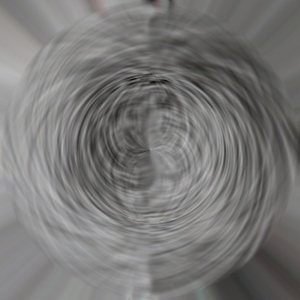
Step 6: Filter>>Distort>>Polar Co-ordinates. Set this to Rectangle to Polar. If you want to get rid of the "dividing line" in the effect, select your Smudge Tool and use the same settings for it as you did for the Blur Tool, except set the Strength to 34%. Using small strokes, smudge from light side to dark side, following the bend in the lines. It doesn't take very much to fade out the line.

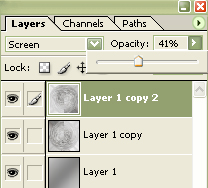
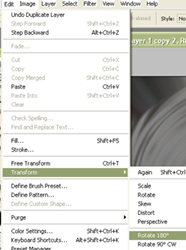
Step 7: Duplicate your Layer and set your Layer Properties to Screen, Opacity 41. Next use the transform option to rotate the image 180 degrees.
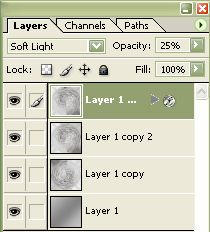
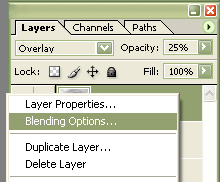
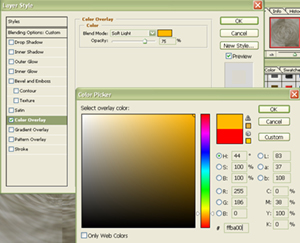
Step 8: Duplicate your Layer again, and set the Layer Properties to Soft light, Opacity 25. Right click on the Layer in your Layer Pallet and select Colour Overlay. For this tutorial, I have the Mode set to Soft Light, Opacity 75 and the Colour is FFBA00. Click Okay.
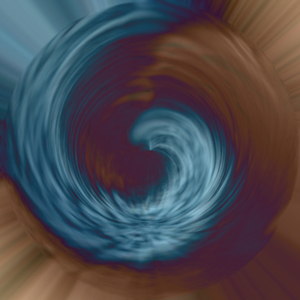
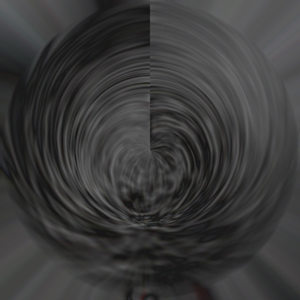
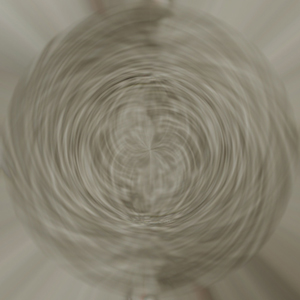
Here is the completed image; the settings I used give the image an antique look but you can try different Layer Properties blending modes to get different looks.
Variations: