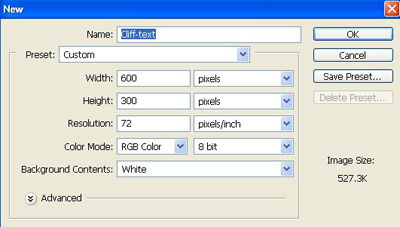
1. Firs of all I have taken a new file of height = 300 pixels, width = 600 pixels and resolution of 72 dpi in the RGB mode.
2. Fill the new document with color black.

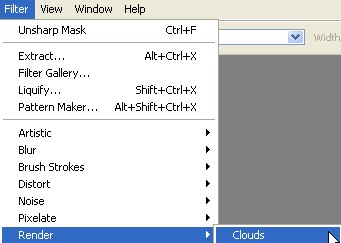
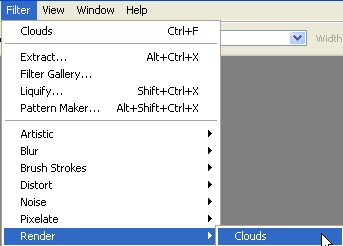
3. Go to Filter > Render > Clouds.
4. Now type any word you like, make sure the font color is Black.

5. CTRL+CLICK the text layer to load the selection.
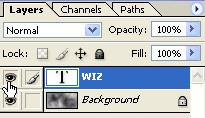
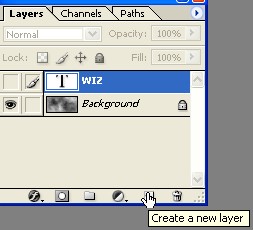
6. Now hide the text layer indication with hand as shown in the fig. below.
7. Now go to the Select > Feather.
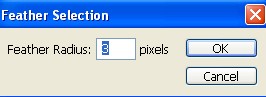
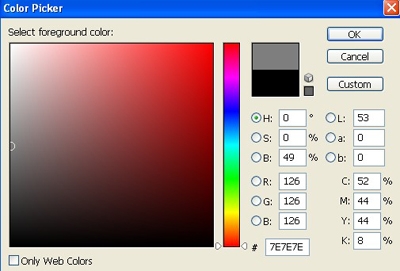
8. Choose the color coding # 7E7E7E for the text.
9. Create a new layer.
10. Go to Filter > Render > Clouds.
11. Your image will look like this.

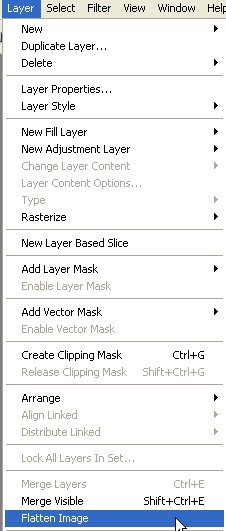
12. Go to the Layer > Flatten Image, discard hidden layer.
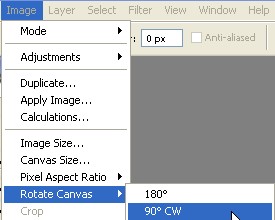
13. Go to Image > Rotate Canvas > 90'CW.
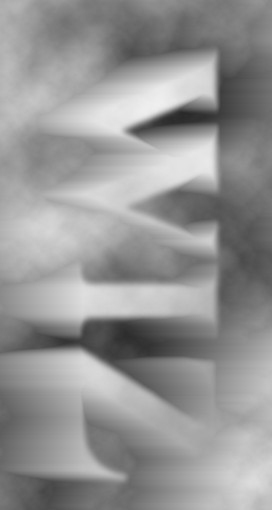
14. Click Filter > Stylize > Wind then do it 7 times. Your text will look like this.
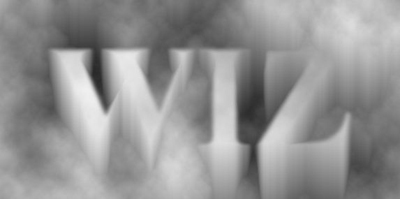
15. Go to the Image > Rotate Canvas > 90'CCW.
16. Click Filter > Sharpen > Unsharp Mask, Apply the following settings.
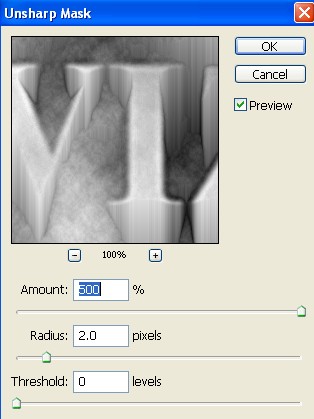
17. Your image will look like this.

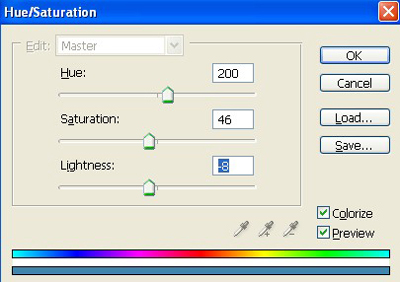
18. Lets add some color, click Image Adjustments, Hue/Saturation Apply the following setting.
19. Here is your final image.