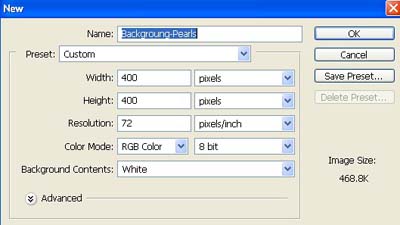
1. Take a new file of 400 pixels,400 pixels, of resolution 72 dpi in the RGB mode.
2. Ok set your foreground color and Background colour

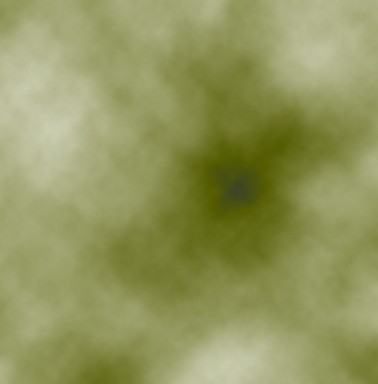
3. Then go to Filter>Render>Difference Clouds.
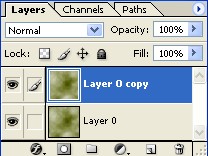
4. Now make the copy of layer.
5. Then go to Edit>Transform>Perspective and stretch the bottom corner as shown image below.
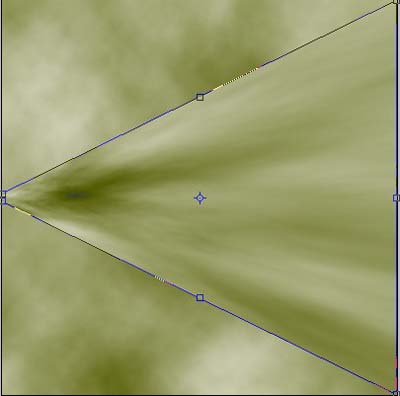
6. Your image should be look like this.
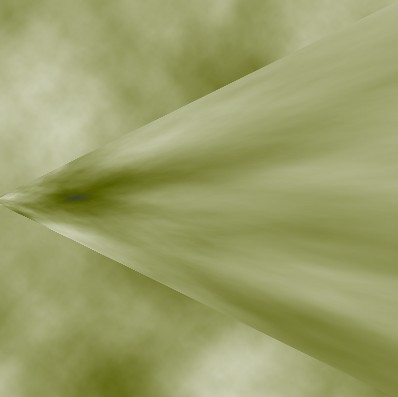
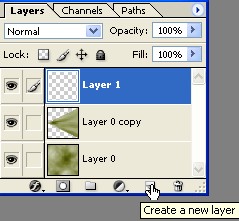
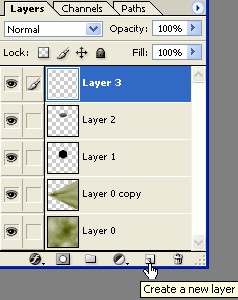
7. Now press "D" make the new layer from the layer pallete.
8. Select the Elliptical Marquee tool
![]() and make a circle.
and make a circle.
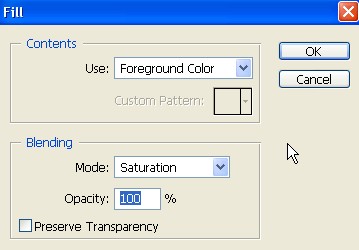
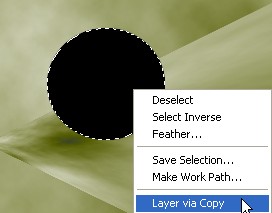
9. Go to Edit>Fill use these settings.
10. Then right click layer via copy see in the next image.
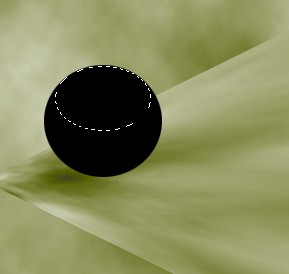
11. Go to Edit>Transform>Scale and scale the selection till you have something like the one below before you hit enter.
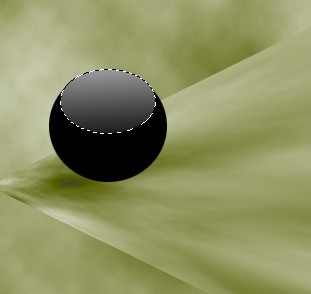
12. Select the Gradient tool from the tool pallete use these settings.
![]()
13. Drag the gradient from top of the selected area to its bottom to have something like this.
14. Make the new layer.
15. Select the Brush tool from the tool pallete use these settings.
![]()
16. Select the white color and make a nice shape inside your pearl.
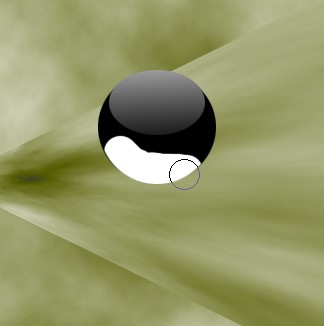
17. Then go to Filter>Gaussian Blur use the following settings.
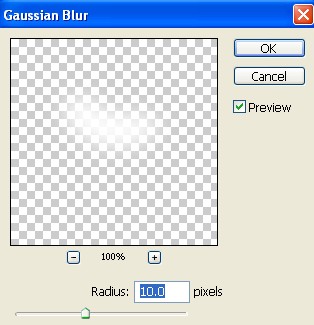
18. Your image should be look like this.
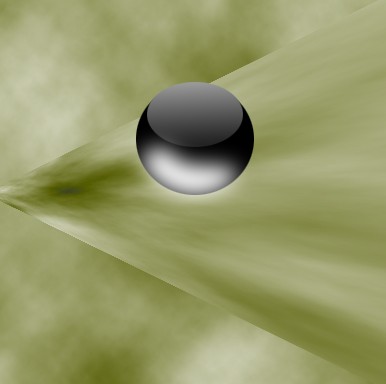
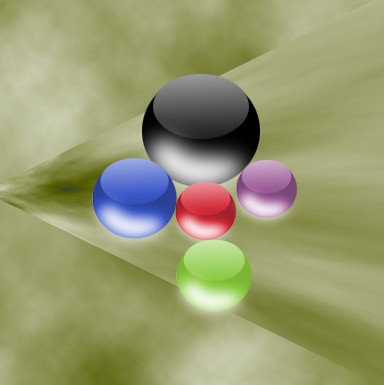
19. You can make more pearls by using different colors.