

Create a new layer approximately 200 pixels by 200 pixels.
Go to the alpha channels and make a square selection.

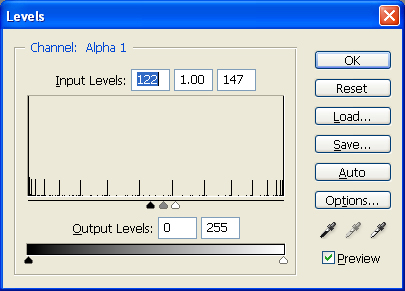
Fill it in with white. Then go to Filter > Blur > Gaussian Blur. Select 2 pixels. Now adjust the levels by going to Image > Adjustments > Levels or pressing (CTRL + L).
It should look like this.

Copy that selection and fill it in with black on the layers tab inside a new layer.
Select the text tool and write an "X" inside the box. We used Tahoma, Bold, 120 pt, Sharp.

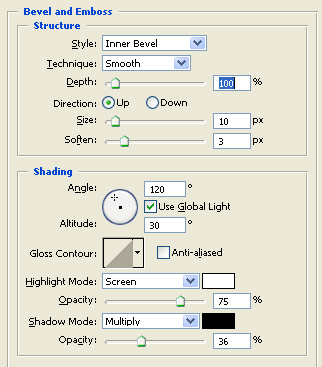
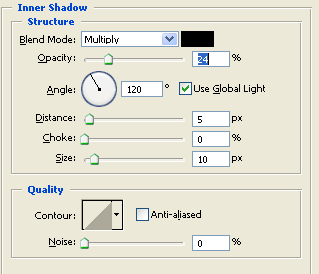
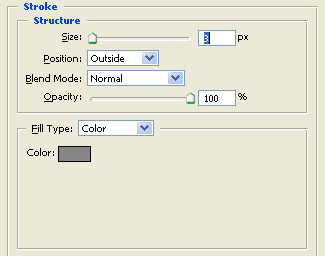
Now go to the layer blending options and use the settings below on the background layer.
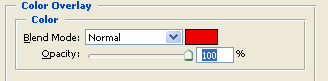
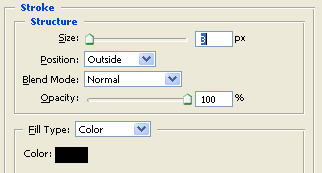
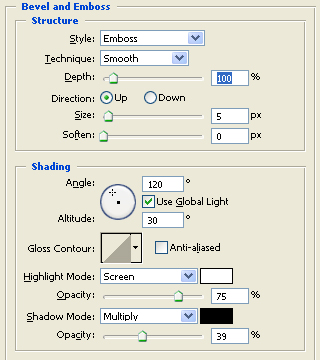
For the text layer, use these settings.
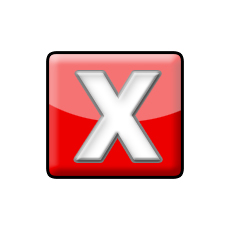
The result is below.
Finally, you need to use the elliptical tool to make a selection like that below. Fill in with white and change the opacity of that layer to 45%.
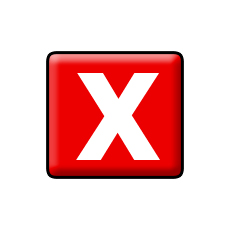
The stop icon is almost complete. Since most icons are rather small, we reduced this icon to a much smaller height. Look below for final product.
