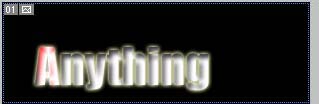
First step is to make you sig and everything and make sure your text or whatever you want this effect to go on is a rasterized layer not just a text layer.

Use the settings shown
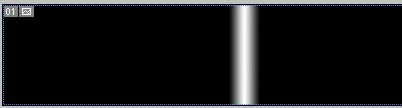
Now make a new layer(Ctrl + Shift + N) and make a small gradient like so
and then u should have this
Then when you have that hit Ctrl + g and switch the blending mode to lighten
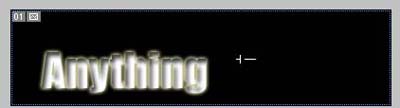
Then move the layer ova the text so u can see the light ova the text like so
(i made mine red so u can see it)
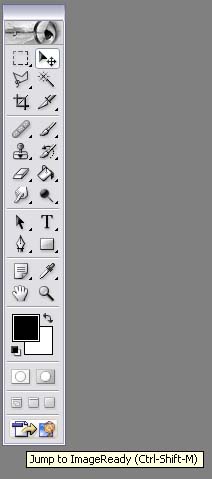
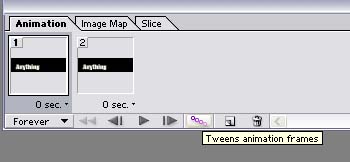
Now switch to image ready there should be a little button at the bottom of the tool bar as shown below
Now duplicate the layer in the animation window
Select the first frame and drag the layer with you gradient to the left so u cant see it
Then select the second and drag the layer with the gradient to the right so u cant see it and reselect the 1st frame
Then click the tween button
and use these settings
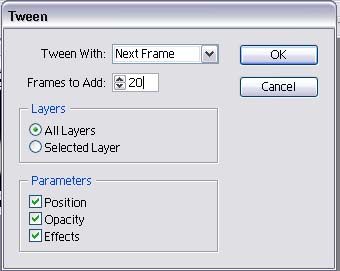
(15-20 frames works good doesn't have to be 20)
Hit enter and bam your effect is complete.....