

Open a new file (File>New) having 450x450 px and 72 dpi.
Next step includes representing the first layer of the logo we want to picture out, selecting two instruments.
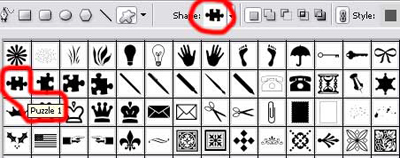
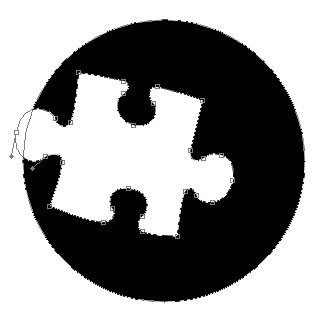
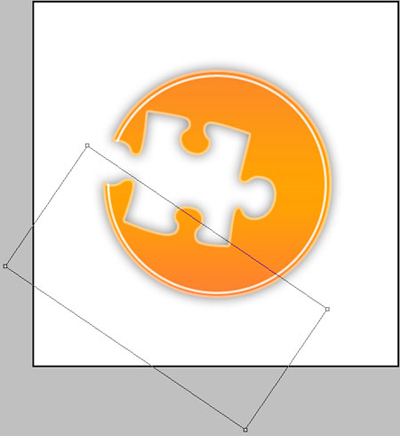
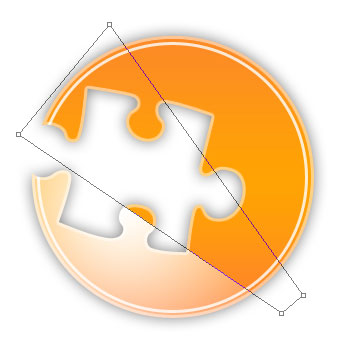
First we need to take the Ellipse Tool (U) and draw a circle and then the Custom Shape Tool (U) may be helpful in cutting out a kind of puzzle, like that one demonstrated below, keeping pressed in the same time the Alt button between the layers.
The layer's parameters:
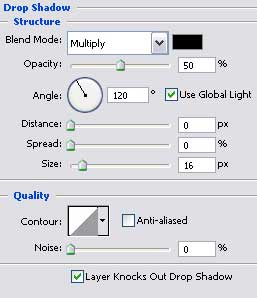
Blending Options>Drop Shadow
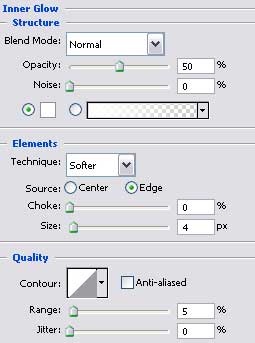
Blending Options>Inner Glow
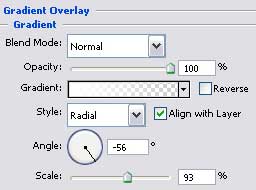
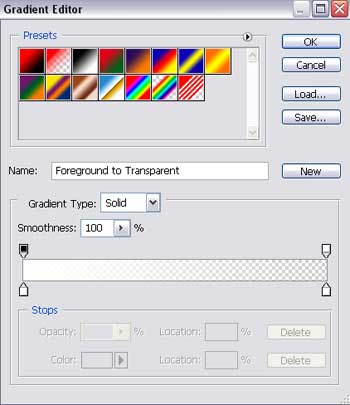
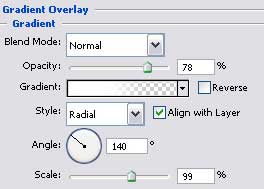
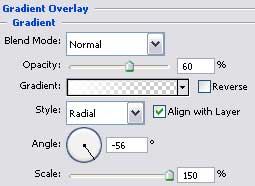
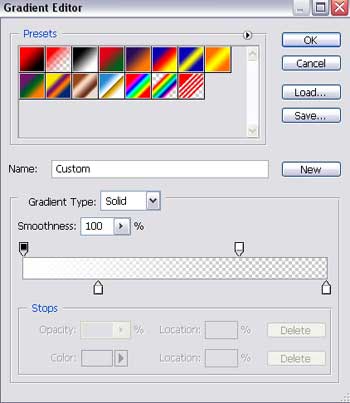
Blending Options>Gradient Overlay
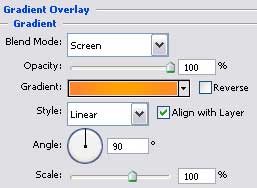
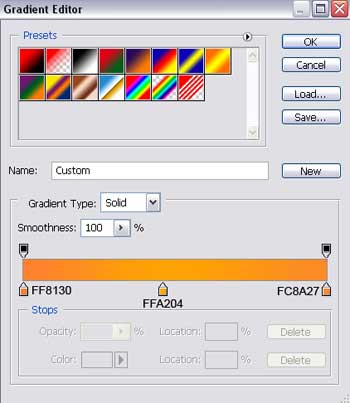
Gradient's parameters:

The previous instrument (Ellipse Tool (U)) should be used for representing the next layer belonging to the sign too:

The layer's parameters:
Fill 0% on the layers:
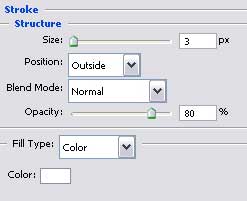
Blending Options>Stroke

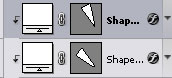
Press Alt button now and make a mouse's click between the new recently made layer and the layer before this for the upper one to be applied in the limits of the lowest one.

Choose the Rectangle Tool (U) to draw a kind of highlight on the left side.
The layer's parameters:
Fill 0% on the layers.
Blending Options>Gradient Overlay
Gradient's parameters:

Apply the earlier described method to click between the layers, holding up simultaneously the Alt button.

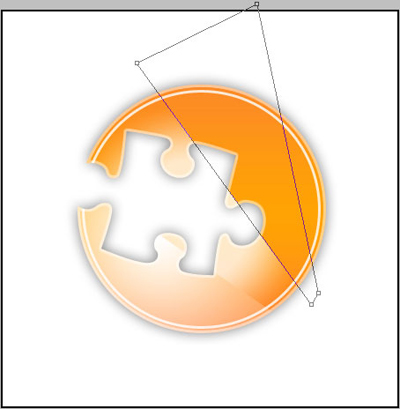
The next shown Pen Tool (P) may be helpful in drawing a flare situated on the central part of the sign:

The layer's parameters:
Fill 0% on the layers.
Blending Options>Gradient Overlay
Gradient's parameters:

Press Alt button and make a click between the layers for getting the same result described at the beginning:

Using the previous instrument, try to represent now a highlight on the right side on the indicator's top:

The layer's parameters:
Fill 0% on the layers.
Blending Options>Gradient Overlay
Gradient's parameters:
Press again Alt button to make a click between the layers:

The Logo is finished!