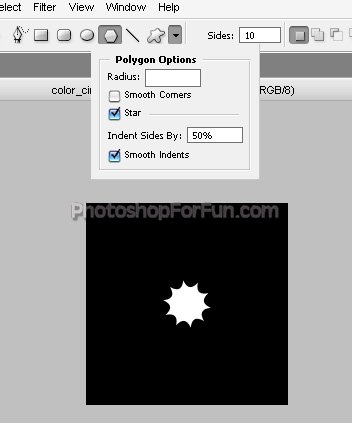
Start by selecting polygon shape tool. Click over the down arrow button to shape settings. Adjust settings as shown.
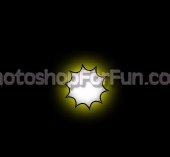
Create a star as shown.
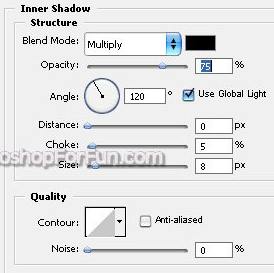
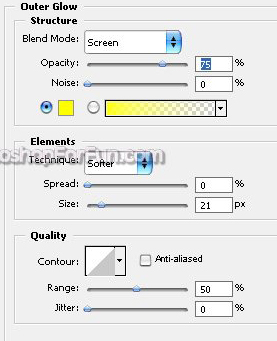
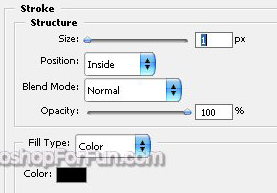
Double click the layer to open layer style window. Apply settings as shown.
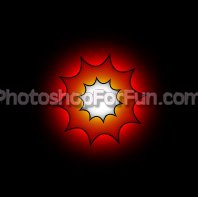
Duplicate the layer. Scale down as shown. Move this layer below all the layers in layer order in layer palette.
Fill it with red color and change the outer glow color too.
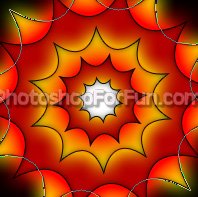
Similarly create more duplicates. Place them as shown. Select all the star layers. Press Ctrl+G to group.
Duplicate the group. Hide the previous group. Now change the layer styles and colors according to
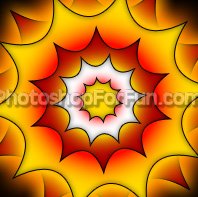
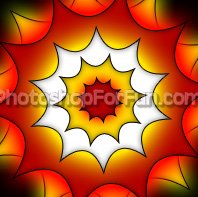
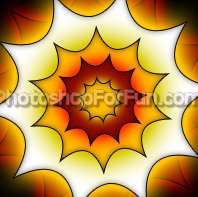
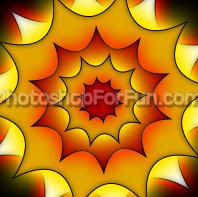
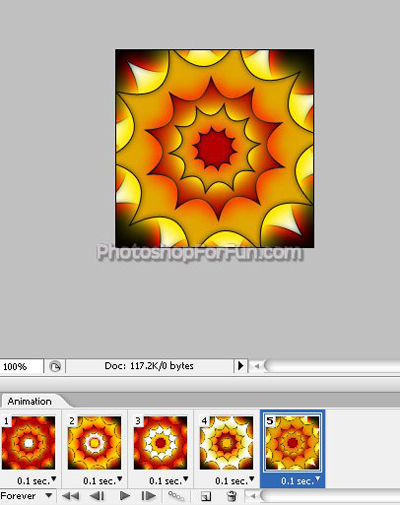
Now we have five groups with different color positions.
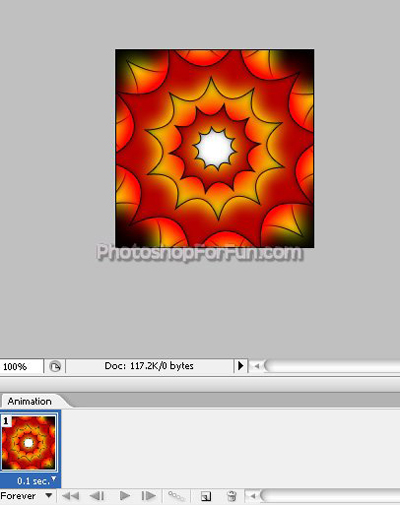
Open animation window. For the first frame hide all the groups except the 1st one.
Keep duplicating frames. Hide the previous group and unhide the next one.
Press Ctrl+Alt+Shift+S to save an optimized animated GIF.