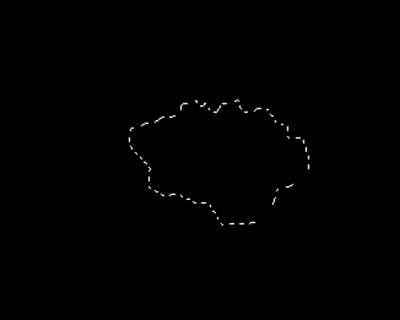
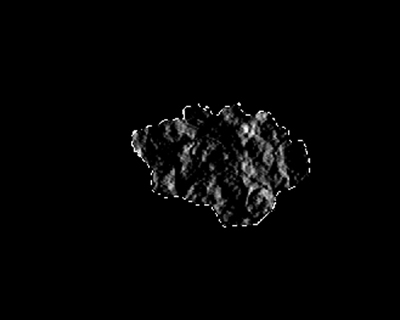
1. Create new file File>New size 500x400, 72dpi, black background. Use Polygonal Lasso Tool or press L to draw something like the image below. Save the selection Select>Save Selection...>Name, name it with "seltut1".
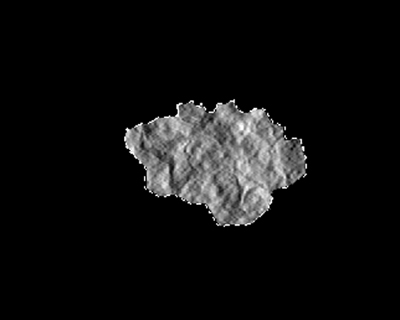
2. Choose Black for Background, white for Foreground, then use Paint Bucket Tool (G) to fill the selection.
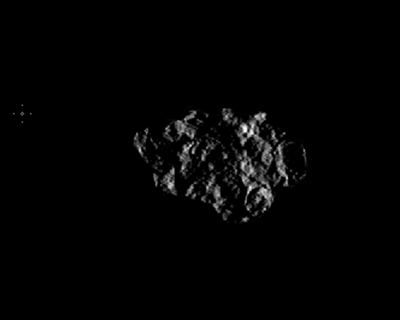
Go to Filter>Render>Diff Clouds, press Ctrl+F till you have full pleasure with it.

3. Duplicate that Layer, then go to Filter>Stylize>Emboss with the settings below
Angel=0
Height=3
Amount=500
Duplicate that Layer, then change the Blending into Linear Light.
4. Press Ctrl-D to deselect.
Merge the layers together Ctrl+E (Layer> Merge Linked)
Use Eraser Tool (E) to erase the white edge around. Be sure to use soft brush, small size, example size=5.
5. Go to Select>Load Selection...>"seltut1". Create a new Layer above the Layer which has been merged, choose color #003333 to fill the selection, then change the Layer Blending into Color Dodge. Merge them if ok
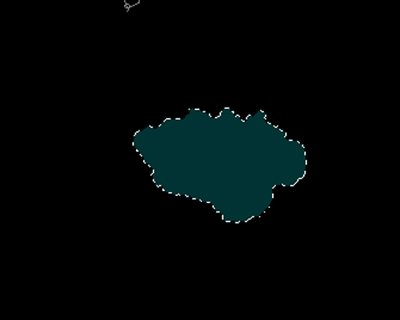
New Layer: Layer Blending>Normal
Layer Blending>Color Dodge
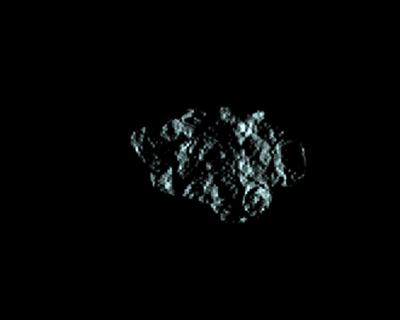
6. Choose Move (V) hold Alt to Copy the Layer into many layers to make the trail, after copying, Hold control, drag the anchors to change theirs shape.
7. Use Burn Tool(O) to darken some area of the image.
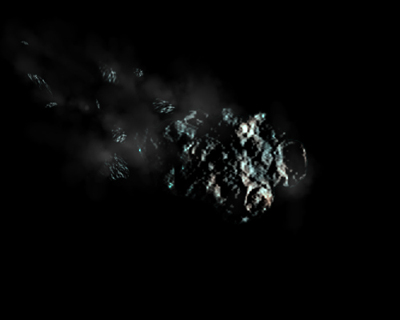
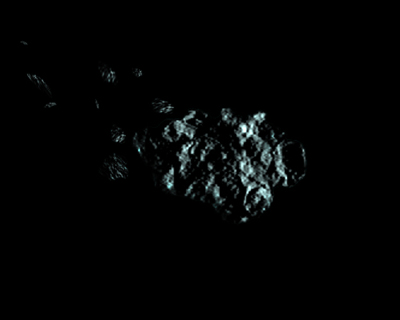
This is the result:
8. Use Brush Tool, size = 70, then go to Window>Brushes>Texture>Clouds.
Choose Opacity = 10%, draw the dust behind.
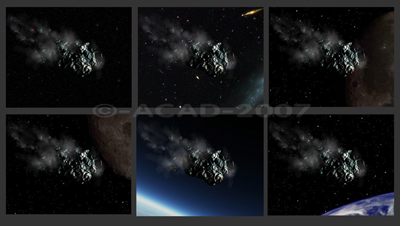
This is the final result. According to your imagination to add some more details like below to make it impressive.