Let's start with a new document 500x500 pixels
Press "D" to reset your color palletes to black and white.
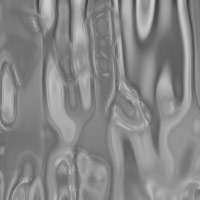
Create a new layer, then apply the following filter:
Filter->Render->Clouds
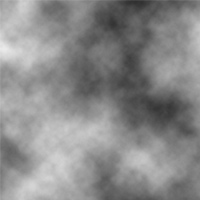
Apply: Filter->Blur->Gaussian Blur
Set: 6
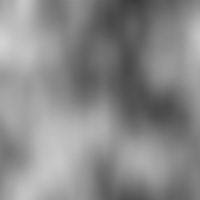
Apply: Filter->Blur->Motion Blur
Set: Angle: 90, Distance: 80
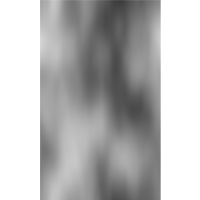
Now go to Image->Image Size
Set: width: 300pixels (untick the "Constrain Proportions" option ) then click ok.
So now your document should be 300 width and 500 high.
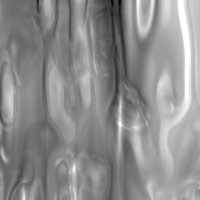
Next, go to Filter->Artistic->Plastic Wrap
Set: Highlight Strength: 15, Detail:10, Smoothness:10
Apply Filter->Sketch->Chrome
Set: Detail:0, Smoothness: 8
Go to Edit->Fade Chrome
Set: Opacity:100%, Mode: Hard Light
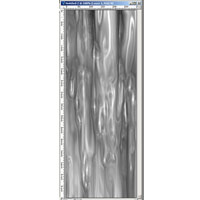
Now go to Image->Image Size
Set: height:800 pixels, leave all other settings, and make sure the "Constrain Proportions" is NOT checked.
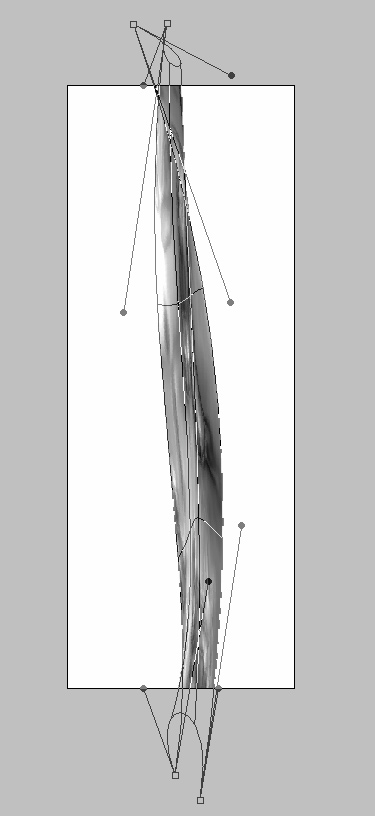
Now go to Edit->Transform->Warp
Move the anchors around, inward, up and down, just play with it to shape it like running water.
Now, just add some gradient color to the background layer, and change it's water layer's blending mode to "Hard Light"
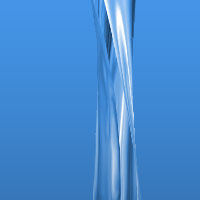
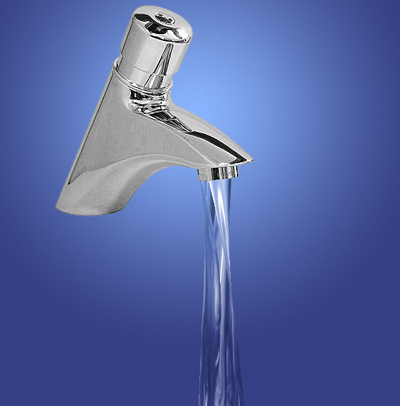
Here is an image I made, simply by adding the above water's layer to a picture of a tap.
Click here to download .psd file.