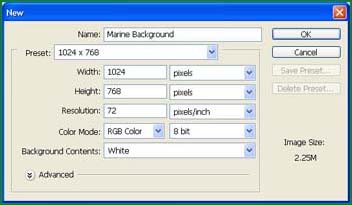
1. Create a new file: 1024 x 768
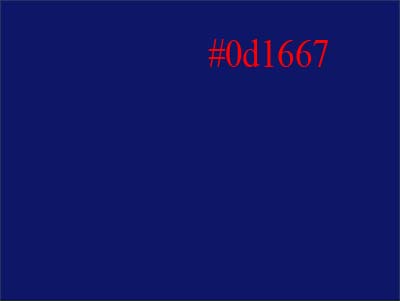
2. Fill background with #0d1667
3. Choose brush Heavy Smear Wax Crayon in Dry Media Brushes palette.
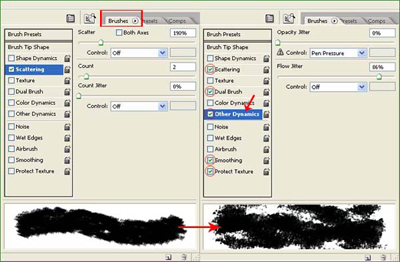
![]()
Set Brush setting like this:
4. Brush randomly on the background with 3 color #91c9ff #5098ea #000217 Brush size : 120
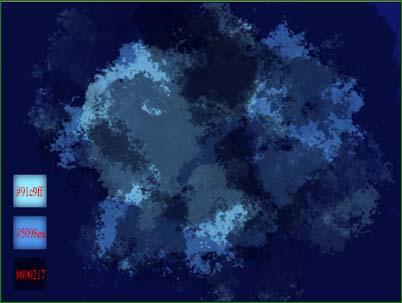
5. Go to Filter >> Brush Strokes >> Spatter.. Spray Radius = 25, Smoothness = 13 , press Ctrl + F for 3-4 times

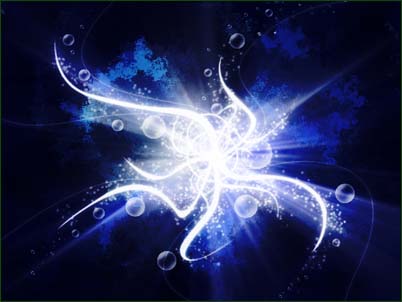
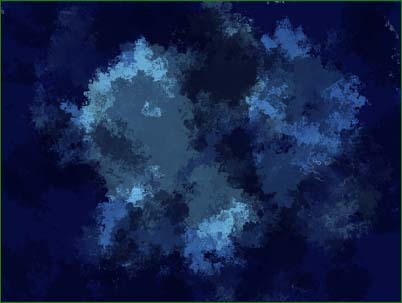
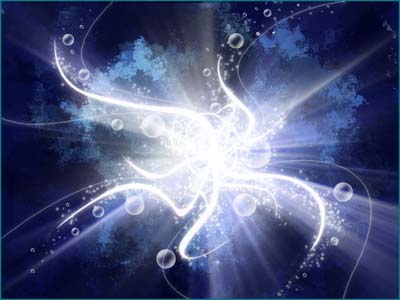
We will have.
6. Create a new layer, use Pen Tool to draw a path like this
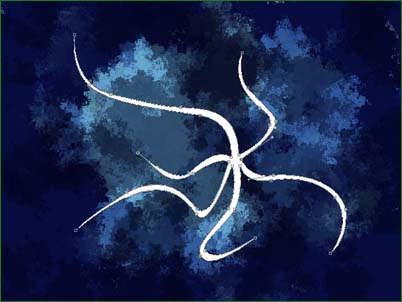
7. Duplicate that layer, rotate as your favor
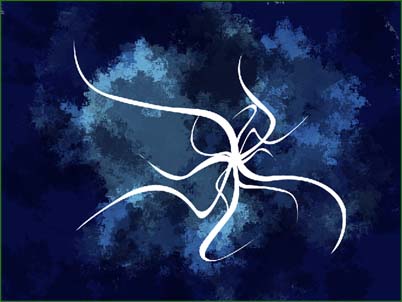
8. Create more shapes which has in Custom Shape

9. Create a new layer, change to Hard Round Brush, size = 8 px, trace along those above lines
10. Draw some more paths to make the image softer

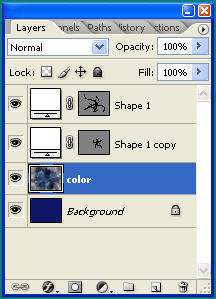
11. Choose all the shape layers, press Ctrl + E ( Merge Down)
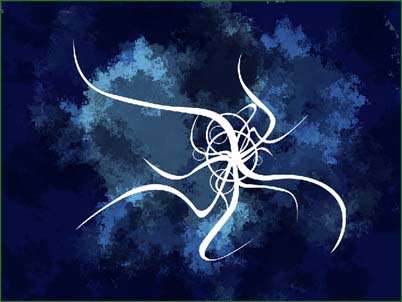
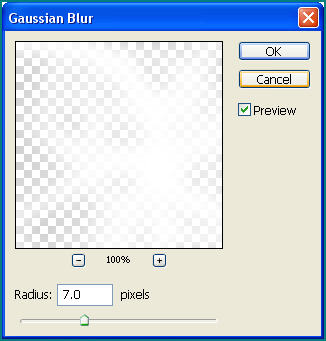
12. Duplicate the "all shape" layer, goto Filter >> Blur >> Gaussian Blur, radius = 7
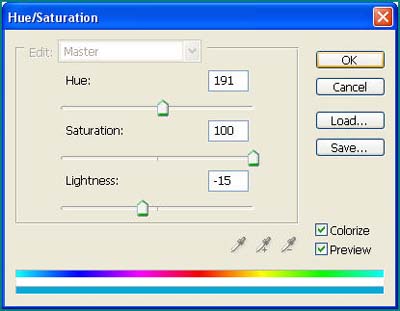
Go to Image >> Adjustment >> Hue/Saturation Hue = 191, Saturation = 100, Lightness = -15
13. Go to Filter >> Blur >> Radial Blur . Brush Method = Zoom, Amount = 100 .... press Ctrl + F 4-5 times
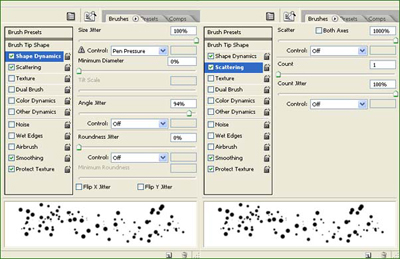
14. Create new file, size 700 x 700 px and do the following steps
Then go to Edit >> Define Brush Preset.. name it!
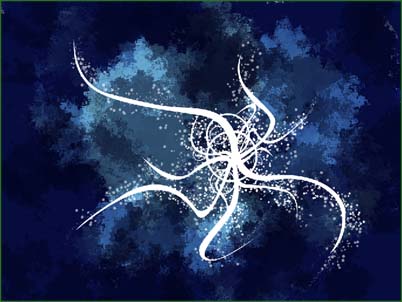
14. Use this new brush .. then we will have...
15. Create a new layer fill with #04072c with Blending mode = Overlay, Opacity = 84% ... >> It Koolz :P it is called underwater background B-)