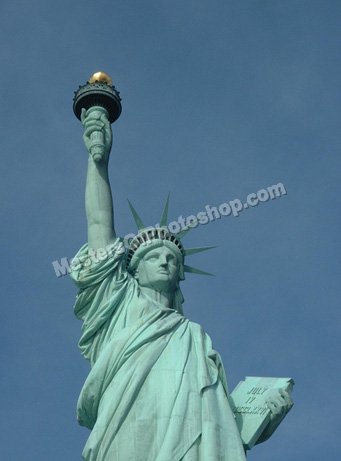
Start by opening an image of statue of liberty.
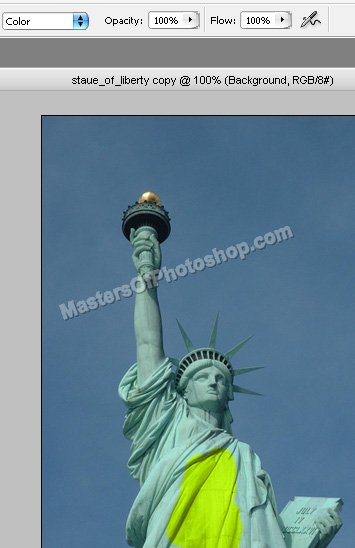
Select brush tool with the settings shown at the top bar.
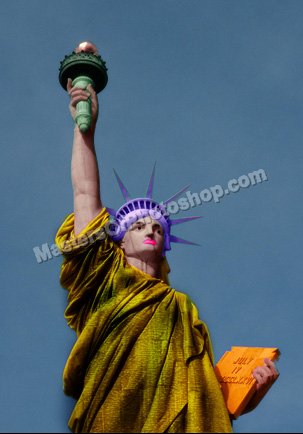
Select any color. Now apply it over the image in dress areas as shown in the image below.
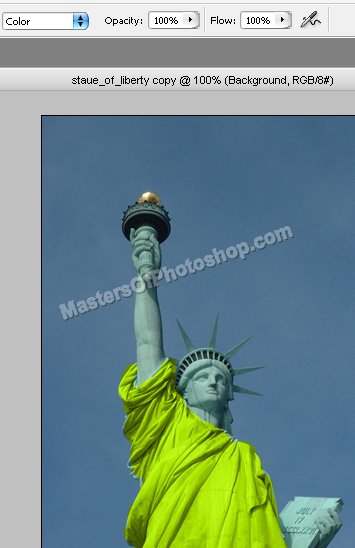
Complete the dress color as shown.
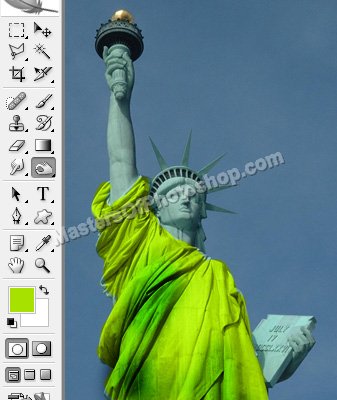
Select burn tool and apply in different areas to create cloth texture.
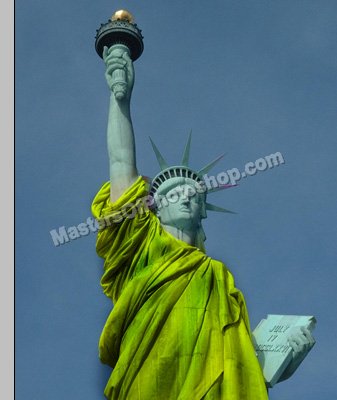
Similarly colorize the other areas using different color shades.
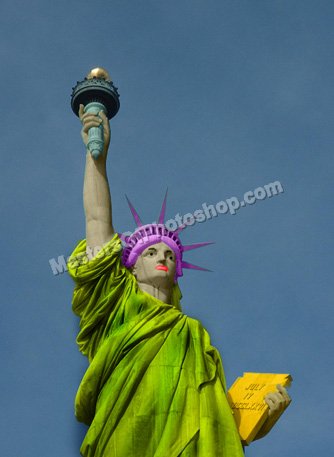
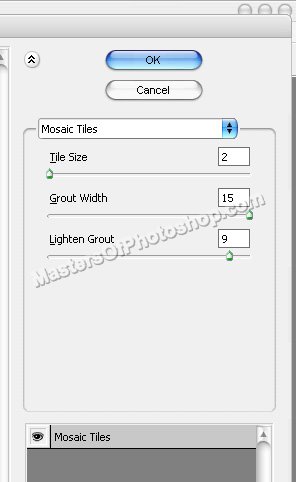
Create rough selection of dress as shown using lasso tool. Press Alt+Ctrl+D to feather the selection.

Press Ctrl+J to copy paste the selection in a new layer. From "Filter" menu select "Texture>>Mosaic Tiles". Apply settings as shown.
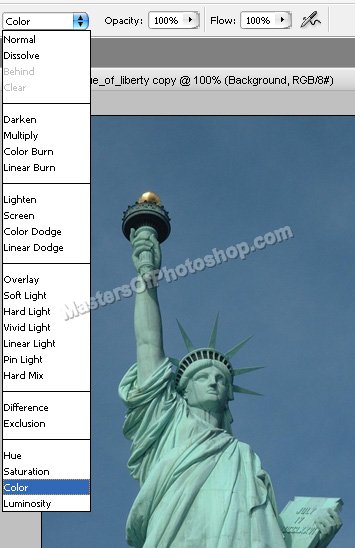
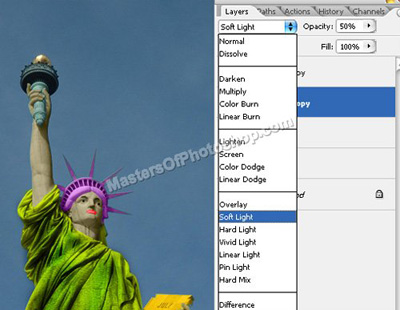
Change the layer mode to "Soft Light" and opacity to 50%.
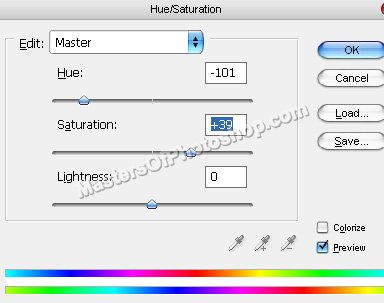
Press Ctrl+U to open hue/saturation window. Apply settings as shown.