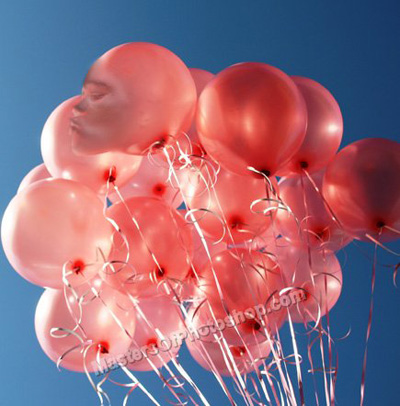
Start by opening an image of balloons.

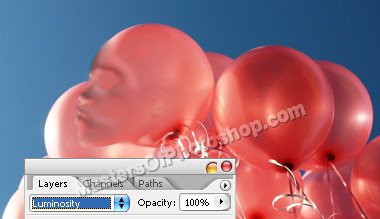
Insert a side pose of the face.
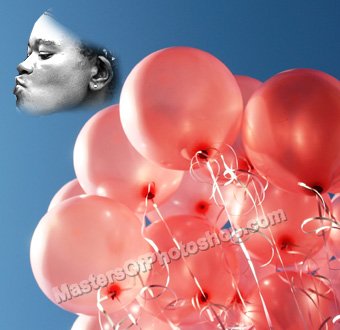
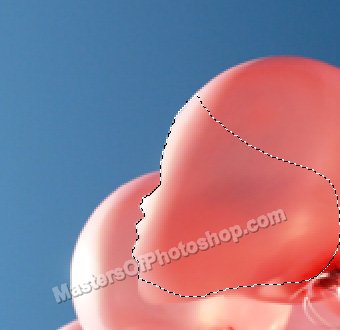
Place it right above the balloon as shown in the image below.
Ctrl+Click the layer to get the selection. Hide the face layer.
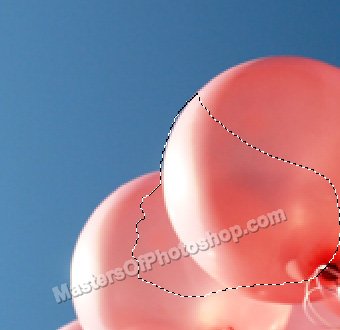
Create a new layer. Select stamp tool and clone the area as shown.
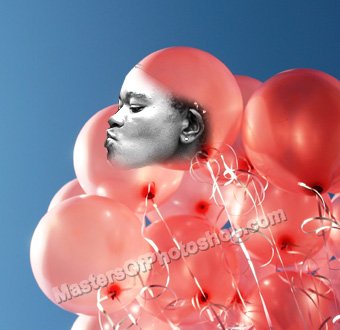
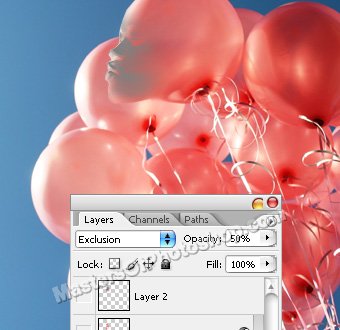
Unhide the face layer. Move this layer above all the layers in layer order in layer palette.
Change the layer mode to "Exclusion" and opacity to 50% from top of the layer palette.
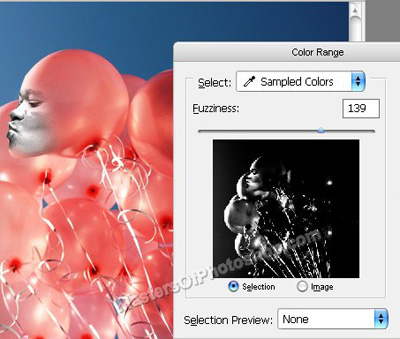
Duplicate the layer. Change the layer mode to normal. From select menu click "Color Range". Click on the white portion.
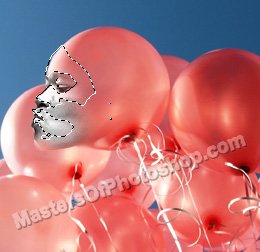
Press Shift+Ctrl+I to invert selection. Press Delete.
Double click the layer to open layer style window. Apply settings as shown.
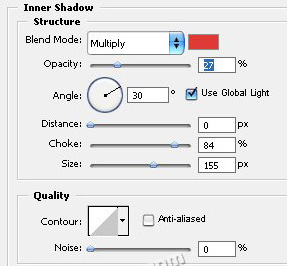
Change the layer mode to "Luminosity" from top of the layer palette.
Duplicate the original face layer. Change the layer mode to "Normal" and opacity to 50% from top of the layer palette.