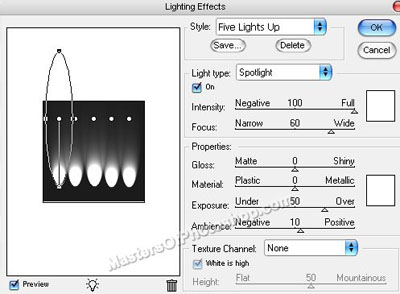
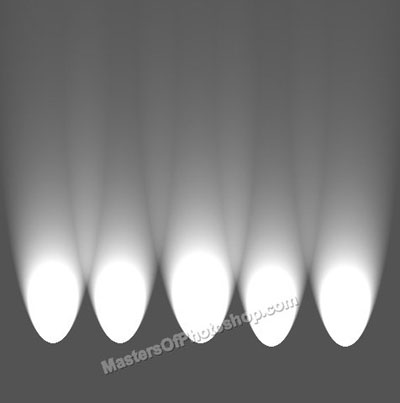
Start by creating a new file. Fill it with white color. From "Filter" menu select "Render>>Lighting Effect ". Apply settings as shown.
Duplicate the layer. Press Ctrl+T. Right click and rotate 90°CW.
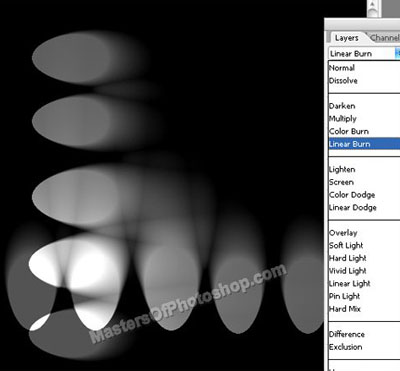
Change the layer mode to "Linear Burn " from top of the layer palette.
Duplicate the layer twice. Rotate them 180° & 270° respectively. Play around with their layer modes.
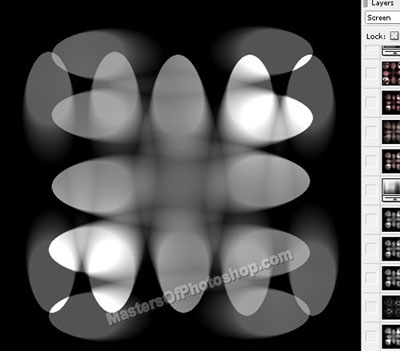
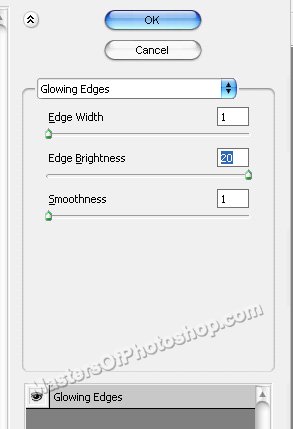
Select and merge al the layers. Duplicate the layer. From "Filter" menu select "Stylize>>Glowing Edges. ". Apply settings as shown.
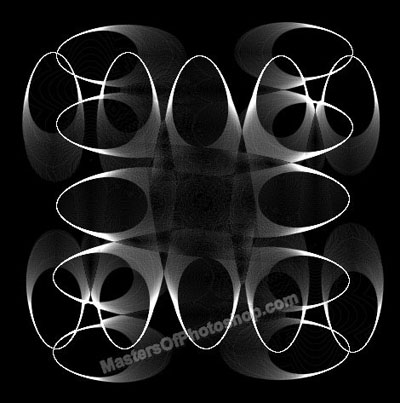
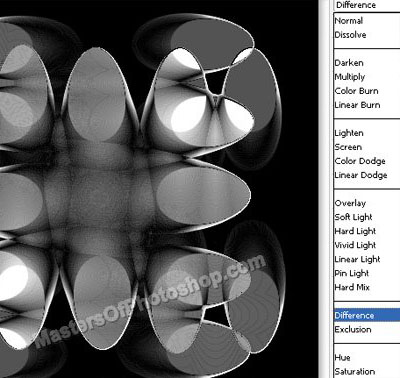
Change the layer mode to "Difference" from top of the layer palette.
Select and merge all the layers. Duplicate the layer.
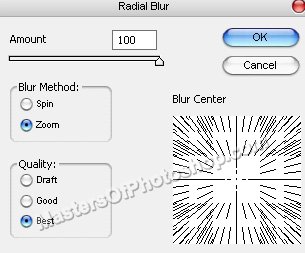
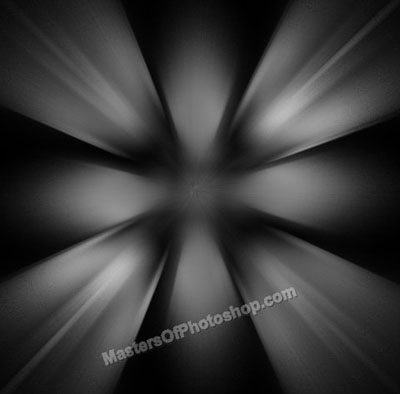
From "Filter" menu select "Blur>>Radial Blur". Apply settings as shown.
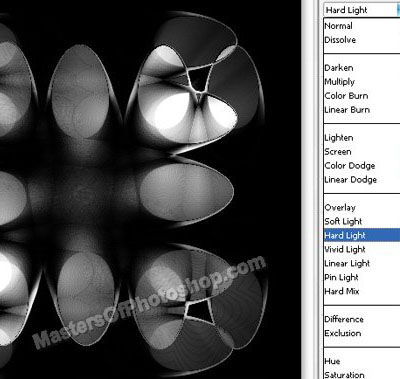
Change the layer mode to "Hard Light" from top of the layer palette.
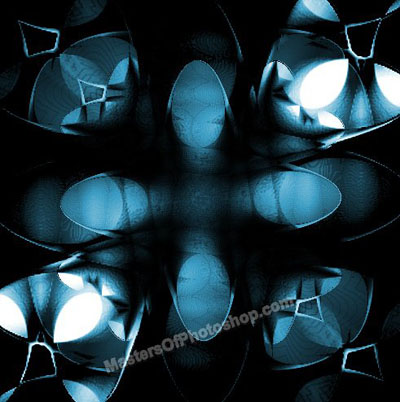
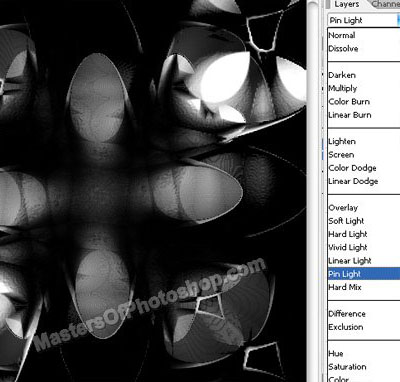
Select and merge all the layers. Duplicate the layer scale up and change the layer mode to "Pin Light".
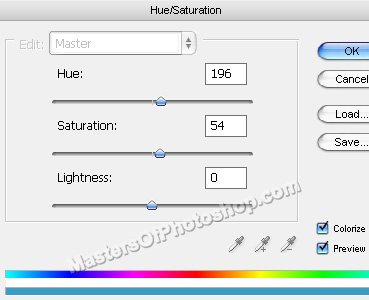
Press Ctrl+U to open hue/saturation window. Apply settings as shown.