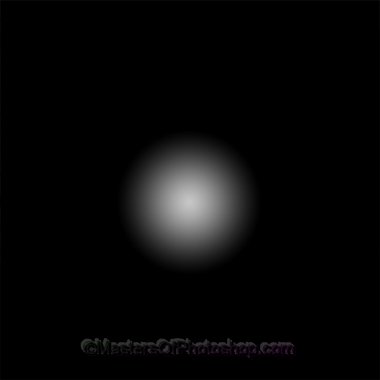
Start by creating a new document. Select gradient tool and set gradient settings as shown.

Drag the gradient from the center of the document.
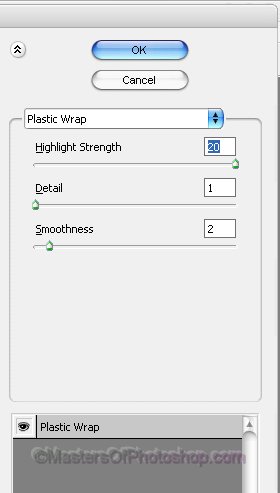
From filter menu select "Artistic>>Plastic Wrap". Apply settings as shown below.

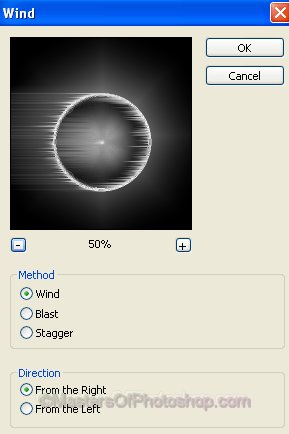
From filter menu select "Stylize>>Wind". Apply settings as shown below.
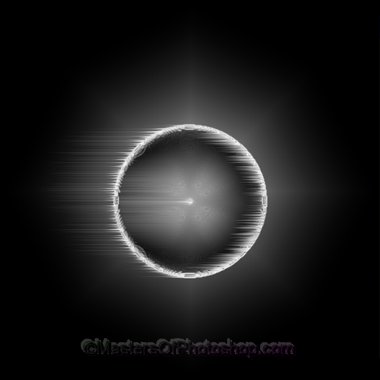
Duplicate the layer. Press Ctrl+T. Right click and select "Rotate 90° CW

Press Ctrl+F to reapply the last filter with the same settings.
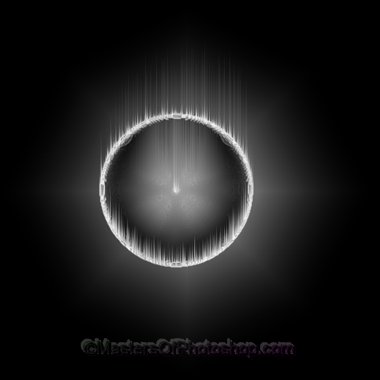
Press Ctrl+T. Right click and select "Rotate 90° CW.
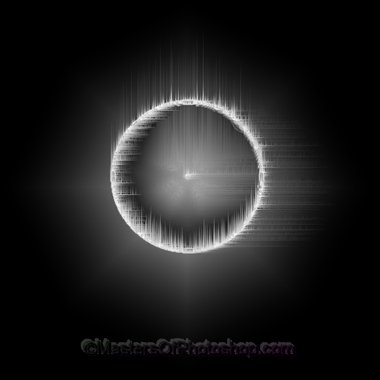
Press Ctrl+F again to apply the same effect.
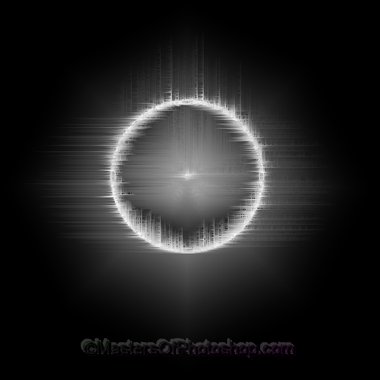
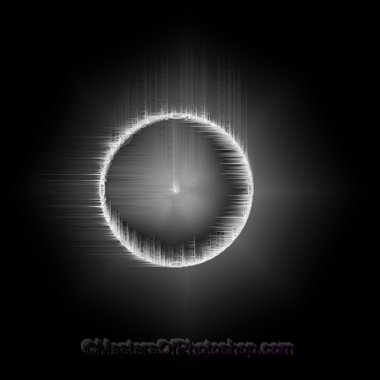
Repeat the above mentioned steps.
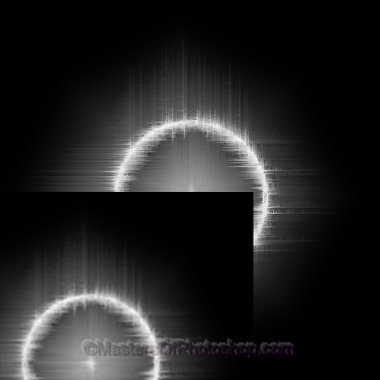
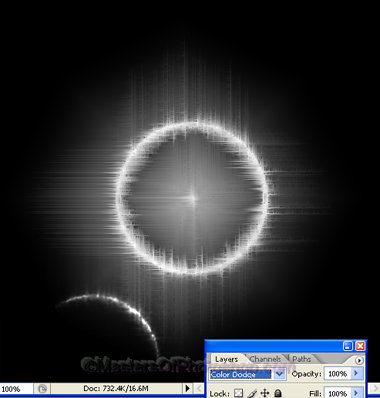
Duplicate the layer. Scale down and place as shown.
Change the layer mode to "Color Dodge".
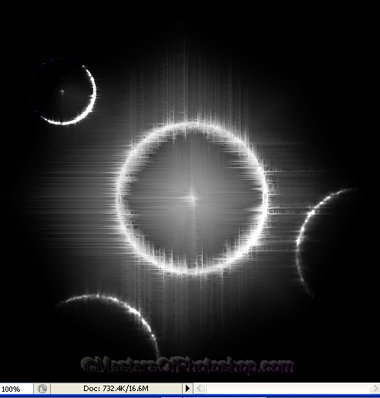
Duplicate the layer several times. Scale down and place as shown. Change layer mode to "Color Dodge".
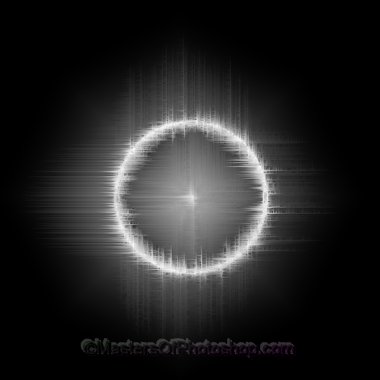
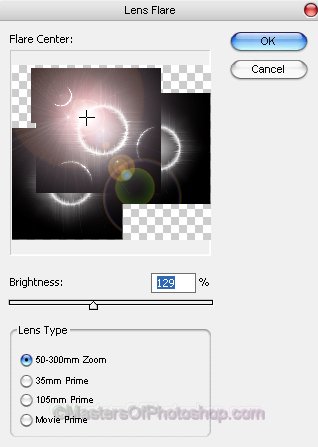
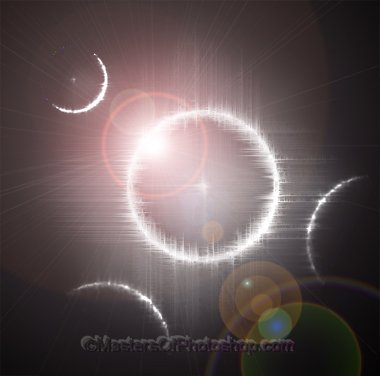
Select and merge all the layers. Duplicate the layer. From filter menu select "Render>>Lens Flare ". Apply settings as shown below.
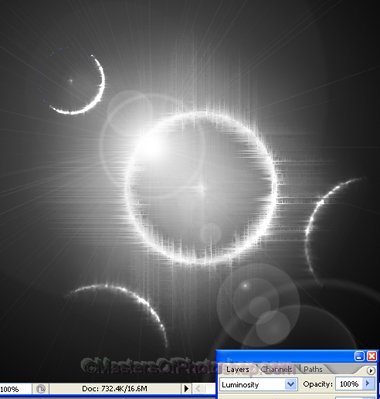
Select and merge al the layers. Duplicate the layer. From "Filter" menu select "Stylize>>Glowing Edges. ". Apply settings as shown.
Change the layer mode to "Luminosity".
Select 1 pixel pencil. Create click randomly to draw stars.
Fill the whole document with stars.
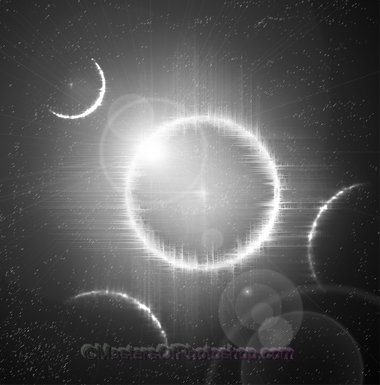
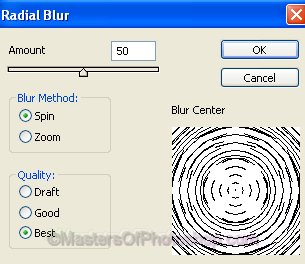
From filter menu select "Blur>>Radial Blur ". Apply settings as shown below.

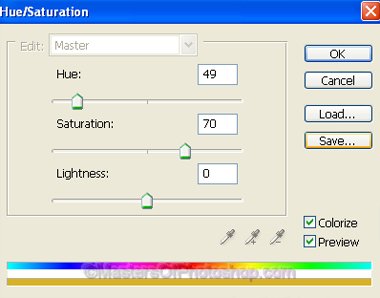
Select and merge all the layers. Press Ctrl+U to open hue/saturation window. Apply settings as shown in the image below.
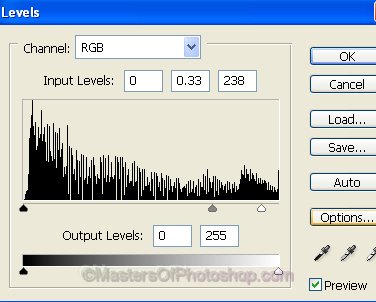
Select and merge all the layers. Press Ctrl+L to open Levels settings. Apply settings as shown.