

1. Lets start from color fill # 50280f
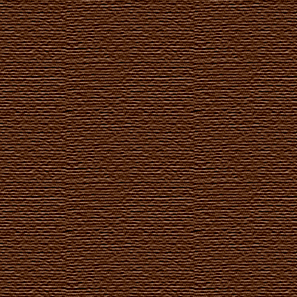
2. Apply filter texturizer/canvas with scaling 100% and relief 5.
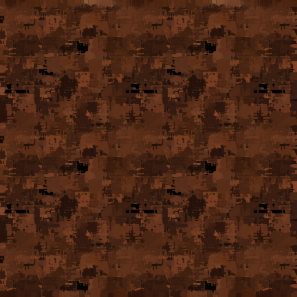
3. Now Apply filter artistic/palette knife:
stroke size - 15
stroke detail - 3
softness - 6
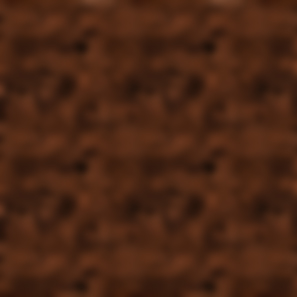
4. Apply Gaussian blur radius - 4
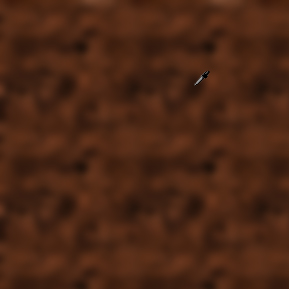
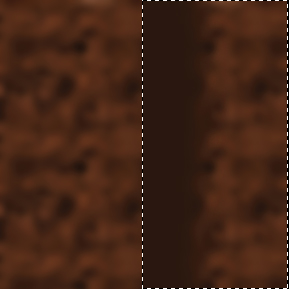
5. Make selection and copy it to new layer
6. Now let's add some shadow using airbrush tool and most dark color that we will get from our texture using Eyedropper tool (I)
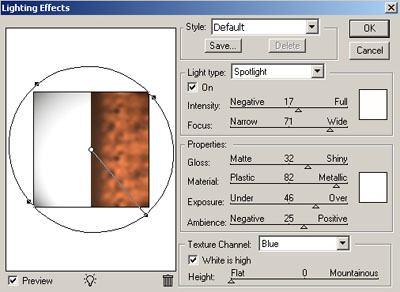
7. Apply filter render/lighting (here is lot of setting so fell free to use any of that settings as you like)
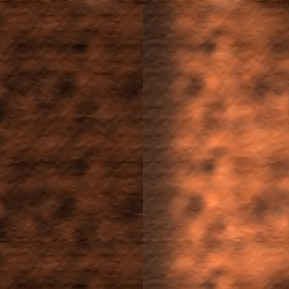
8. Apply filter texturizer/burlap to both layer with parameters
scaling - 200%
relief - 1
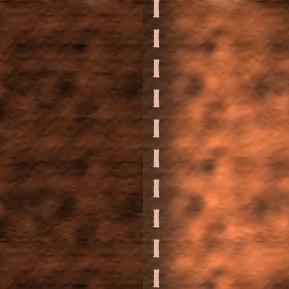
9. Select color and make stitches using "L" or "i" symbols
10. Rasterize font and apply Bevel and Emboss with following parameters:
Pillow emboss;
Chisel soft;
depth 980%;
size 5pix;
soften 6pix.
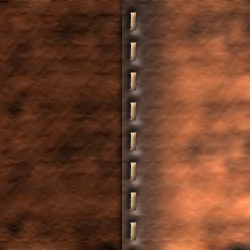
That is it!
P.S. You can add shadow using airbrush and some light effects.