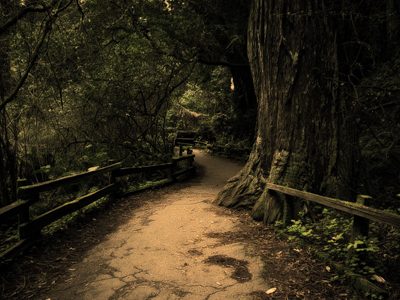
1. Open your photo.
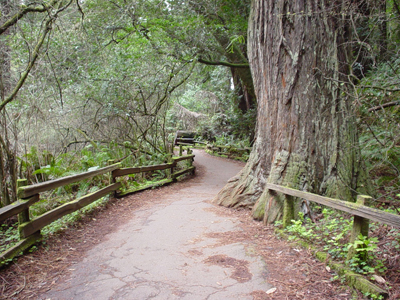
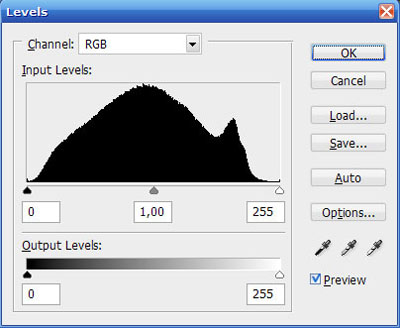
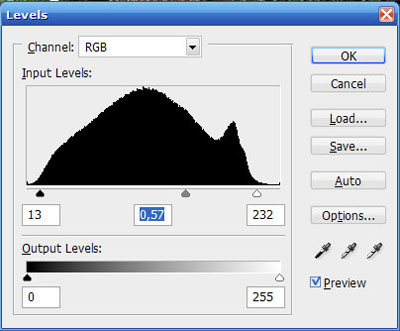
2. First of all, play with Levels - Ctrl+L. You can try "Auto" but I don't recommend it. Your "level mountain" is different than mine but play with it, try set black triangle closer to specific values, do the same with white triangle. Use grey to change brightness. Here's my "before" and "after".
3. Go to Image -> Adjustments -> Brightness / Contrast.
4. Set lower brightness and higher contrast. For example: -35/35.
5. Make new Hue / Saturation layer by clicking the icon of the circle under your layer list (Image below), set the lightness to 50, and set the blending mode of this layer to Mulitiply.

6. Select base / background layer, and apply Gaussian Blur filter. Filter -> Blur -> Gaussian Blur, radius 4.
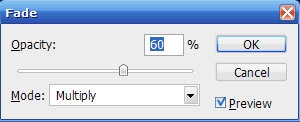
7. Edit -> Fade Gaussian Blur, and use this settings (These settings are good on my photo but maybe they won't be good on yours, just experiment with other values).
8. Once again make a new layer by clicking circle icon under your layers list, but this time choose Photo Filter, and Sepia, Density 100.
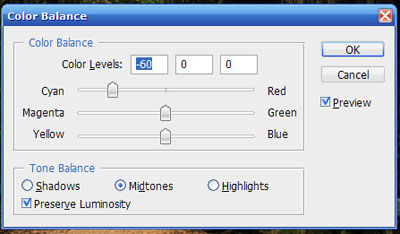
9. Select your base / background layer, go to Color Balance, Ctrl+B. Reduce Red… (Once again, experiment, maybe add red, reduce blue etc).
10. Apply Sharp filter on your base layer, Filter -> Sharpen -> Sharpen.
11. Edit -> Fade Sharpen, Mode: Screen, Opacity: 30%.
12. Desaturate base layer by pressing Ctrl+Shift+U.
13. Edit -> Fade Desaturate, Opacity: 50%.
14. Done!