1. Create a new document (800*600).
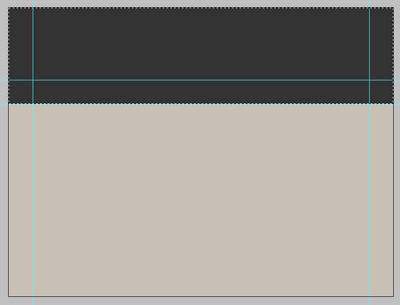
2. Fill the background with #c8c0b5 and look at the guides I've created in the screenshot below.

3. Now create a new layer (layer - new layer) and select a rectangle like shown and fill it with #333333.
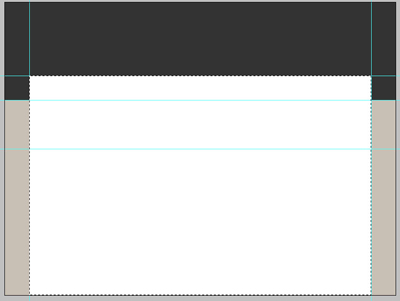
4. Create another new layer and select a rectangle using your rectangular marquee tool like this but fill this one using your paint bucket with #ffffff white this time! You should have something like this for now…
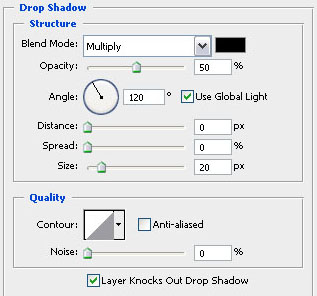
5. We're going to adjust the blending options (layer - layer style - blending options) of the previously created layer and add a drop shadow with the following settings!
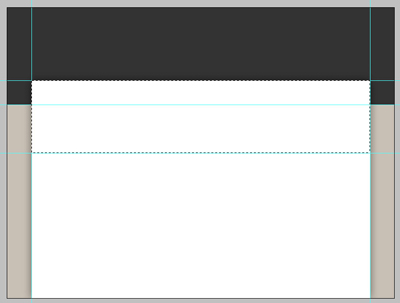
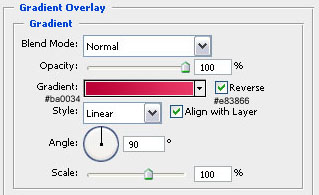
6. Create a new layer yet again and select a box like indicated in the first screenshot and fill it with any color you like because we're going to add a gradient overlay while adjusting the blending options with the settings shown in the second screenshot below.
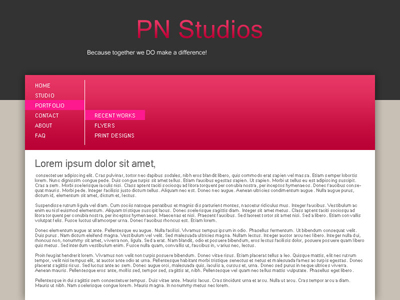
7. I've added some text to the header of the site including a slogan… The font microsoft sans serif was used with a size of 50px and 12px! The gradient overlay on the title is the same as in step 5 so you can copy and paste that layer style…
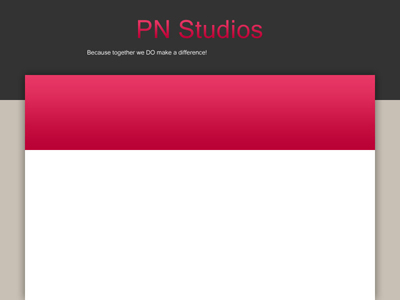
8. In this last step I've added some sort of a menu and some demo text (the color of the bars behind the menu text is #fe198e and the vertical stripe is made using the single column marquee tool)… The other text is in #6b6b6b . This is a simple and basic tutorial but you could make a wordpress template with this for example!