1. Create a new document (800*600).
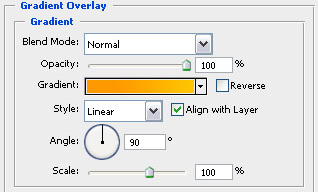
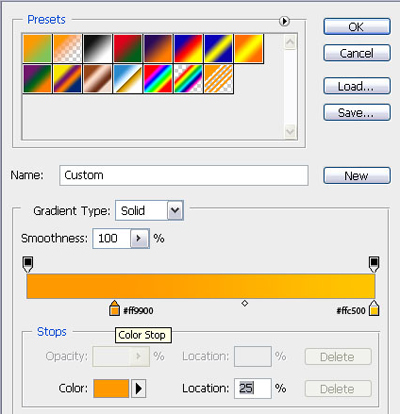
2. Fill the background with #ff9900 using the paint bucket tool and add a gradient overlay in the blending options with these settings.

3. Now create a new layer and select a rectangle shaped box (about 600*600 pixels) and fill it with white #ffffff.
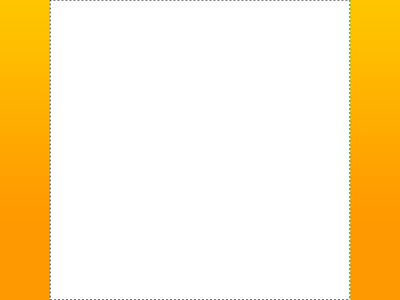
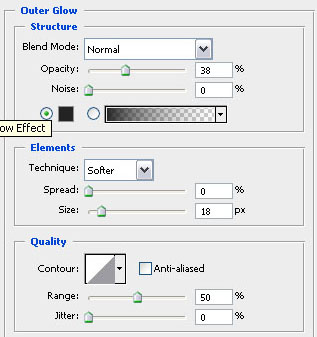
4. Adjust the blending options of your layer (layer - layer style - blending options) to add an outer glow with the following settings!

5. In this step you should create a new layer again (layer - new layer) and select a 50px high rectangle like this and fill it with black #000000.
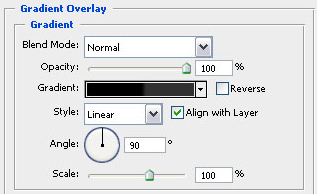
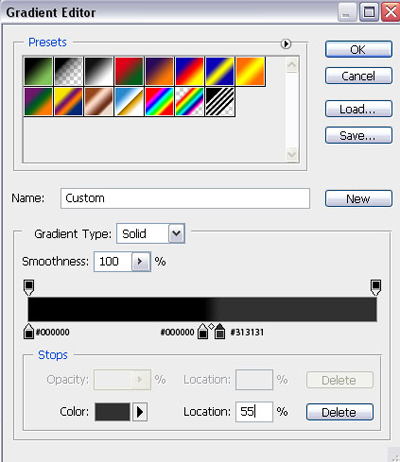
6. We are going to add a gradient overlay to the black rectangle we created in the previous step with the following blending options!

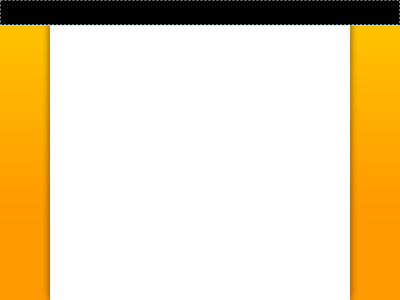
7. To make the menu look al little bit nicer we are going to add a 2 pixel stroke under the black area we've just created!Make sure you add it on a new layer and place it under the white layer where you can add text and content!

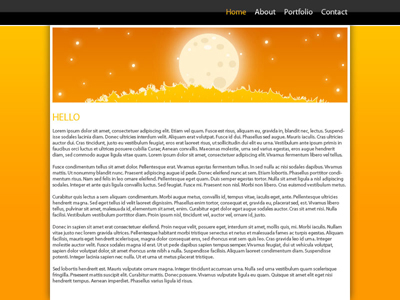
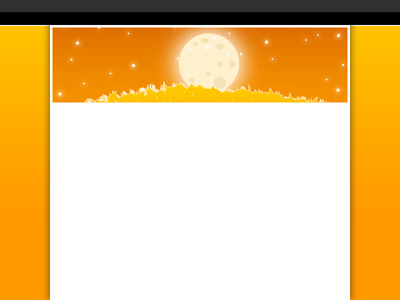
8. Now it's time to add a banner! So go ahead and find a nice looking picture for the header and place it like this (my header is 590*150 pixels and I found it on deviantart)…
9. We should also add some text to the menu… Change your foreground color to #ffc100 and start typing (I used the myriad pro font with a size of 16px) and the rest of the text is just in white (change your foreground color to #fffff)! You can also change the blending mode to difference because it looks better in my opinion!