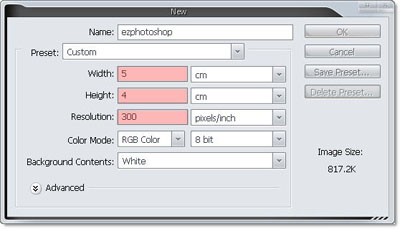
1. Create new document, size 5 x 4 cm, 300 dpi
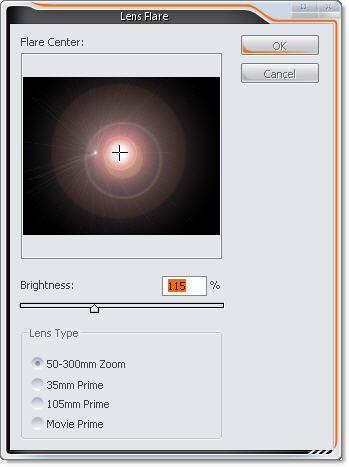
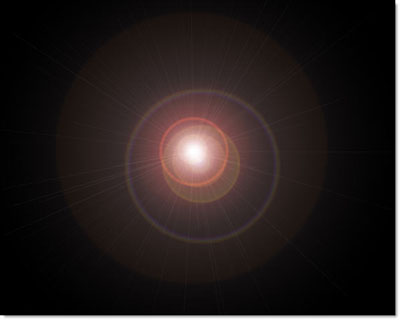
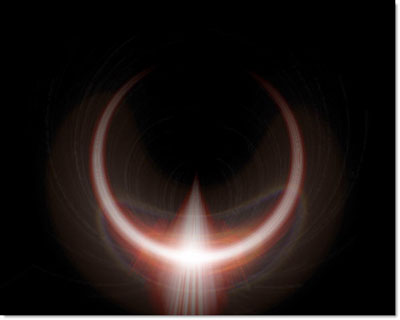
2. First, we must create new render, go to Filter >> Render >> Lens Flare
3. Filter >> Stylize >> Wind. First Direction = From the Right, hit Ctrl + F to do it filter again
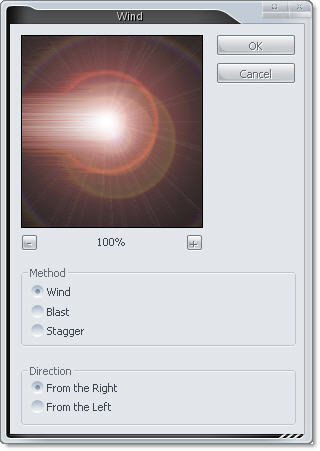
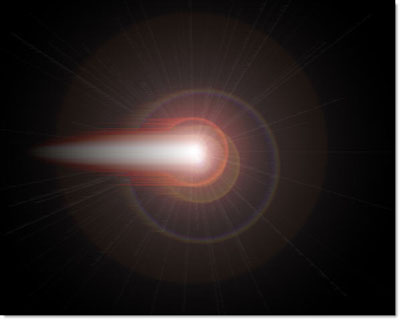
and From the Left two times
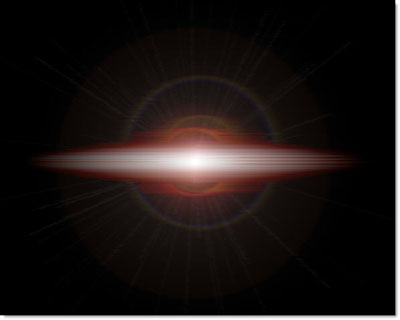
we have
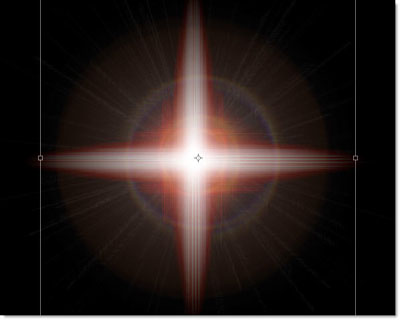
4. Duplicate layer, Rotate it 90 degree CW, blending mode = Screen
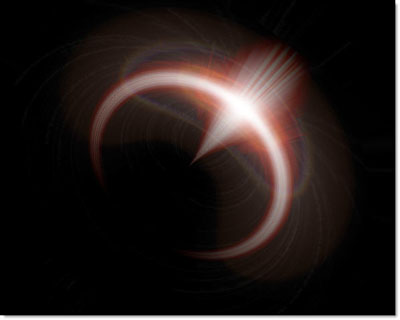
5. Go to filter >> Distort >> Polar Coordinates
6. Transform it to....
7. Duplicate last layer, and transform it bigger, Duplicate again if it doesn't bright enough
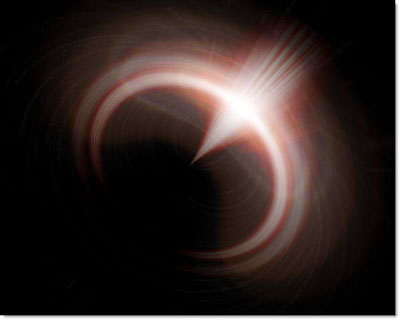
It same an eagle huh ;)
8. Create new render at left bottom and
Filter >> Sketch >> Photocopy ...
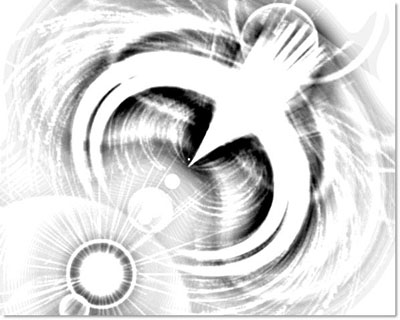
hmmm, it like an eagle with his egg :)
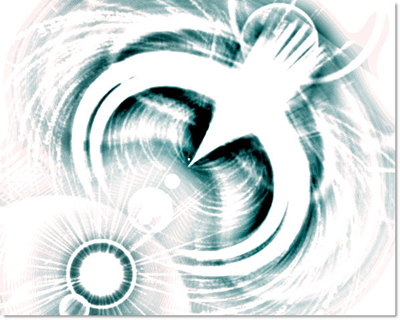
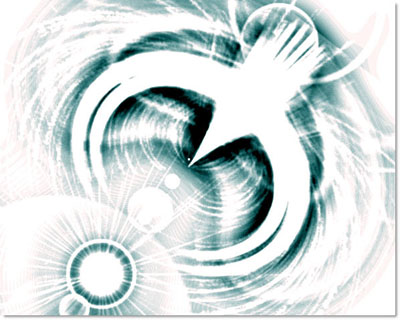
9. Change his color ;))
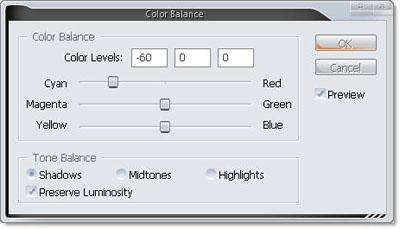

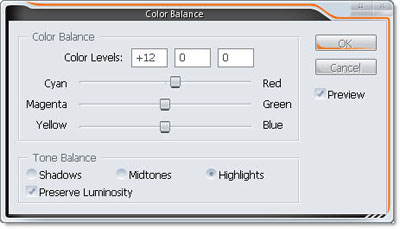
tada ... cool :X
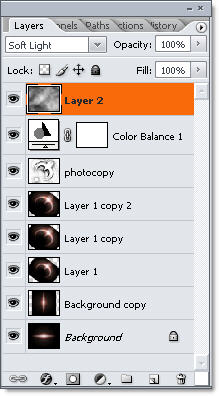
10. Create on new layer on top, go to Filter >> Render >> Cloud, set blending mode = Soft Light
Layer Shot !!!
Final result !!! Cool eagle =P~