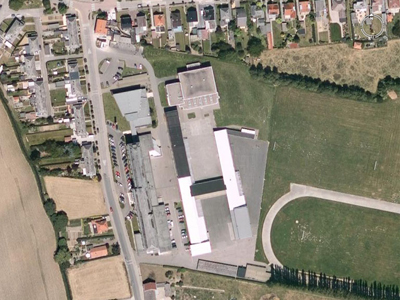
1. Open a picture (I took a screenshot using google earth from my school) and duplicate the layer (layer - duplicate layer)...
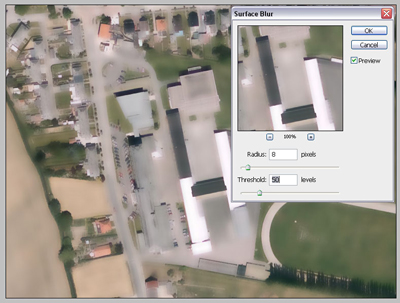
2. Go to (filter - blur - surface blur) and use the following settings.
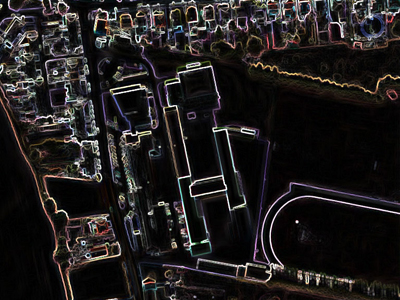
3. This time go to (filter - stylize - find edges) so you get something like this.
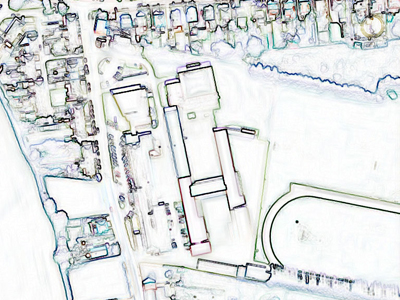
4. We're almost finished (quick one eh)! Go to (image - adjustments - invert) to invert your duplicated layer.
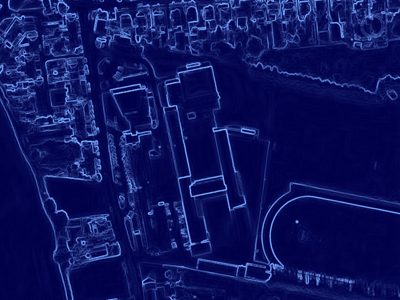
5. Now we're going to add the blue color (*blue* print, you know...). So go to (layer - new fill layer - solid color) and click OK, now select this #3953a4 color and click ok again. You can see a new layer was automatically created. Select that one and change the blending mode to hard light.
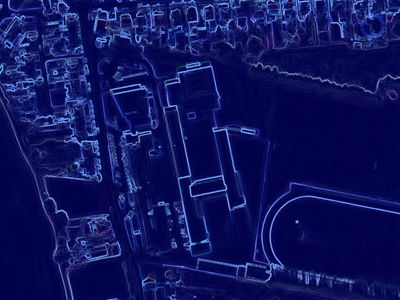
6. Some lines can still have another color then white (mine is fine but yours might not) so go to (image - adjustments - desaturate) to remove them (be sure to select the duplicated layer and not the one we used to make everything blue). You should end up with something like this! It looks like you've created a blueprint from the neighborhood...