1. Create a new document, I used 1440x900.
2. With the background layer, make it editable and apply the Layer Style>Gradient Overlay. Create a gradient from white to a light beige.
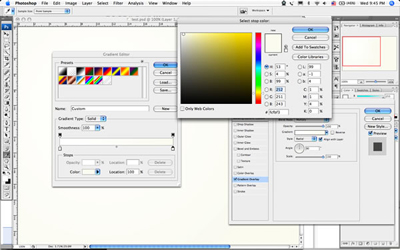
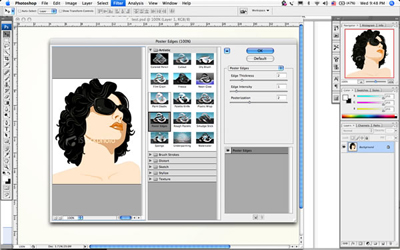
3. Open the vector face file. Apply the Filter>Artistic>Poster Edges, you can either use the values I used or play with the setting to create your own style. The idea here is to give a sort of painting style to the vector.
4. Delete the whites of the vector image.
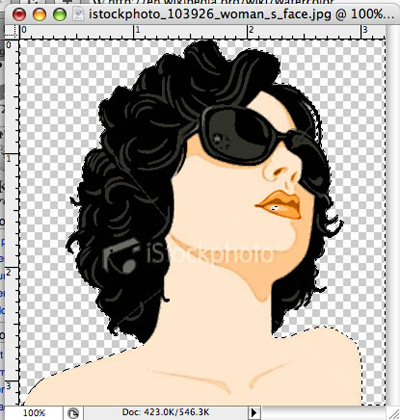
5. Using a mask, hide the light skin of the girl.
6. Back to the watercolor file, place the girl in the middle of the gradient. Create a new layer beneath the girl and paint only where was the face with white, like the image below.
7. Paint using the BittBox Watercolor Brushes. The most important thing here is color. You will have to choose carefully. My first one was yellow. Then pink, green, cyan and a beige like the images below. Remember to create one layer for each color and apply multiply to their blending mode.
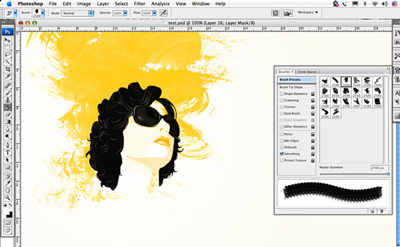
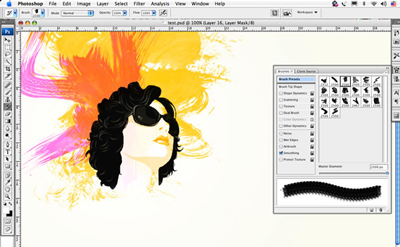
8. Using another layer, choose another watercolor brush to make the hair of the girl longer, as in the picture below.
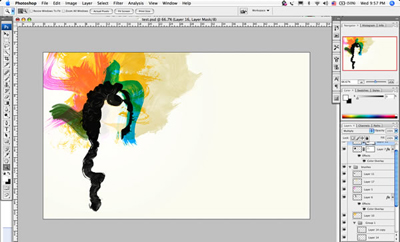
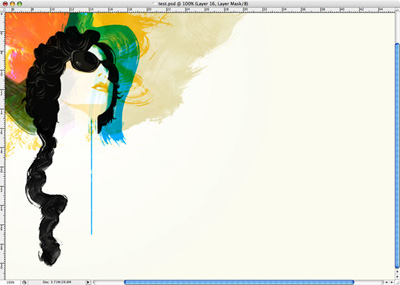
9. Cyan line, using a basic brush draw a straight line (holding Shift) like extending the blue stain.
10. Use a very thin typeface and write what you want. After that go to Layer Style>Gradient Overlay and create a gradient with 3 colors, first cyan, green and pinky. The angle of the gradient is 0.
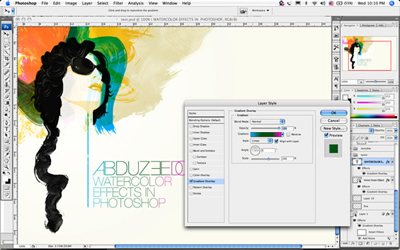
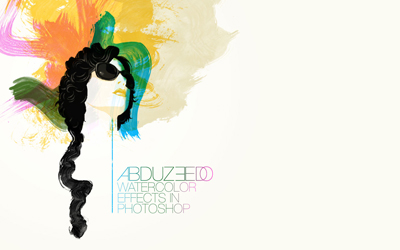
Final Result: