Step 1. Make a new document with the size you want. I made it 400x150.
Now choose a background color, I choose a blue color. Grab the Rounded Rectangular tool and make a shape like below on a new layer:

Step 2. Select the layer with the shape and click the Layer Style button and click Blending Options:
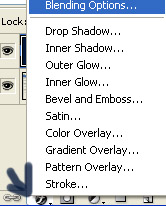
Add the following modifications:
.jpg)
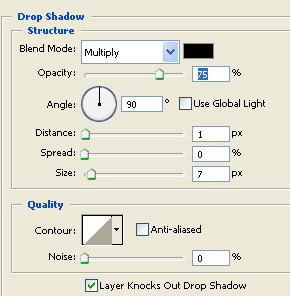
Drop Shadow
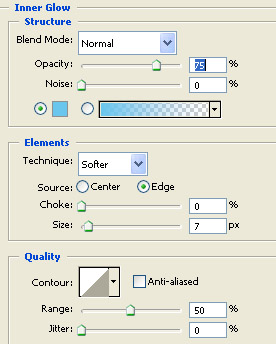
Inner Glow
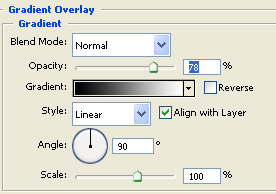
Gradient Overlay
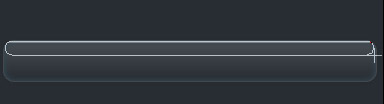
This is how It should look like:

Step 3. Grab a brush size 1 Px white and on a new layer create a straight line(to create a straight line mouse click press and hold shift and go to the point you want the line to end.) and lower the layer opacity to around 30%.

Step 4. In this step I am going to show you how to create a shine. So set your color to white. Make a new layer. Grab the Rounded rectangular tool and make a shape like below.
The shape should be white. If not you fill it white using the bucket and lower the layer opacity to 20% or so. Note I also used the eraser to delete the edges of the straight 1px line to make it look better.

Now simply add your text and you are done!
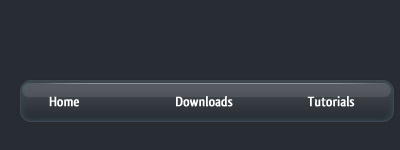
This also looks good with a pattern background.

 This post was written by owner of