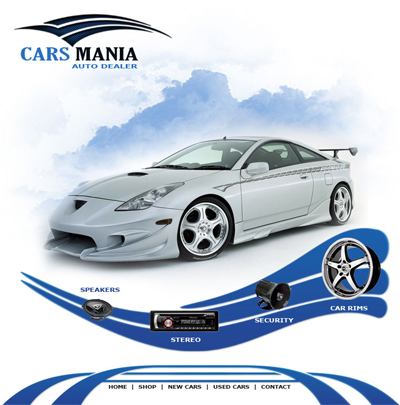
Start with a new document. Size should be 760x770 pixels
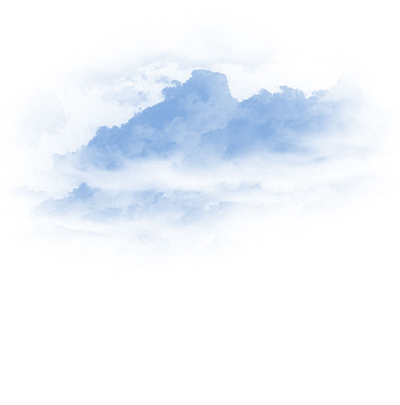
Now go to Photo-Shop-Brush.com and download the following set of cloud brushes
Then create a new layer, and with brush tool, make some simple clouds on your canvas
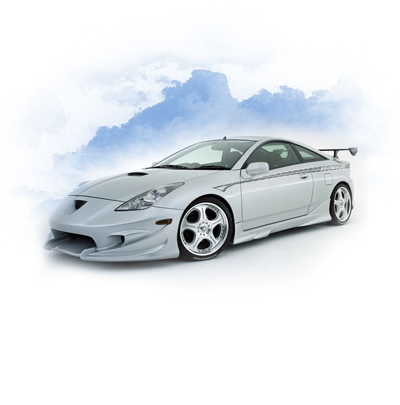
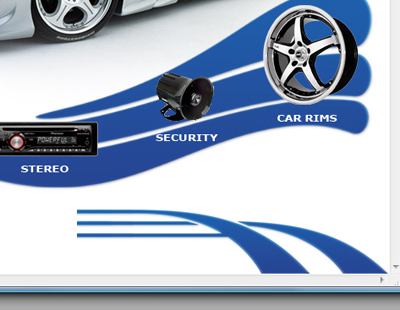
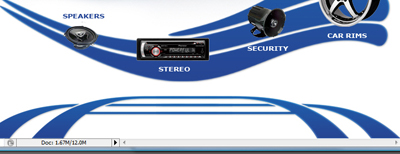
After that place a image with a car
If you have Talk-Mania Big-Pack
Load a set of tribal brushes. In this pack you have over 4000 different brushes in 3 sizes. I am sure you will find a nice brush.
I have created a new layer ( press Ctrl+Shift+Alt+N ) , then with Brush Tool , create a simple drawing

Over this blue shape, place some images with your main products
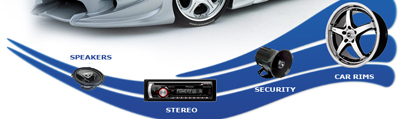
Now it is time to use another 2 brushes from Talk-Mania Big-Pack
I will use the first one to create a simple logo.
Remember to create a new layer , then with brush tool, create a simple shape

The second brush i will use on the bottom of the layout, of course on a new layer
Then duplicate this layer. to duplicate a layer, first be sure you have the layer selected, and press Ctrl+J
This shortcut will create you a new layer above the initial one
With the clone layer selected, go to Edit > transform > Flip Horizontal
Then with Move tool place the second layer like me
After that with type tool, add some text. This is my final result. Because this one is a very simple tutorial, tomorrow i will create you a more detailed tutorial