

Create a new file with the dimensions indicated here: 1024x768 px and 72 dpi. Finishing creating it, paint it in black color.

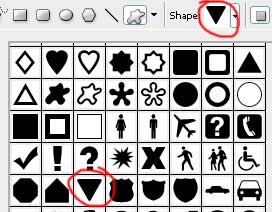
Choose then the following tool
![]() to select from the table an appropriate cliché for that you are intending to do next.
to select from the table an appropriate cliché for that you are intending to do next.
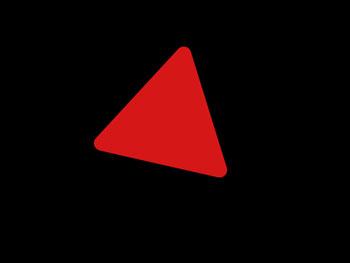
The color should be D51717. Make a click on the right mouse's button on the triangle's layer and apply Free Transform selection to turn it on that angle you may see in the picture below:
Take the next instrument
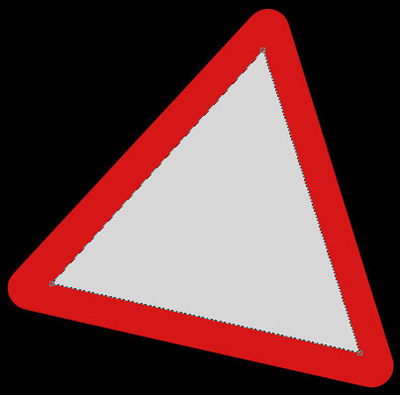
![]() to create another triangle inside of that one we already have. Its color is D7D7D7.
to create another triangle inside of that one we already have. Its color is D7D7D7.
Selecting the same instrument, it's possible to draw a flare on the upper half of the sign.


Fill 20% on the layers.
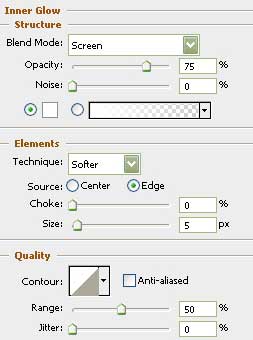
Blending Options-Inner Glow
Blending Options-Gradient Overlay
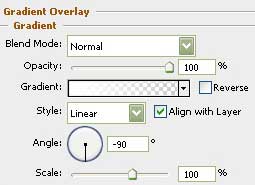
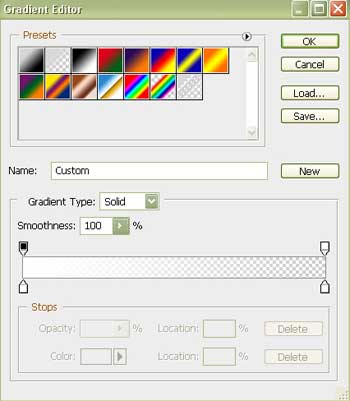
Gradient's parameters:
Create now a new layer and mark this layer and the previous one.
Click on the Merge Layers option and make use of the next instrument
![]() to erase the lowest part of the flare.
to erase the lowest part of the flare.

Selecting the instrument shown here
![]() , draw a fire indicator with black color.
, draw a fire indicator with black color.

Don't forget to place the fire's layer under the flare's layer.
Fill 70% on the layers.
For your convenience now we should merge down in a group all the layers containing the indicator.
Make a copy of this new group and make use of Free Transform selection to turn it around. Then click on this figure shown here
![]()
and apply the instrument shown here
![]() to dark out the sign's reflection. It should have the black color.
to dark out the sign's reflection. It should have the black color.
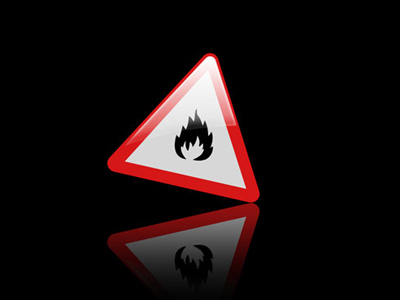
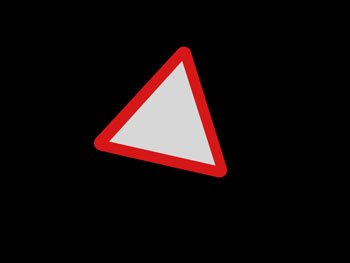
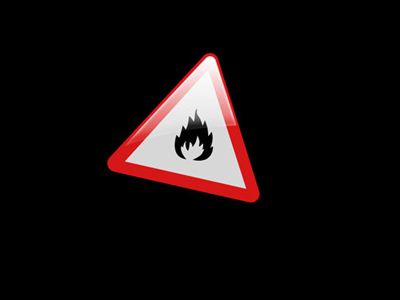
The final result!