1. Start with creating a new image of moderate size and with 72 dpi. the latter is important for a proper pattern effect.
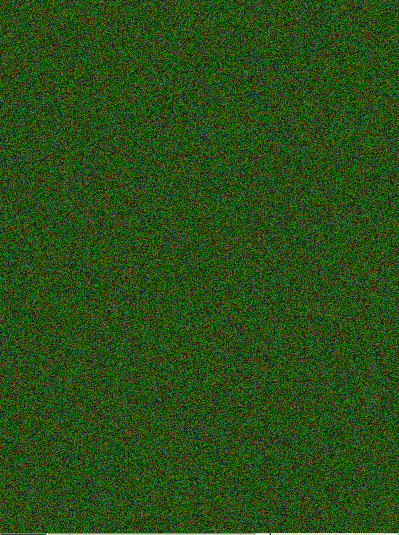
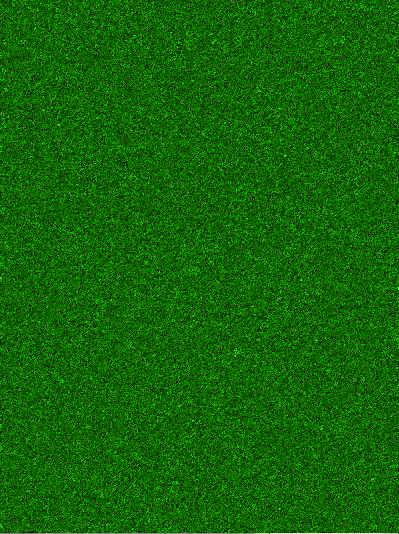
2. Fill the new image canvas with a shade of green.
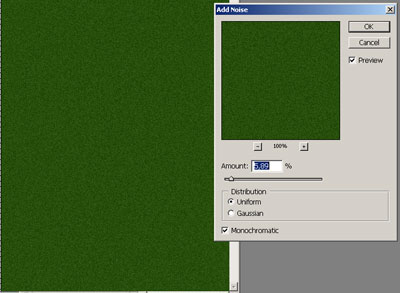
3. To have any effect from the filters we need to add some disturbance to the homoginius color. Go to Filter > Noise > Add noise.
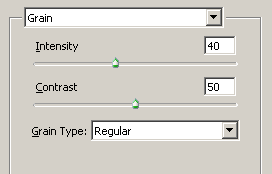
4. Another filter now: Filter > Texture > Grain.
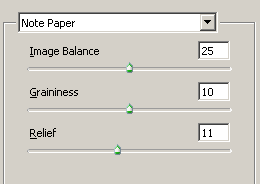
5. And another: Filter > Sketch > Note paper.
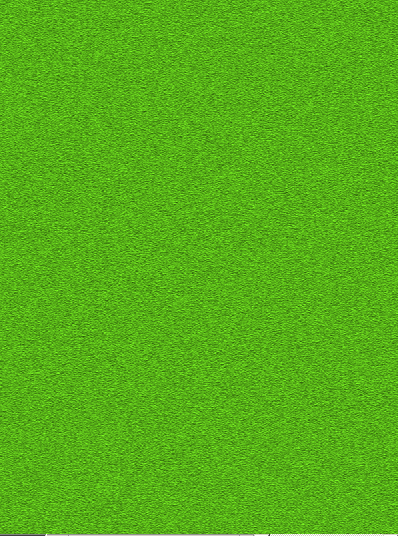
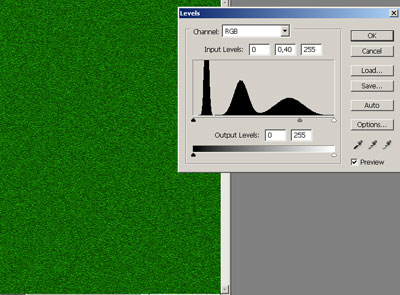
6. After the last filter the color becomes too light. Go to Image > Image adjustments > Levels and move the grey pointer to the right to make our future background darker.
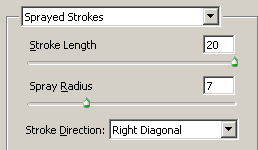
7. The last filter to apply: Filter > Brush Strokes > Sprayed Strokes. As a result you will have the moss-like texture giving the impression of something fluffy and very soft.
8. Add a custom heart shape to the image and rasterize it.
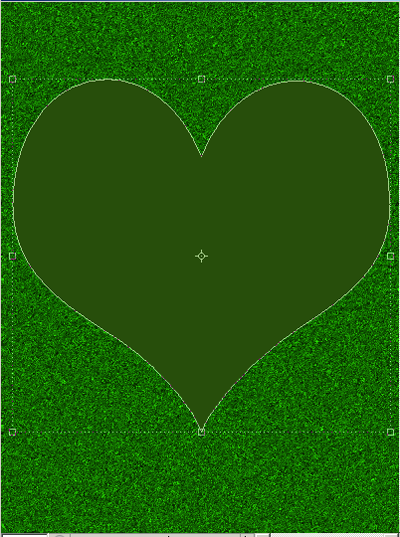
9. Ctrl+Click the shape layer to make a selection and by going to Selection > Feather soften the edges (3-5 pixels would do).
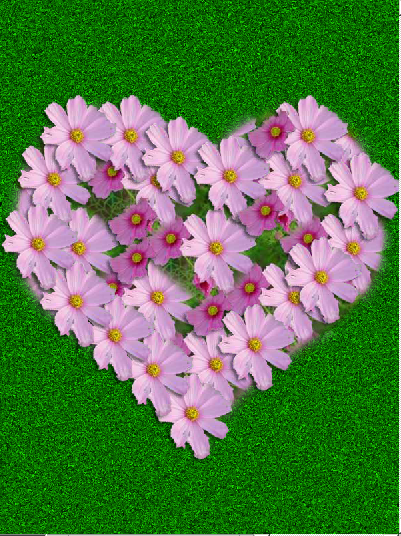
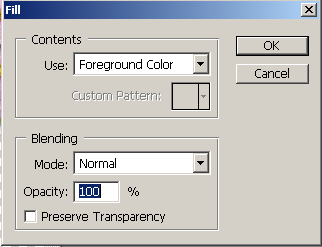
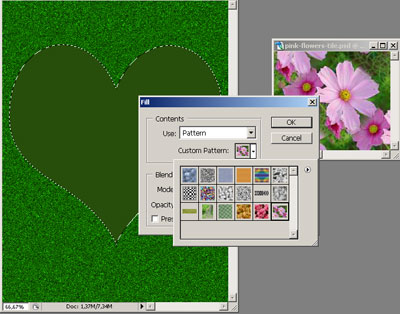
10. Edit > Fill the selection with the pattern. I used a previously defined flower pattern from the image you see in the background below.
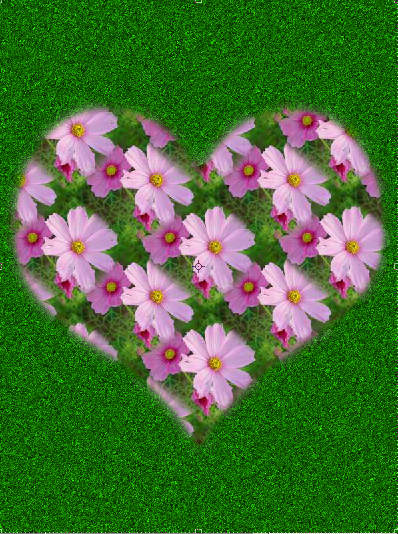
11. To make the flowers to look more in place I decided to cutout the flowers from the pattern image and put them over the shape on the edges.
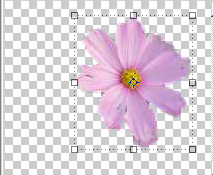
12. As each of the flowers was copied to a separate layer I had to add a drop shadow layer effect to every flower layer.
13. Finally we can merge all the layers (don't do that by Ctrl + E though, the shadow effect will multiply) and look at the final result.