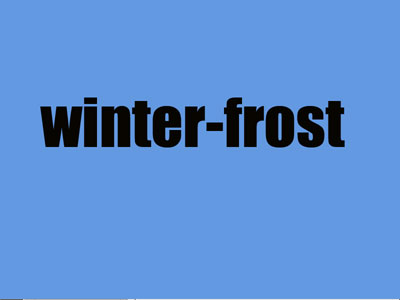
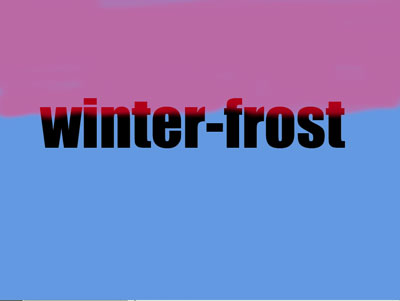
1. Create a new document and fill it with some color.
2. Add a text layer.
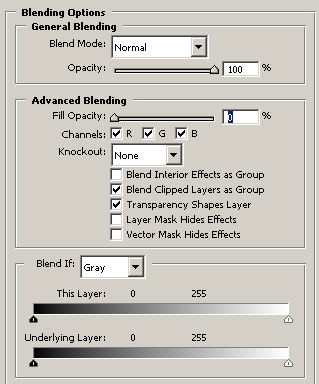
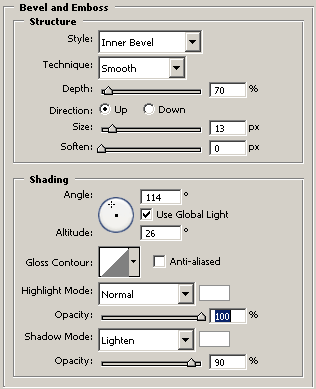
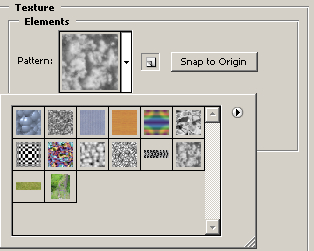
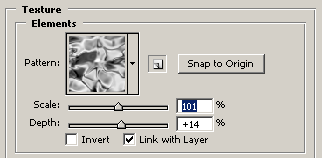
3. Now we are creating the ice effect with a number of layer styles. To edit them go to Layers > Layer style > Blending Options or simply double click the text layer:
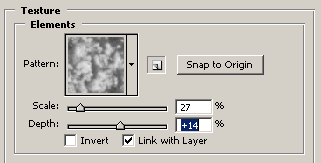
4. Copy text layer.
5. Double click the new layer and change texture pattern from clouds to satin. This should make the ice texture more realistic.
6. Once again copy the text layer and put the the third copy on top, clearing it of all layer styles (right click the layer and choose Clear Layer Style).
7. Enter quick mask (press Q) and with a soft round brush paint with red the upper part of the image touching the tops of the letters.
8. Exit quick mask mode (Q), invert selection (Ctrl+Shift+I), and add Layer Mask.
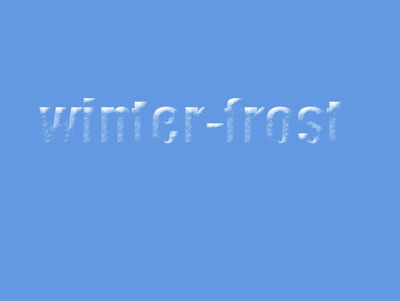
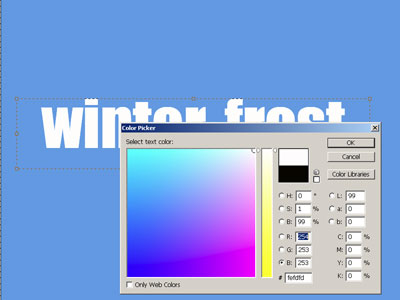
9. Change text color to white.
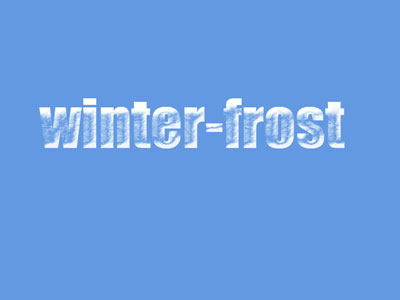
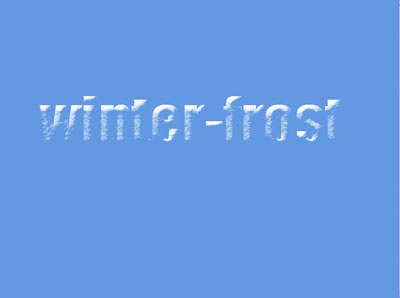
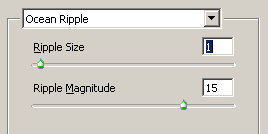
10. Go to Filter > Distort > Ocean Ripple and enter the settings shown below. Use the filter twice.

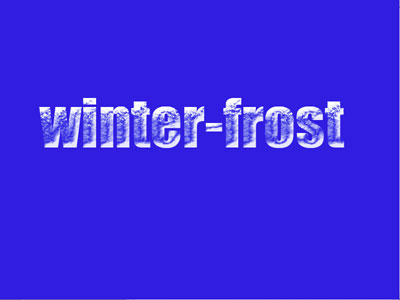
Your effect is now achieved. I changed the background color to make it more vivid.