


Create a new file with 1677x840 px and 72 dpi. Use the instrument
 to paint in black the layer's background. Make the center of it lighter, using the instrument
 .
.

Make a new layer of white color, disconnecting temporarily the previous layer.
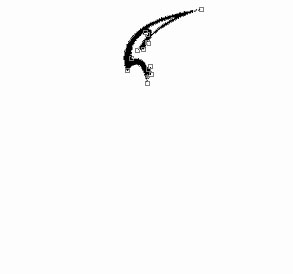
Use the next instrument
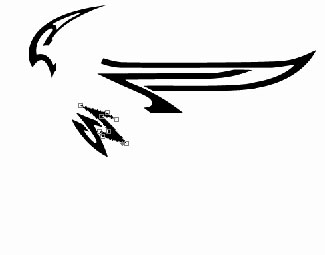
 to draw a pattern's part, like the next picture.
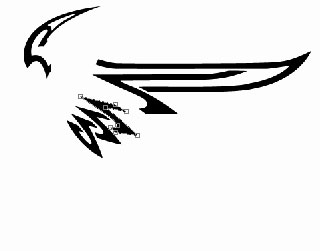
Use the same instrument to represent another pattern's part.
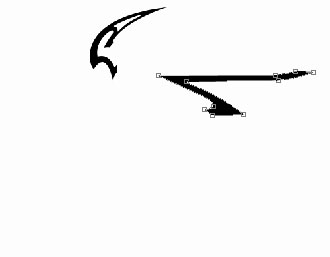
The same instrument and the next picture.
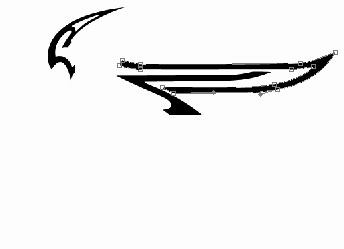
Use the same instrument to represent another pattern's part.
Represent another pattern's part:
Represent another pattern's part:
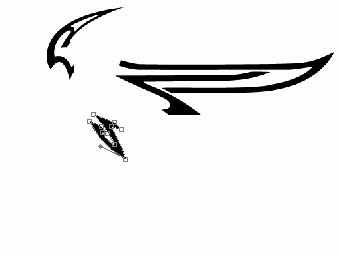
Another pattern's part:

Represent the same way the remained pattern's part.
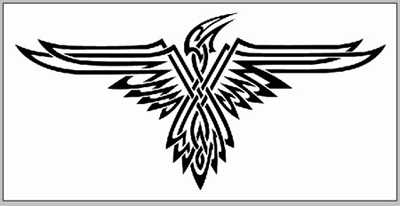
Keep connected now only those layers that form the bird's silhouette. Combine them (Ctrl + Shift + E) and we'll get:
Apply the indicated parameters below
Blending Options-Gradient Overlay
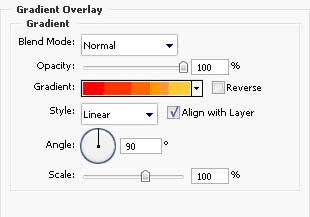
Gradient's parameters

We'll get:

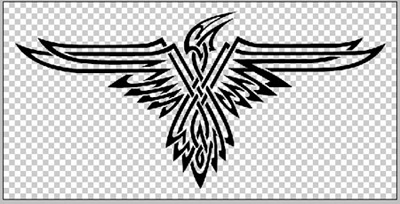
Connect the layer that has a dark background, highlighted in the center. Place the bird's silhouette above this layer.

The final result!