

Create a new file with 972x944 px and 72 dpi. Paint it in black.

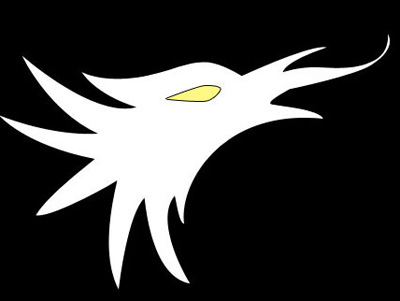
Use the next instrument
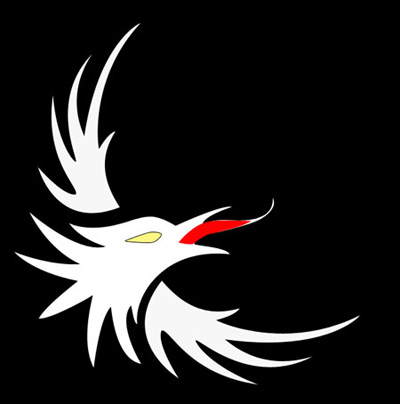
 and the white color to represent a bird's silhouette, like in the picture.

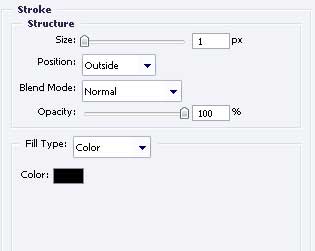
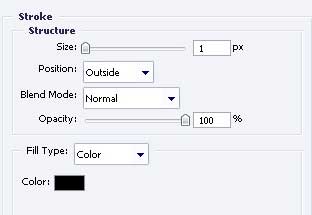
Use the same instrument to represent the bird's eye with the color FDF785 and the indicated parameters below:
Blending Options-Stroke
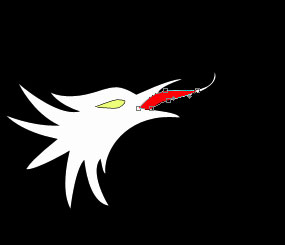
Represent in the next picture the bird's tongue. Apply the color FF0000.
The previous instrument will be helpful in representing the bird's wing of the white color, like in the picture with the indicated parameters.
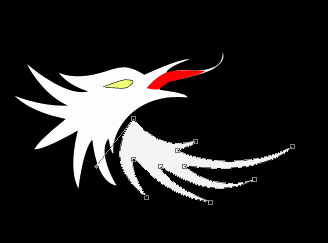
Blending Options-Stroke
Copy the bird's wing layer and use Free Transform to turn it around like in the next picture.
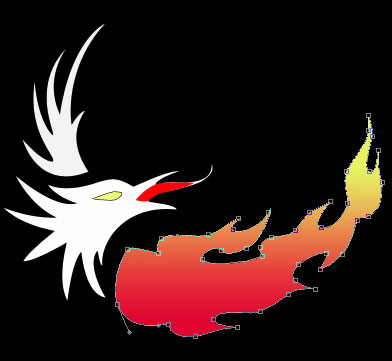
For your convenience, connect the layer with the lower bird's wing and continue working on a new layer. Use the same instrument to represent the flame's silhouette with the indicated parameters.
Blending Options-Gradient Overlay
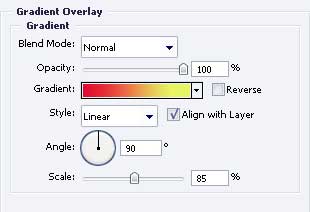
Gradient's parameters
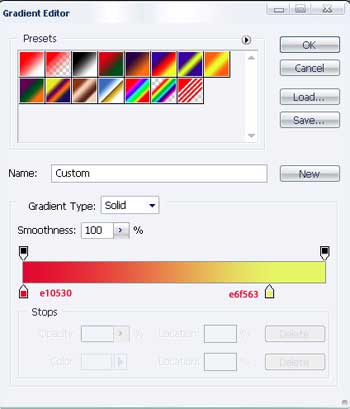
Use the previous instrument to picture the flame's silhouette with the color F8EF6E.
Hide temporarily the layer that has the upper bird's wing on it. Combine all the layers regarding the flame in a group. Copy the group and use Free Transform to turn it around, like it is shown below.

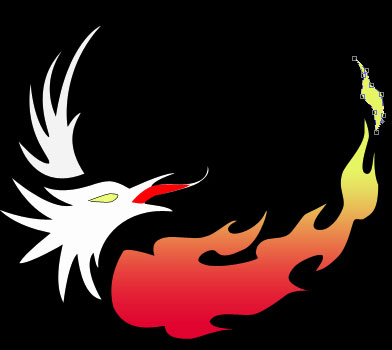
Show now all the layers regarding the bird's wings and place them out above the flame's layers. Making everything correctly, you'll get the next:

The final result!