

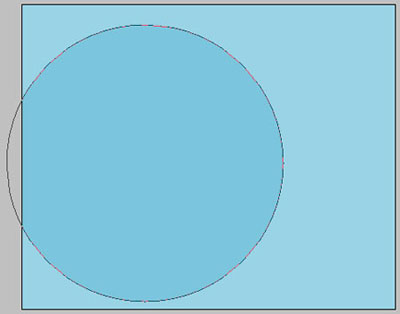
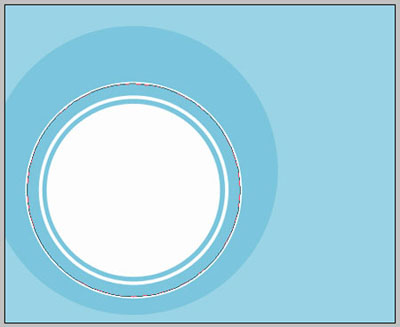
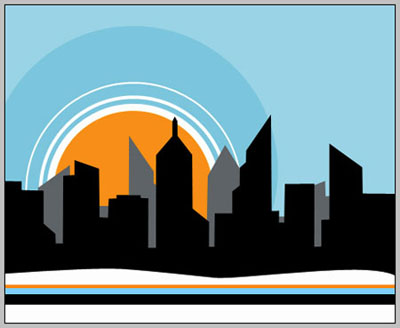
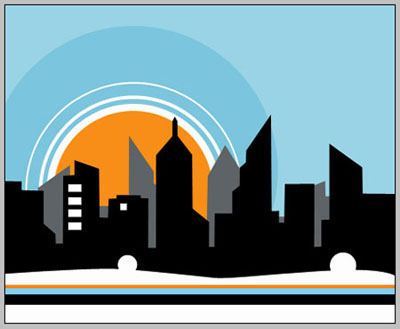
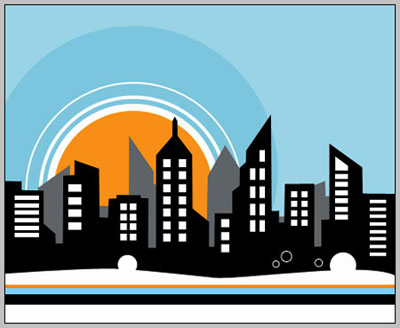
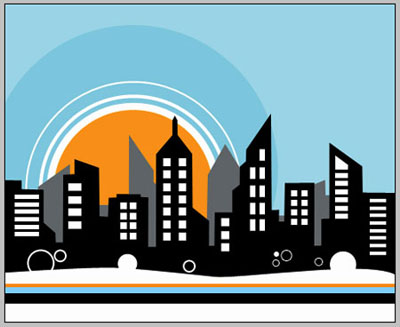
Create a new file that would have 450x367 px and 300 dpi. Paint it in this color – A9DEEC.

Take the next instrument
 to picture a circle of the indicated color – 8CD3E5.
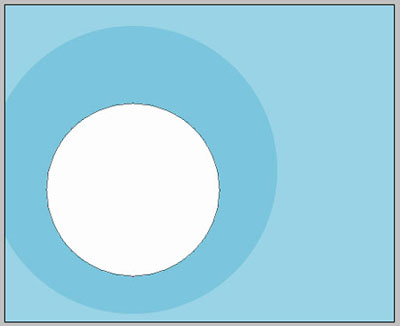
Using the same instrument, represent a circle of white color, like in the next picture.
Take the following instrument
to picture another circle with the same sizes from below.
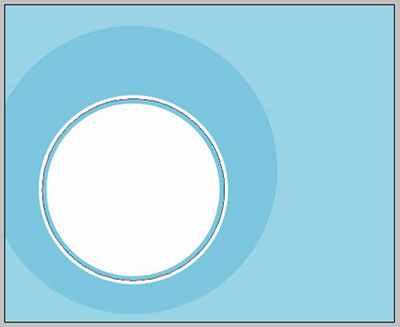
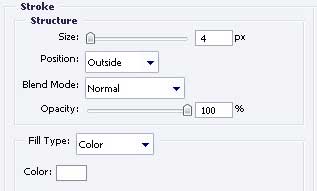
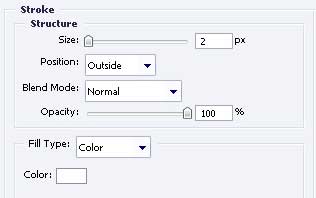
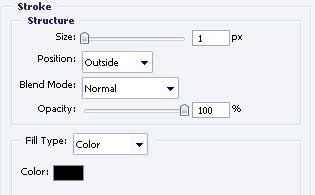
Fill 0% on the layers.
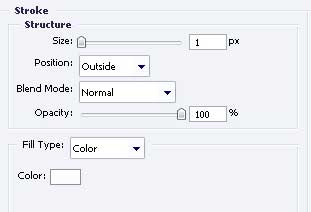
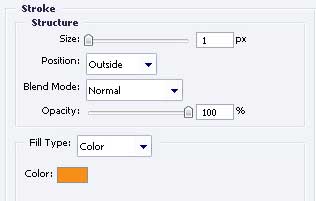
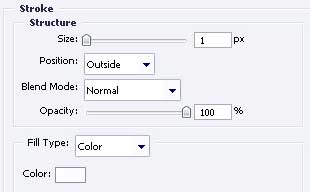
Blending Options-Stroke
Take the previous instrument to represent one more circle with the same sizes from the next image.
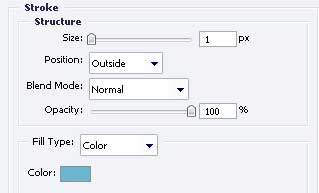
Fill 0% on the layers.
Blending Options-Stroke
Take the next tool
to draw a circle with FE9900.

Using the next instrument
 , make a new figure with the next color – 72777A.
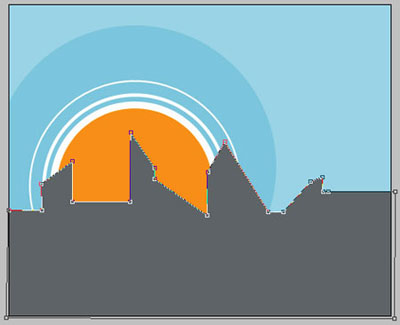
Applying the previous instrument, picture another figure of black color this time, like the next one.
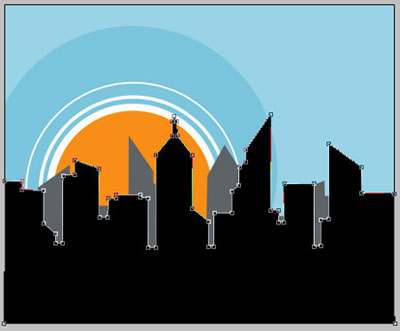
One more figure of the white color. The instrument remains the same.

Take the following tool
 to represent a rectangle, having the color – FF9302.

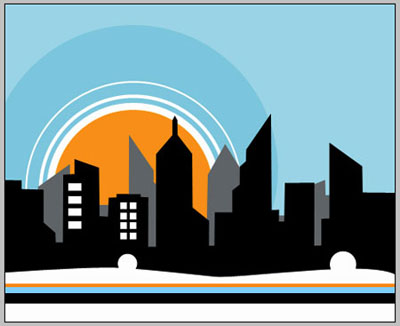
The same instrument will be helpful in picturing another rectangle with the color – 89DCFE.

Take the same instrument for drawing another rectangle of black color, like in the image below.
Take another tool
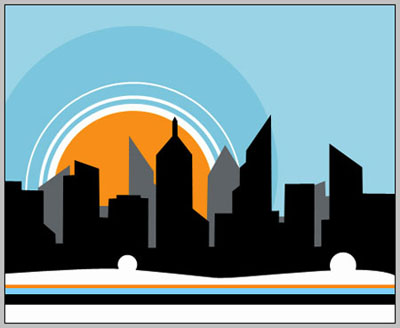
to represent several circles of white color, looking the same with those from the next picture.
Get back to the instrument
to picture one more rectangle of white color, like the next image shows.
Copy the new made layer 3 times and place it the same way it is done next image.
The instrument
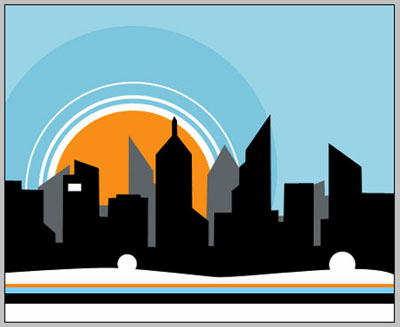
will help us to represent a square of white color, like the next picture demonstrates it.
Copy the recently created layer 7 times and place everything out like it isi indicated in the next picture.
Make the same way several more rectangles, but make them look the same with those from the picture below.

Take the next instrument
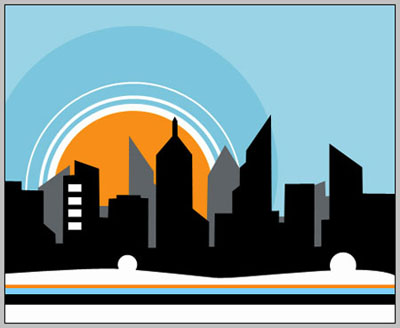
to picture a rectangle of white color, like the next image shows.
Copy the new created layer 5 times and place everything the same way it is done below.
Make the same way several more rectangles, and don't forget to place them like the picture shows it.
Applying the instrument
, draw a rectangle of white color, like the next picture demonstrates it.
Copy the new made layer 8 times and place all of them like it is done next image.
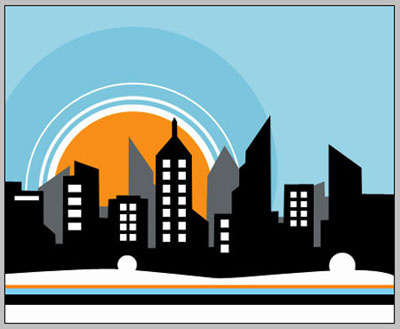
Using the previous instrument, make another rectangle of white color.
Copy this new made layer 5 times and place it out the same way like in the following picture.

Apply now another tool
to draw a figure of white color, like the next one.

Take the following instrument
and represent 3 circles with the same sizes form below.
Fill 0% on the layers.
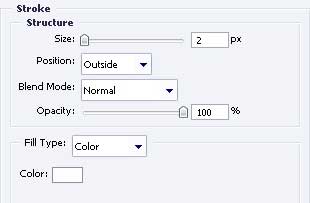
Blending Options-Stroke
Continue using the same instrument and picture 3 more circles with the parameters shown below.
Fill 0% on the layers.
Blending Options-Stroke
Apply again the already known instrument
and draw another circle of white color, like the next one.
Further we'll picture several circles that will be merged in a group later.
Apply this instrument again
to picture a circle with the demonstrated parameters.
Fill 0% on the layers.
Blending Options-Stroke
Make use again of the next tool
to represent another circle with the shown sizes next picture.

Fill 0% on the layers.
Blending Options-Stroke
Take the next instrument
to represent another circle. The sizes are the same with those form the next picture.
Fill 0% on the layers.
Blending Options-Stroke
The same instrument will be helpful in picturing one more circle with the parameters shown below.

Fill 0% on the layers.
Blending Options-Stroke
Merge now all the layers in a group, containing the recently pictured circles.
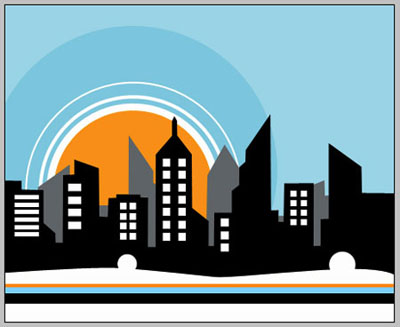
Copy the new made group 6 times and make use of the nest option Free Transform to minimize it where the picture indicates to do it and don't forget to place out correctly the layers.

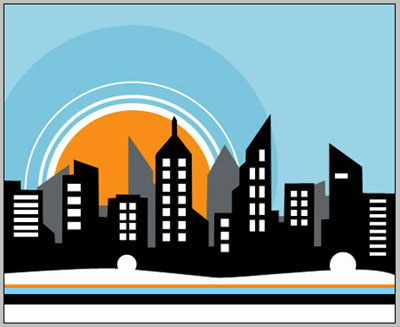
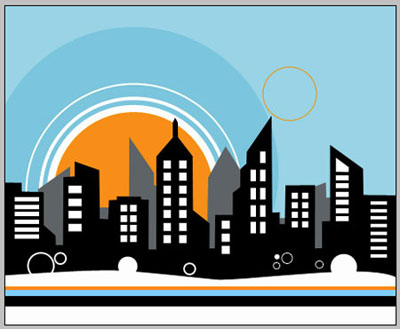
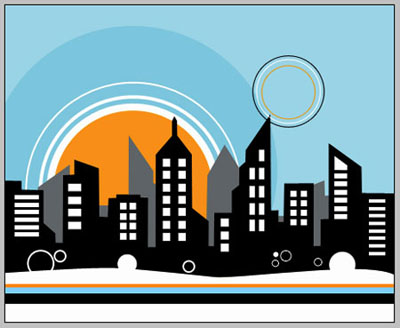
The final result!