Open a new file with 450x355 px and 300dpi.
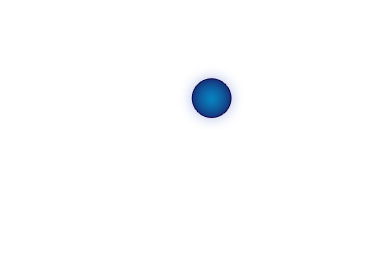
Using the shown tool
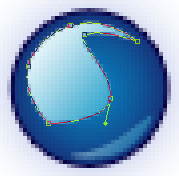
 try to represent a circle like that one indicated next picture. It must have the same parameters from below.
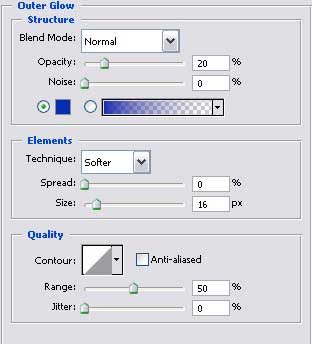
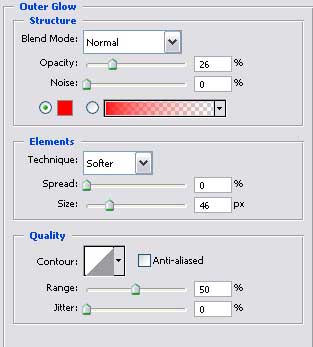
Blending Options-Outer Glow
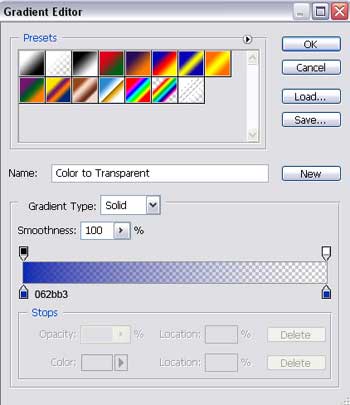
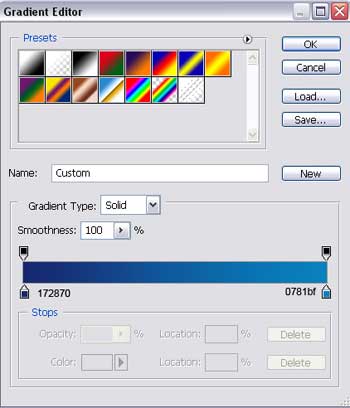
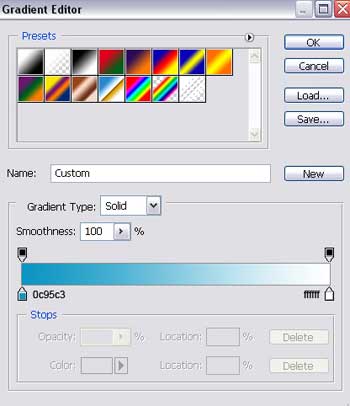
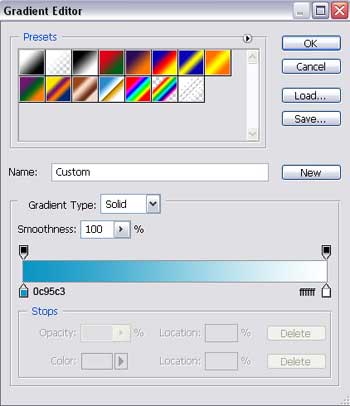
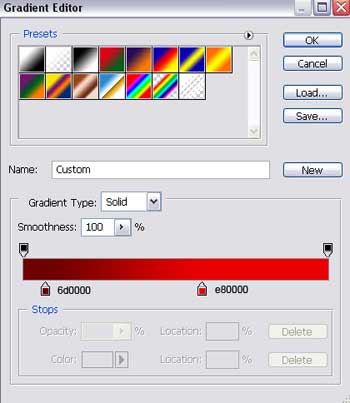
Gradient's parameters.
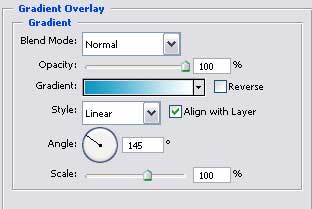
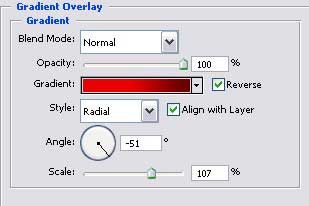
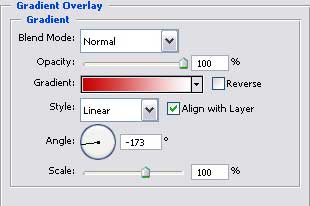
Blending Options-Gradient Overlay
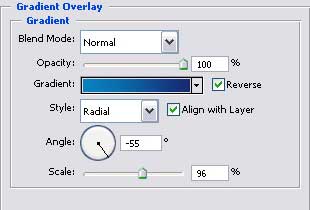
Gradient's parameters.
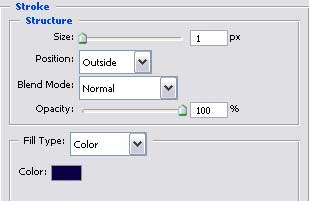
Blending Options-Stroke
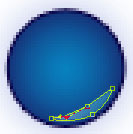
Take the next instrument
 and represent a figure with the parameters from below.

Blending Options-Gradient Overlay
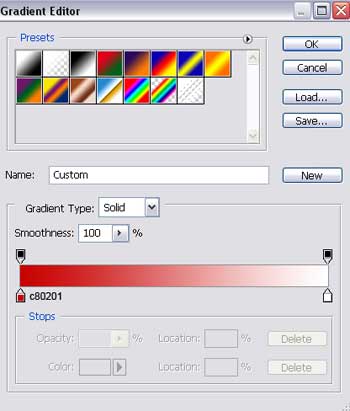
Gradient's parameters.
Applying the previous instrument
, make one more element with the sizes from next image.

Blending Options-Gradient Overlay
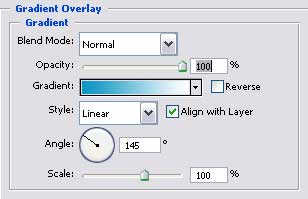
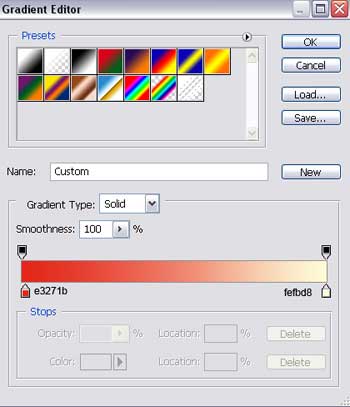
Gradient's parameters.
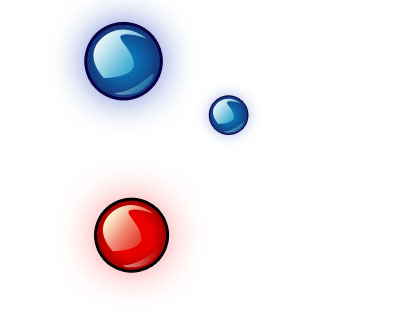
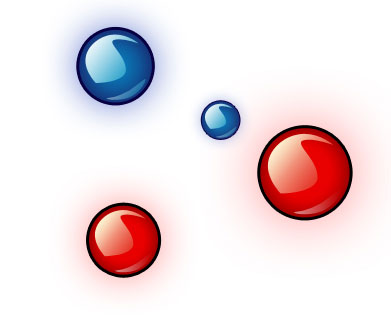
For your convenience, merge down all the layers containing the circle in a group.
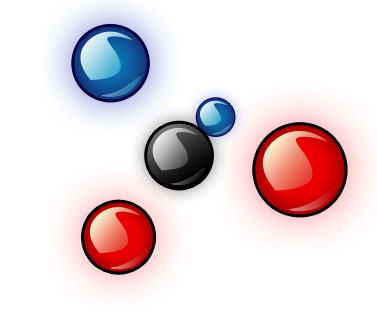
Copy this new made group 4 times and applying Free Transform selection, increase it or minimize it if it's necessary. Change the gradient also (the parameters are indicated for each particular case). Make everything look like in the next picture.

(Insert the Opacity of 37% in the Blending Options – Outer Glow parameter)
The next copy must have other parameters.
The parameters of the first layer (circle).
The parameters of the second layer (the lowest highlight)
The parameters of the third layer (the upper highlight)

Make a copy now of the recently changed group and apply Free Transform option to increase it. Place everything the same way it demonstrated below.
In the next copy we'll change the shown parameters below.