

First start by creating a new document (700 x 1000). After that select the rectangular marquee tool. Choose fixed size for the style and apply the width and height in the tools options bar see figure below for more details.
![]()
Click anywhere in the document to create the selection. Position the selection where you want it to be. Fill the selection with any color you want, we will be using white. Deselect and add a new layer style. Select gradient overlay, see figures below for more details.
![]()
![]()
Select the marquee tool again and use the settings seen in image below.
![]()
Once you have made your selection go to Select->Modify->Smooth and set the amount to 15. Then press the delete key to remove a piece of the badge, see figure below for example.
![]()
Then we will choose to add an inner glow, see figure below for details.

Next is a drop shadow. Just apply a normal drop shadow with the default settings.
Then add a stroke effect. The stroke settings should be color: black, size: 3, position: outside.
Finished!
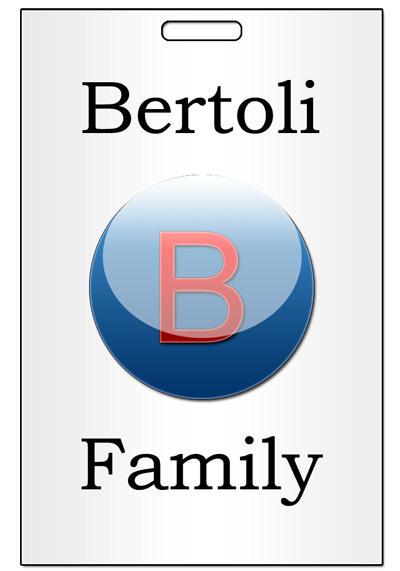
This is what you should have, I have also added an image to make it look more real.
Have Fun!
Don't forget I have Included the .psd file.