

Create a new document, create new layer, use Rectangular Marquee to make a selection, fill color like this:
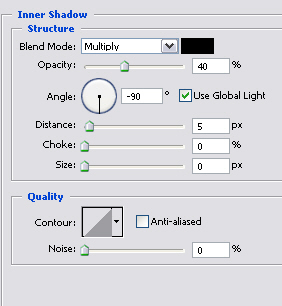
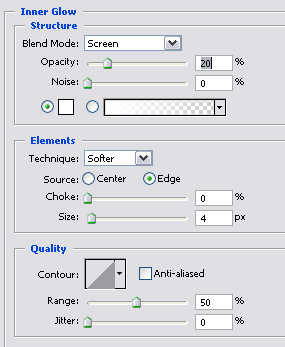
Blending Options this layer:
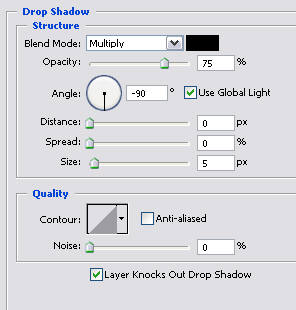
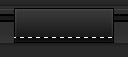
You will get the result:
![]()
Create a new layer, use Rectangular Marquee Tool to make a selection then fill color like the pictures below:
Fill color #444444:
Make a selection and fill it with black color:
Make a selection then fill it with color: #181818
You will get some lines like this:

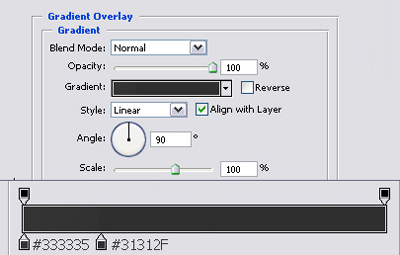
Create a new layer, use Rectangular Marquee to make selection then fill it with color like the picture below:
Blending Option this layer:
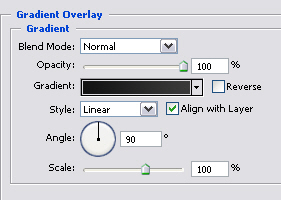

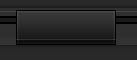
You will get the result:
Create a new layer, make selection, fill it with white color, adjust Opacity 10%
You will get:
Create a new layer, zoom out right angle and left angle of button, make selection, fill white color, Opacity 50%
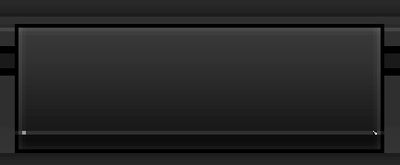
You will get:
Merge all layers, duplicate button then sort them like this:
Create a new layer, make selection like the picture below:

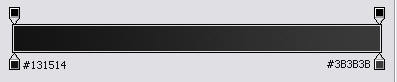
Use Linear Gradient (black color) draw from top to bottom:

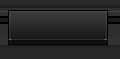
Create a new layer, make selection then fill it with #3D3D3D color:
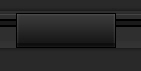
You will get the result:
Add some text to each button:

You've already finished this tutorial, good luck ^_^