

Create a new document with 800x600px
Create a new layer, fill background with color #BAA6A1
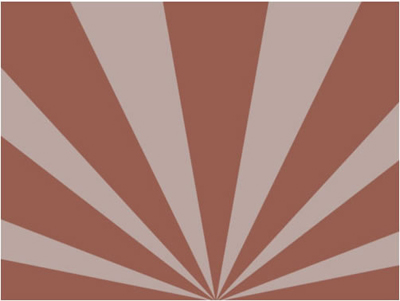
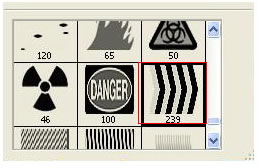
Open Brush tool then pick the brush below:

Set color #975D4F for brush then apply it to background like this:
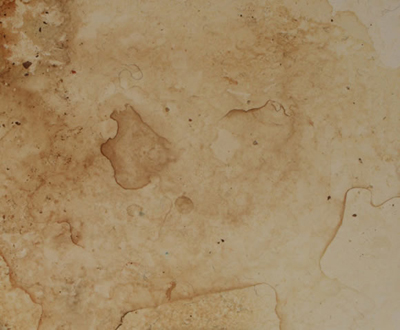
Open this texture:
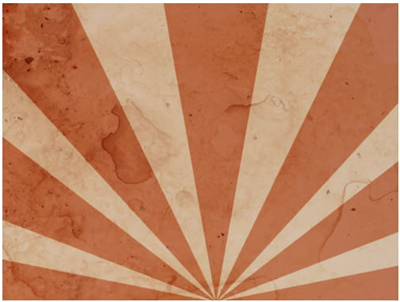
Move the texture to background then change blend mode to Overlay
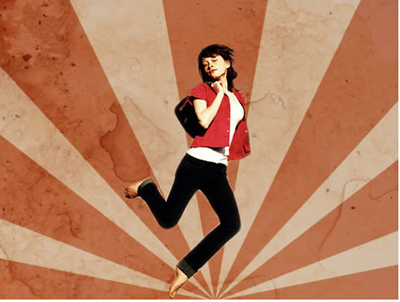
Continue open the photo below:
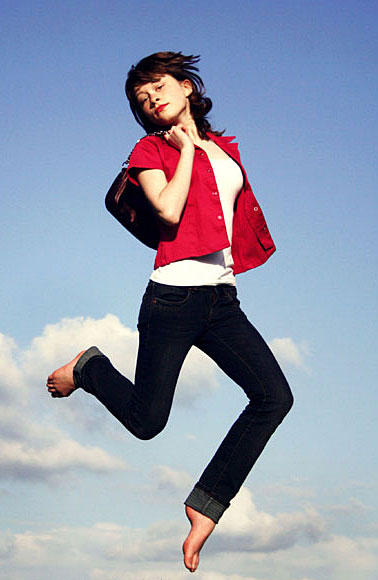
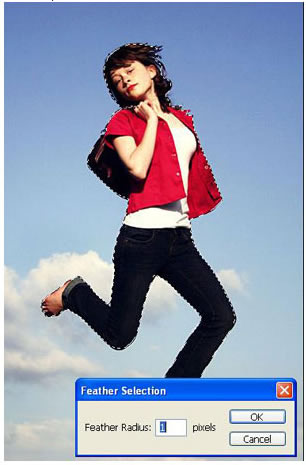
Use any cutting tools to cut the lady out of background:
Move the lady to background (remember to put layer "lady" under layer "texture")
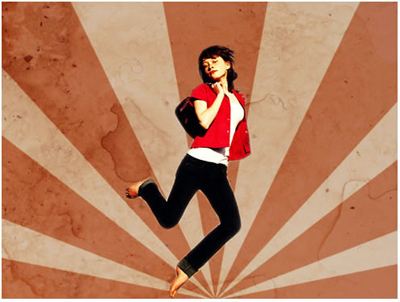
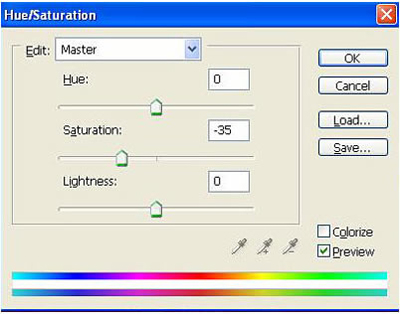
Press Ctrl+U to open Hue/ Saturation of layer "lady" and set something like this:
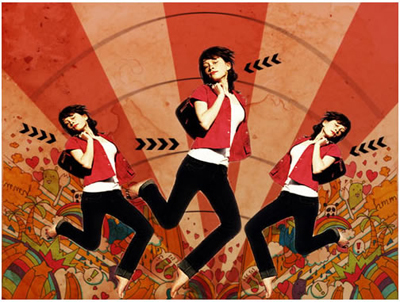
You will get:
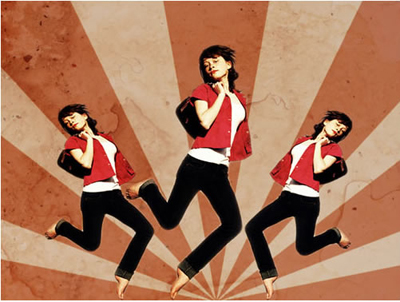
Duplicate layer "lady" to 2 layer copy, use Free Transform to revolve 2 layer copy like the picture below:
Open this graffiti picture:
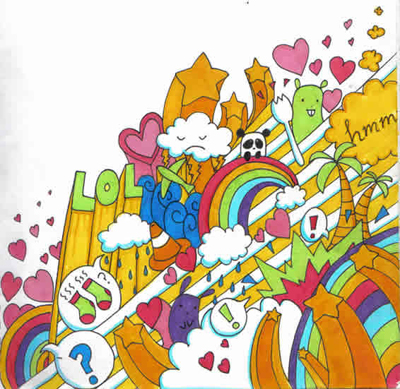
Cut out the graffiti, move it to background and apply blend mode Multiply:
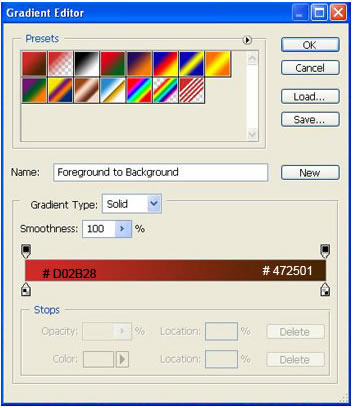
Open Gradient Editor, set color range like this:
Create a new layer and apply gradient to this layer, adjust Opacity 50%:

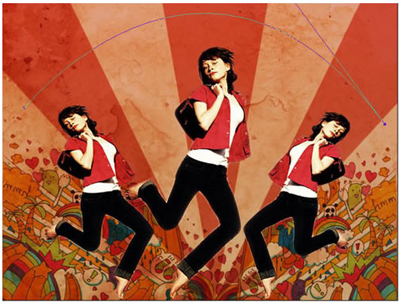
Use Pen tool to draw a curve like this:
Press right click -> Stroke, black color, 3px
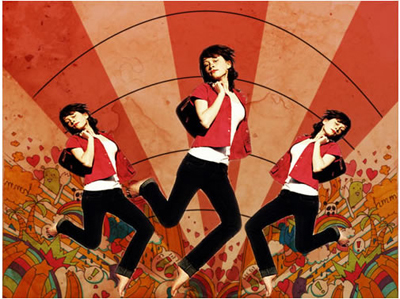
Duplicate the curve to 3 layer copy like this:
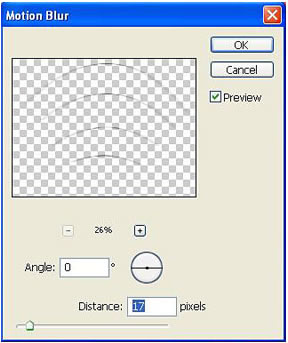
Merge Visible 4 curve layers to 1 layer, go to Filter -> Blur -> Motion Blur
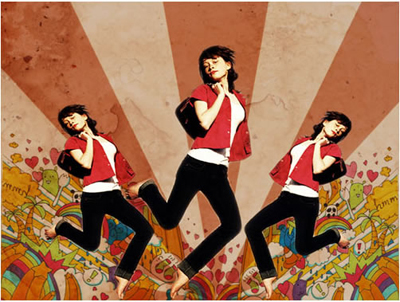
You will have:

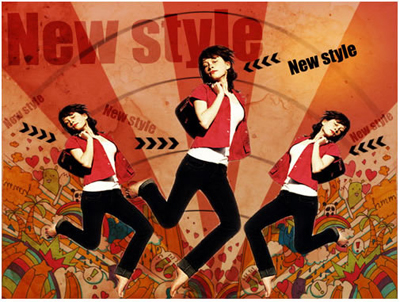
Open brush tool and pick this brush then apply it to picture:
Add some text to picture:
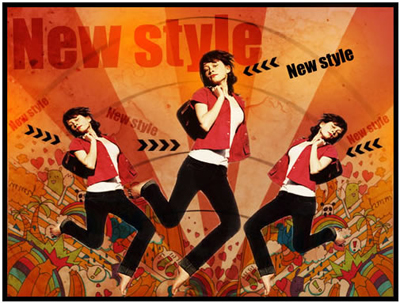
Create a new layer, pick soft brush, set color #FF7C00
Now you will make some light area on the picture by applying this brush to the picture, and you will get the final result:
These are the brushes needed for this tutorials, click here to download.