Create a new document, create a new layer, fill it with color #BEB095

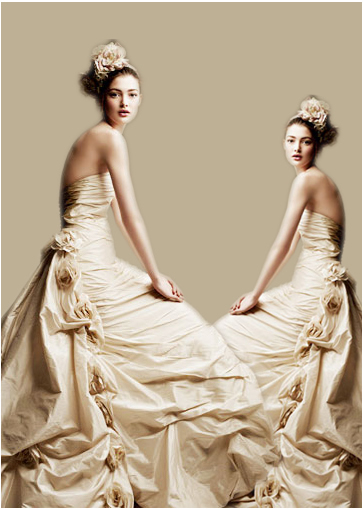
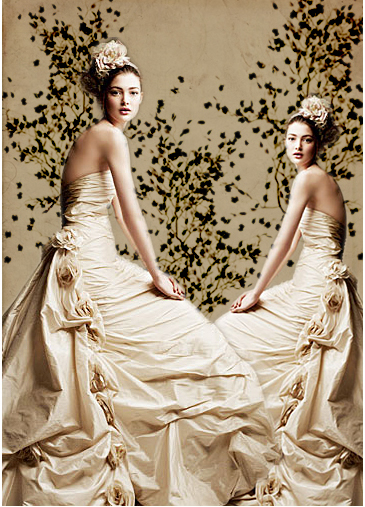
You can find any model that you like then put it into the background. In this tutorial, I chose this picture of lady
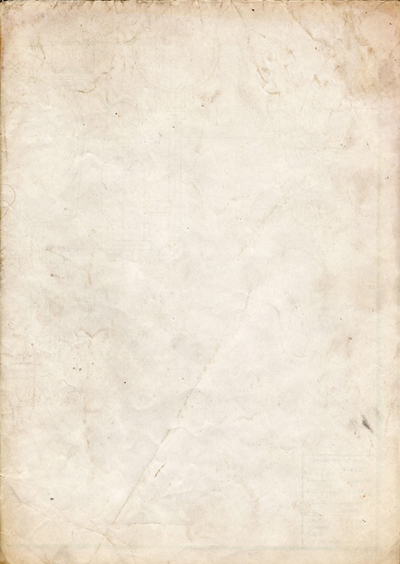
Open texture below then move it to background, change blend mode to Multiply
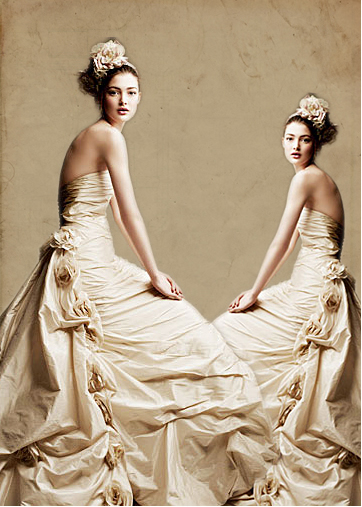
Continue open the picture below, use Magic Wand Tool to cut it out of background
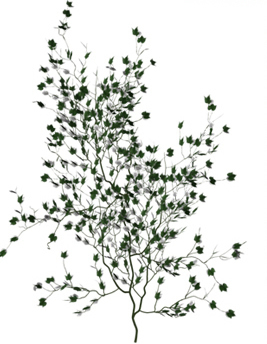
Move it to background, blend mode: Color Burn
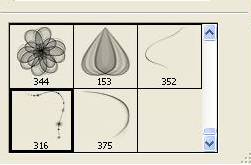
Open brush tool then pick this brush (Download the brush here).
Apply brush to the picture:
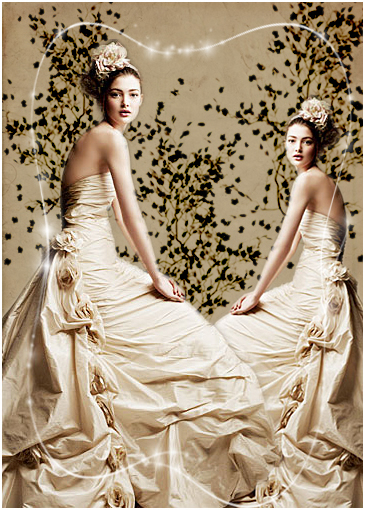
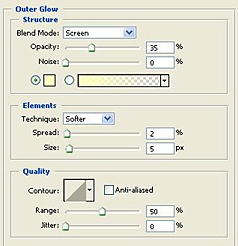
Go to Layer Style of brush to make the brush lighter
Use soft brush 200px with black color to draw around the picture like this:
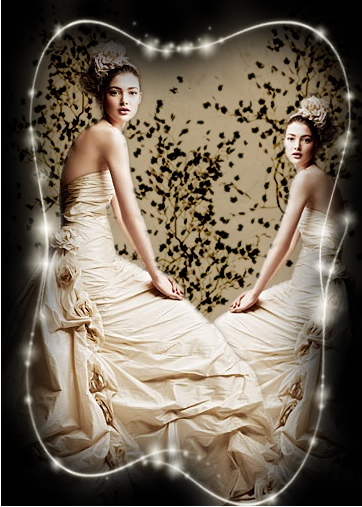
Duplicate the curve brush one more time:
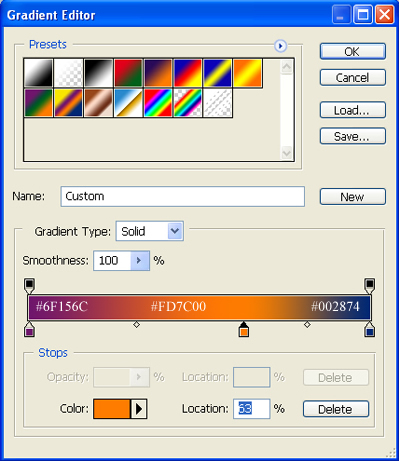
Go to Layer -> New Adjustment Layer -> Gradient Map
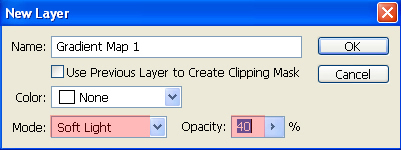
In Gradient Editor, you choose color range like this:
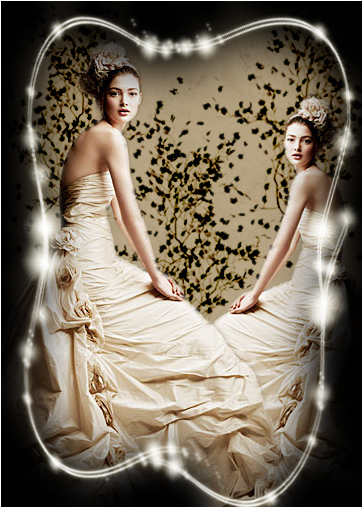
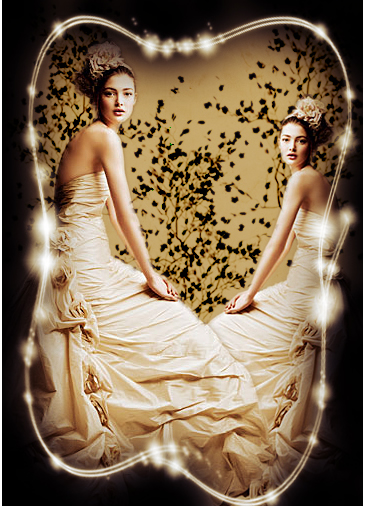
After applying gradient, you will get:
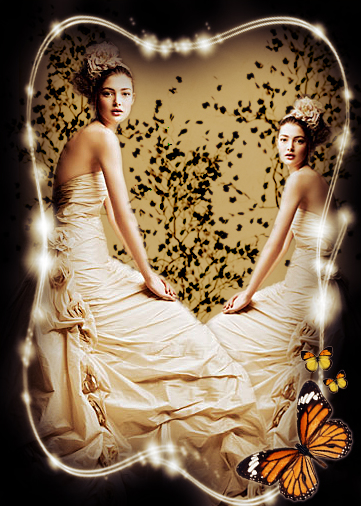
Open the butterfly pictures below:
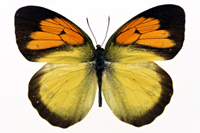
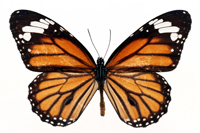
Cut them out of background then move them to the picture.
And this is my final result: