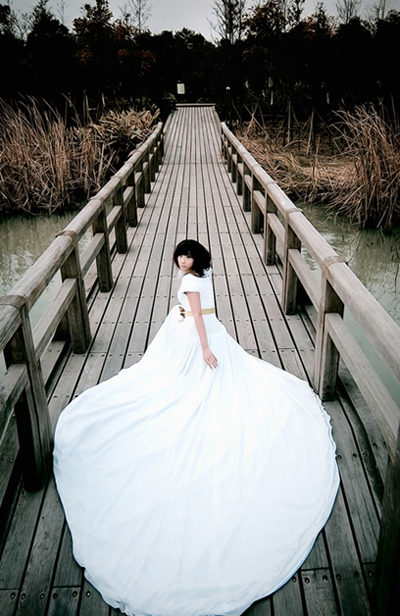
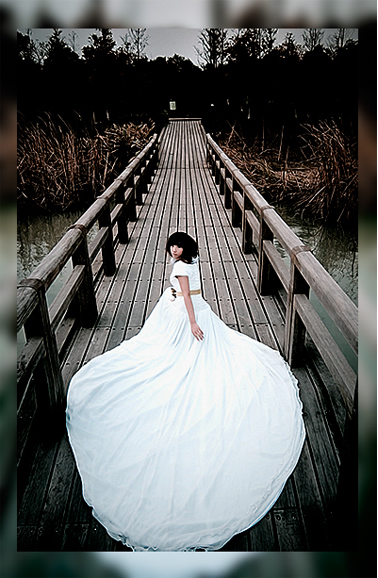
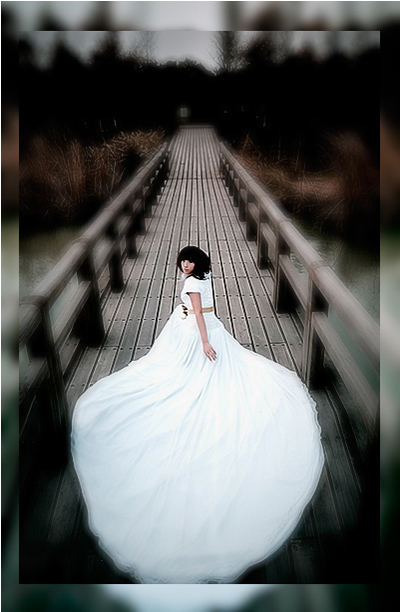
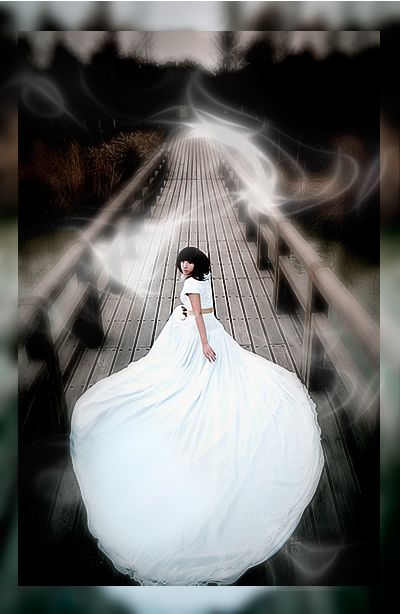
Open the picture below:
Press Ctrl+J to duplicate the background
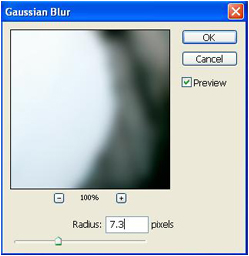
Select layer background, go to Filter -> Blur -> Gaussian blur
Select layer 1, use Free Transform to reduce the size of picture:
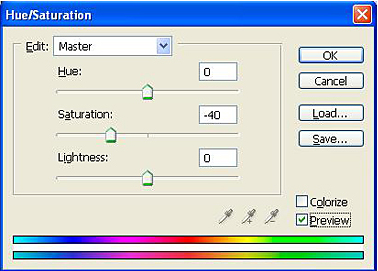
Press Ctrl+U to open Hue/Saturation
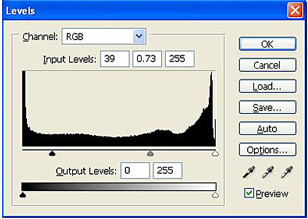
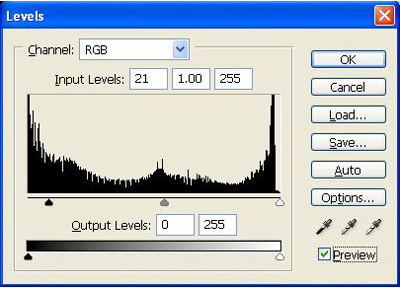
Then go to Levels (Ctrl+L)
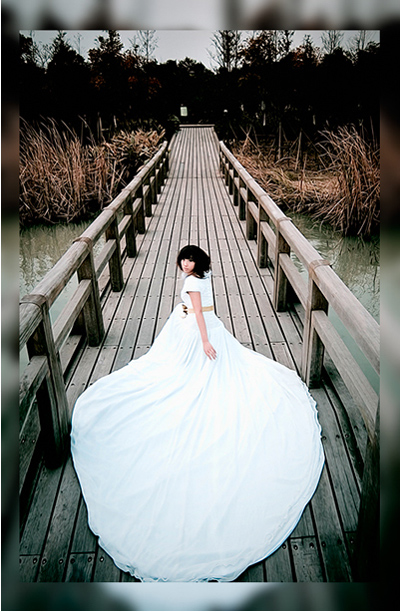
You will get:
Duplicate layer 1, you will have layer 1 copy.
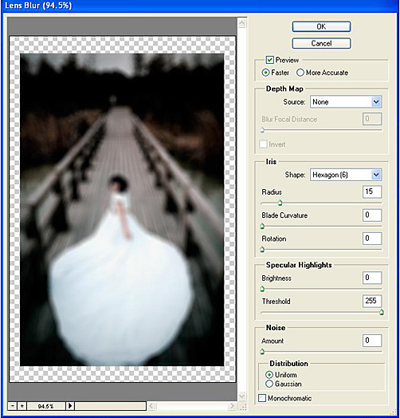
Select layer 1 copy, go to Filter -> Blue -> Lens Blur
At layer 1 copy, you click "add layer mask" icon
![]()
Hit D key to reset Background color and Foreground color to default (black and white). Choose soft brush 450px, apply this brush to the lady and some parts on the bridge to get the result like this:
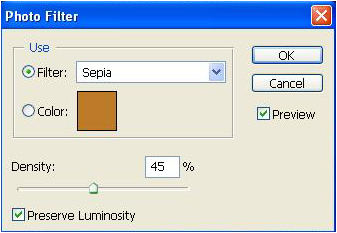
Go to Image -> Adjustments -> Photo Filter
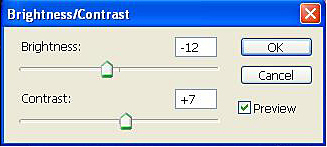
Continue to go to Image -> Adjustments -> Brightness/Contrast
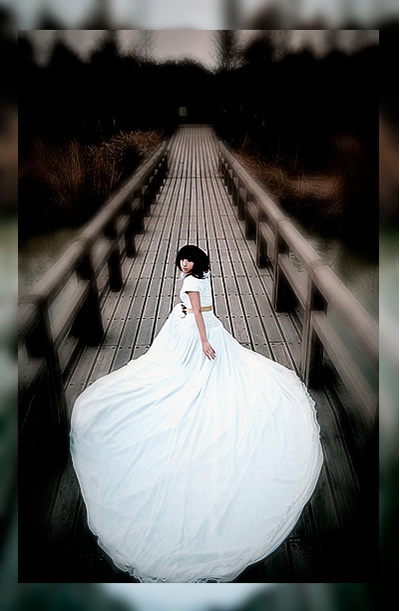
You will get the result like this:
Open Brush tool then choose this brush (download brush)

Apply this brush to the picture like this:
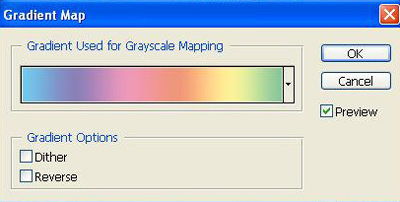
Go to Layer -> New adjustments layer -> Gradient map

Click Ok and a gradient map window will appear, you choose the color range like this:
Set opacity of brush layer: 70%
You will get:
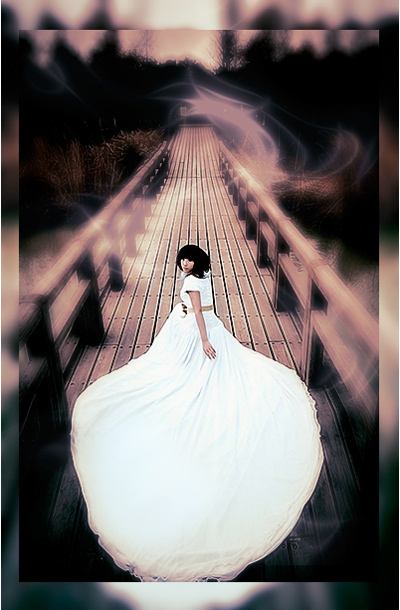
Go to Layer Style of layer 1, set Drop Shadow like this:

You will get the result:
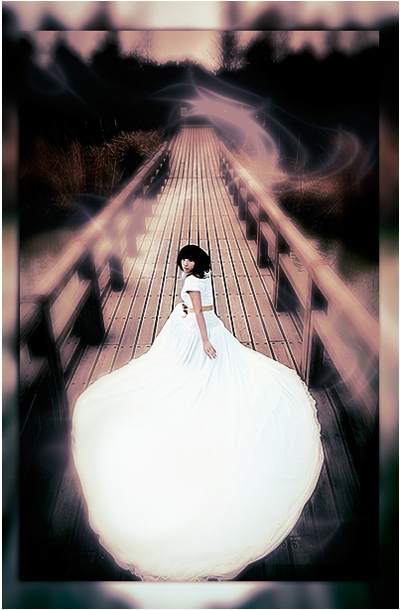
Press Ctrl+Shift+E to merge all layers, then press Ctrl+L to open Levels:
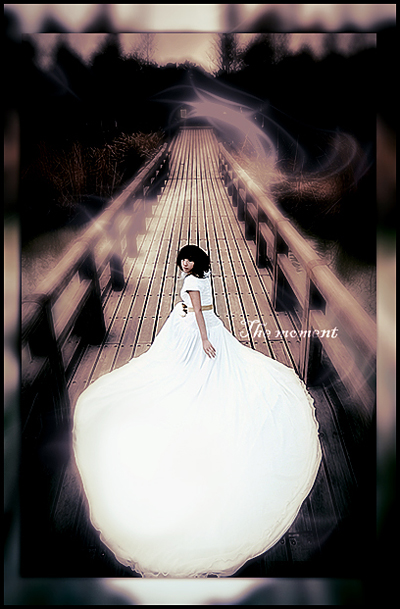
You can add some texts to the picture.
This is my final result: