

You'll need to use 3 photos to follow along, then can all be downloaded here.
Here's how to create this look
1. Bring up Photoshop, create a new document and size it to 500px by 700px.
2. Fill the background layer with all black.
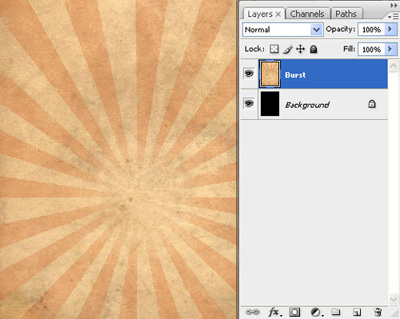
3. Open up the file you downloaded that is called 'Grunge Burst'. Grab the move tool (keyboard shortcut 'v') drag the Grunge Burst to the center of your collage document. This will place the burst on a new layer at the top of your layers. Rename this layer 'Burst'.
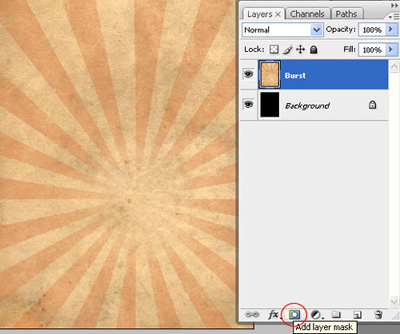
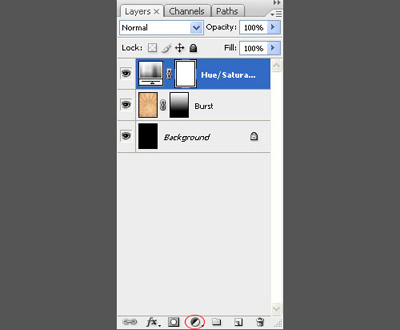
4. Add a layer mask to the 'Grunge' layer by clicking on the layer mask icon at the bottom of the layers palette.
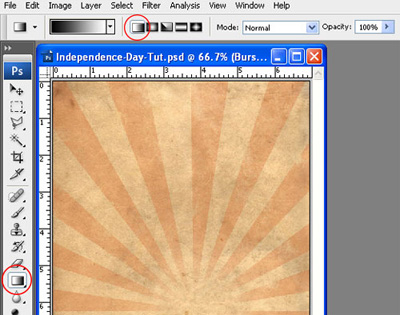
5. Hit 'd' on the keyboard to reset your colors to the default black and white. Grab the gradient tool, make sure it's set to a linear gradient.
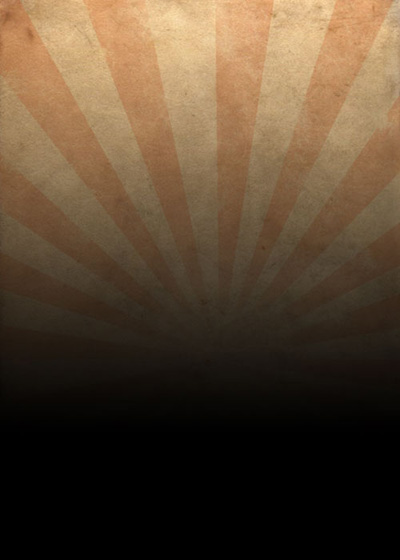
6. Hold down the shift key, click at the top center, and drag downward to reveal the some of the black background like below.
7. Let's make this burst a little more patriotic. Click to add a new adjustment layer, just in case we change our mind about the color layer. Select Hue/Saturation from the list that comes up.
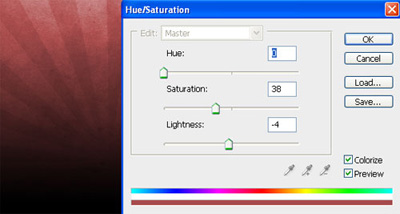
8. Check on colorize and preview so we can see our changes dynamically. Set the hue to 0, the saturation to 38 and the lightness to -4.
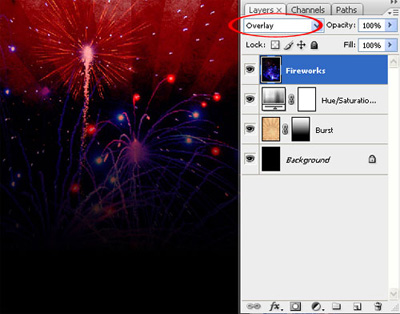
9. Open up the 'Fireworks' file you downloaded at the beginning. Click and drag it onto the top layer of your Collage. Hit 'ctrl, t' to bring up the free transform tool and stretch the image vertically to make it fit perfectly on top of the document. Hit enter to set the transformation.
10. Change the layer name to 'Fireworks' and the layer type to 'Overlay'.
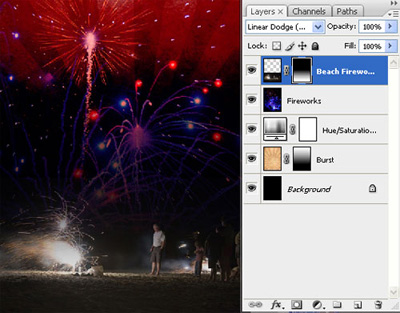
11. Open up 'Beach Fireworks' and drag it to the top layer. Rename this layer 'Beach Fireworks.'
12. Change the layer type to 'Linear Dodge'.
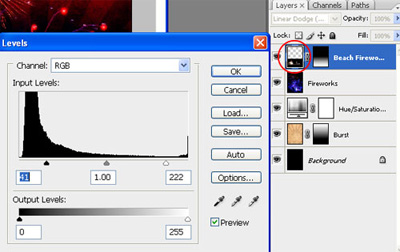
13. Click to add a new layer mask to the 'Beach Fireworks' layer. Grab the gradient tool, keep the settings the same as earlier. Start from the bottom and click and drag upward until you make the collage transition seamless.
14. I think this layer could be a little darker with even more contrast. Click on the thumbnail of the image in the 'Beach Fireworks' layer to get off of the mask and onto the image. Then, click Image->Adjustments>Levels. Drag the black and white sliders towards the middle.
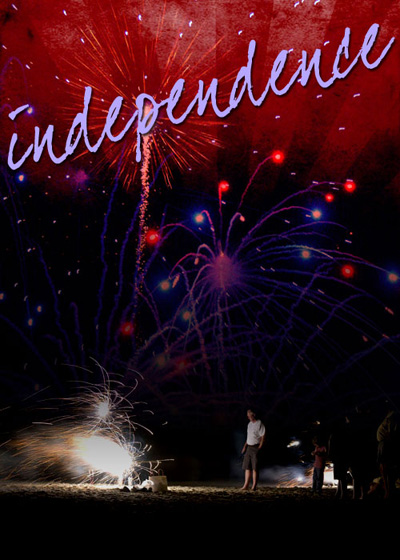
15. That's it for the background, now we just need to add the text. I used a font called 'dearJoe four', which can be found at dafont.com. When you have a font you'd like to use grab the text tool and type 'independence'. Change the color to a light blue, I used #b7a7ff. Double click on the text layer you just created to bring up the layer style window. Click to add a drop shadow, and change the settings to: change the angle to 50 degrees, the distance to 4, the spread to 5, and the size to 3. Click OK.
16. Hit 'ctrl, t' to transform the text, size it to your liking and rotate it some. Like below.
16. Repeat these steps to add the word 'day'. I made everything the same for this, I just resized it a little smaller.
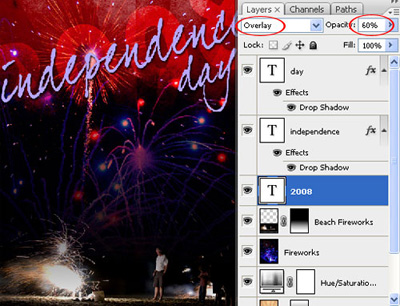
17. Click on the text tool again to add '2008′. Type it in and change the font to something fairly simple and heavy. I used another free font you can find at www.josbuivenga.demon.nl, it's called Delicious. In one of my previous articles I wrote about the 30 fonts I think every designer should have, and it's no coincidence these two made the list. Change the color to white, and drag the layer below 'day' and 'independence'.
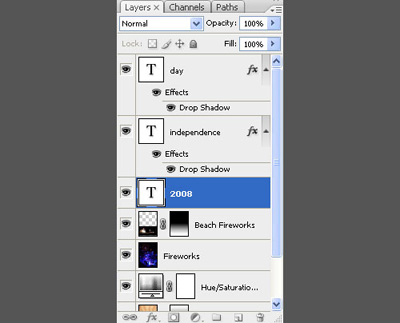
18. Hit 'ctrl, t' again and transform the text into place like below.
19. Change the layer mode to 'Overlay' and the opacity to 60%.
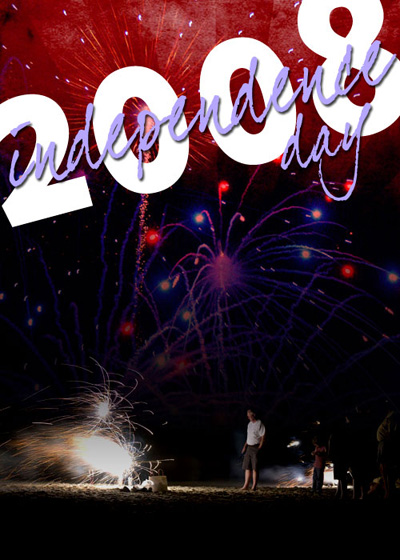
20. Do any finishing touches you may want to do. Here is my final product.
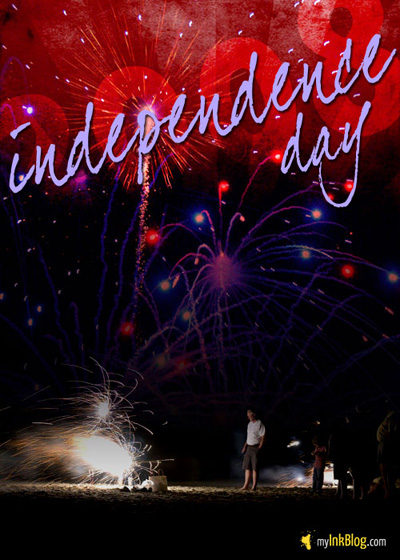
That's pretty much it, I hope you learned how much you can accomplish with masks and layer types.