It's necessary for the beginning to create a new file (File>New) of 512x512px and 72 dpi. Select the Ellipse Tool (U) and try to make an ellipse like the next one:

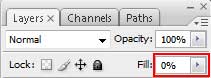
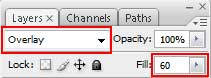
Fill 0% on the layer:
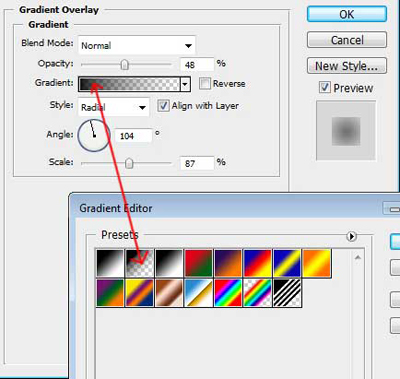
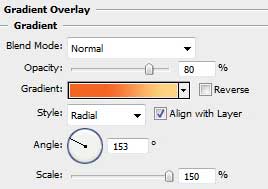
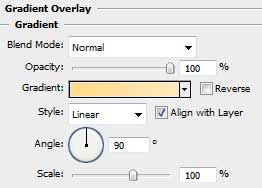
Select Blending Options>Gradient Overlay (making a mouse click on the processed layer on the layers' palette) setting the next demands as below:
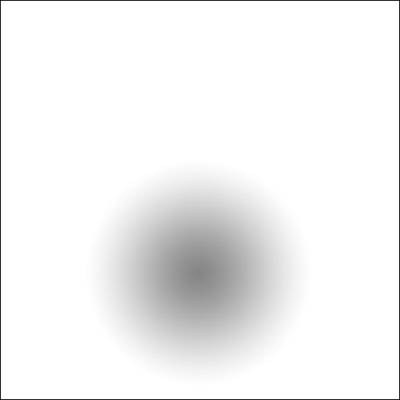
This element we should get. It'll represent the shadow of the icon:
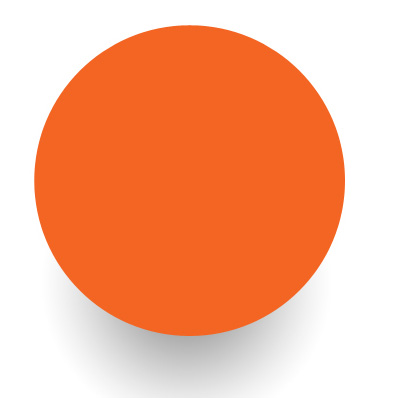
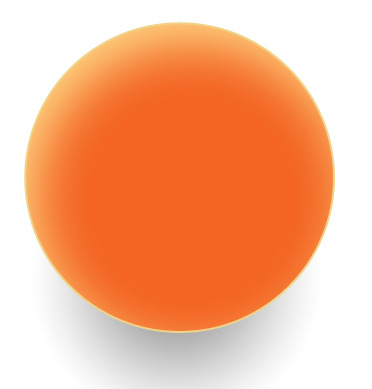
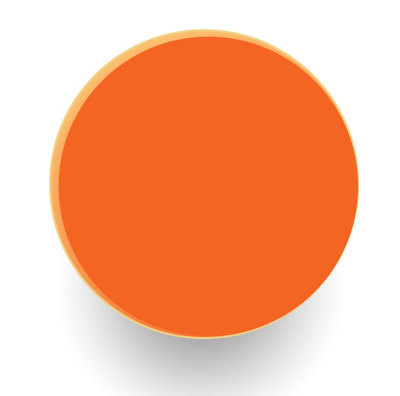
Select the same tool to draw now a circle, colored with #F36523
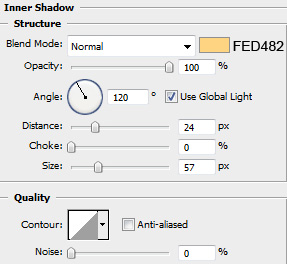
Select Blending Options>Inner Shadow and set the next parameters for the last layer:
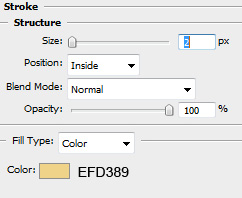
Blending Options>Stroke
Fill 0% for the layer. We should get the next result. It'll represent the basis of the icon:
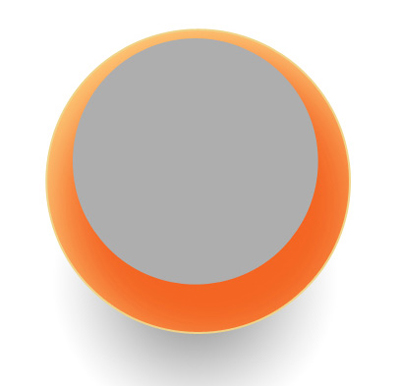
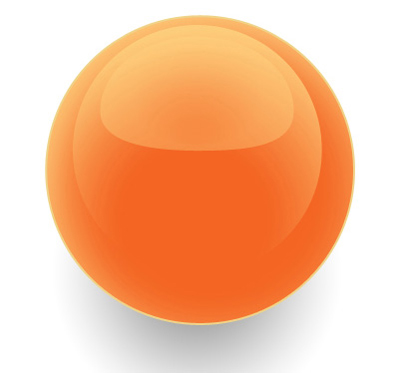
Next we shall represent one more circle:
Choose the next selection for the layer: Blending Options>Gradient Overlay.
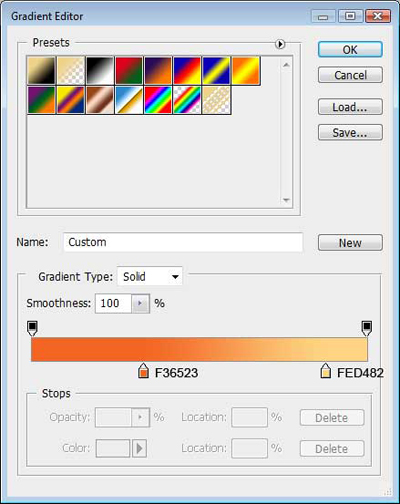
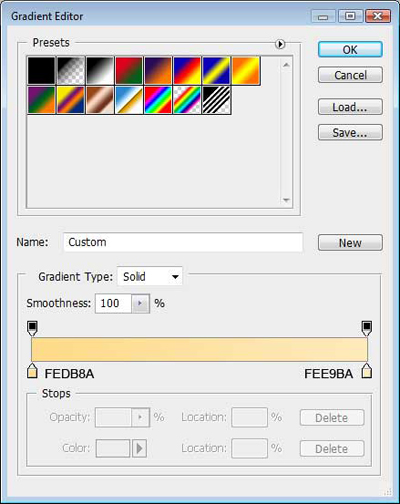
Gradient Editor:
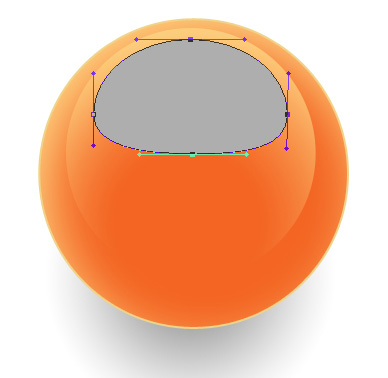
Now we need to draw another circle, but a circle that needs to be corrected with Direct Selection Tool (A), as it is shown below:
Select Blending Options>Inner Glow
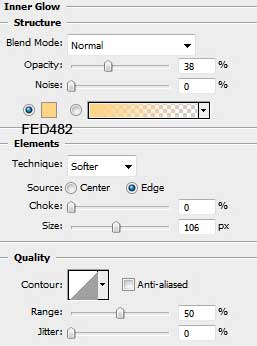
Fill 0% on the layer. This way we've got several highlights on the icon:
Let's represent one more circle colored with #F36523.
Mark out the last made circle, press Alt button and cut out a half – moon element:
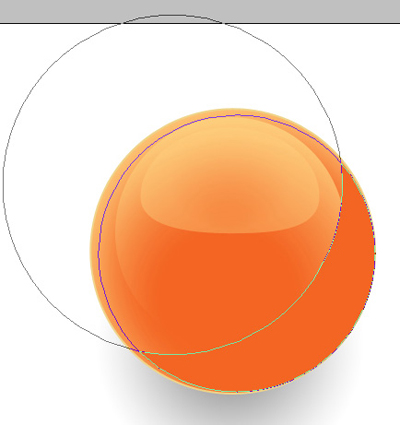
Set the next parameters:
We'll get this way a half – shadow:

Now we need to select the Ellipse Tool (U) and represent two circles of different sizes. The color's code is #FEDB8A.

Next we shall use the Rounded Rectangle Tool (U) (radius of 30 px) and represent a bended rounded line.
1. Represent the line.
2. Insert the points of the bend, applying the Add Anchor Point Tool, bending the element with Direct Selection Tool (A) and Convert Point Tool.
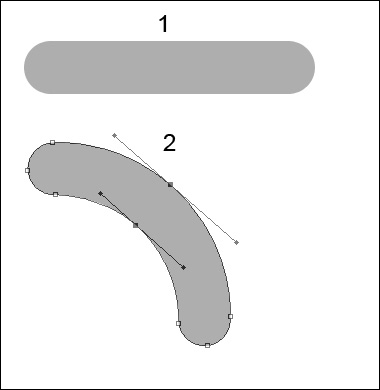
Place the new element as below:

Apply for the new layer Blending Options>Gradient Overlay:
Gradient Editor:
We'll get the next result!

Next we shall draw one more element, but a bigger one, having the icon finally finished!