Open photoshop and make a new canvas. I will use:
800 pixels width
800 pixels height
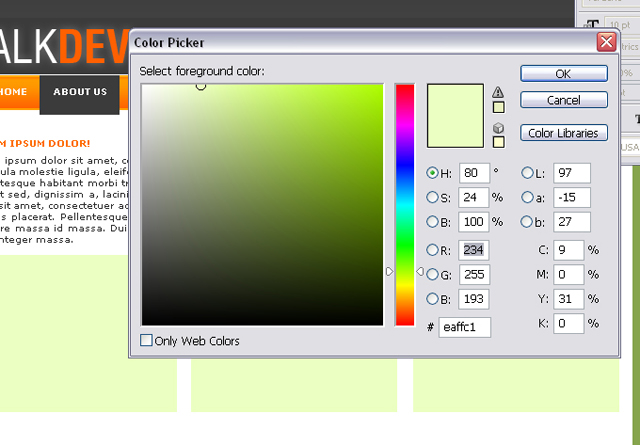
Now we will give the background some color. I will use this color:

The code is #86a44c
Now make a new layer and make a selection with the Rectangular Marqee Tool and fill it ( Edit- Fill) with dark grey.
This is my result:

Now make a new layer and make a selection again and fill it with a really contrasted orange. My result:

Now make a new layer. Make sure you still have your selection and pick the Brush Tool and click an airbrush about 1000pixels big and click once in the left corner. This is my result:

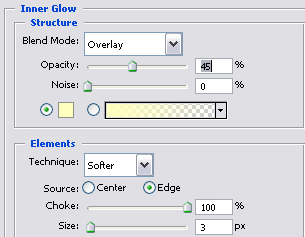
Now merge ( Edit- Merge) the top 2 layers together. Go to Layer- Layer Style- Inner Glow and use these settings:
Now insert some text. I will use verdana size 10 on bold.

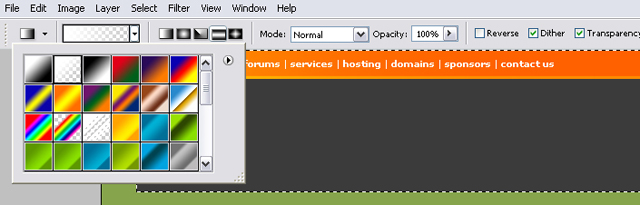
Now select the dark banner area layer. Click on the Magic Wand Tool and click on it, that should make you a selection.
Now make a new layer and use these gradients:
Now set the layer opacity to 20% and the Blending Mode to overlay. This is my result:
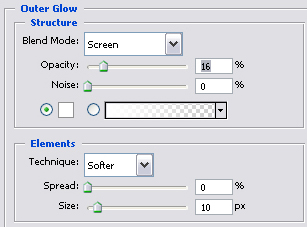
Now insert some text. Select the Type Tool and type in some text. I added an outer glow to the text ( Layer- Layer Style- Outer Glow). Use these settings:
This is my result so far:

Now make a new layer for the navigation and fill it with orange. Go to Layer- Layer Style- Gradient Overlay and use these settings:
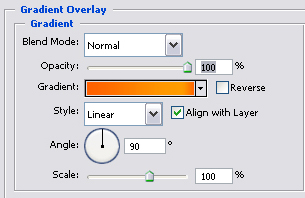
Now click on Inner Glow and use these settings:
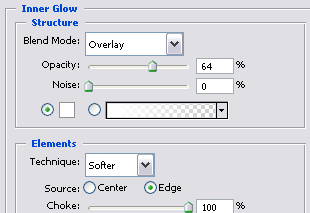
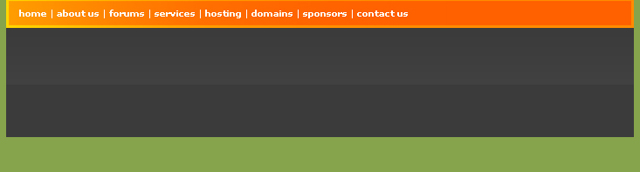
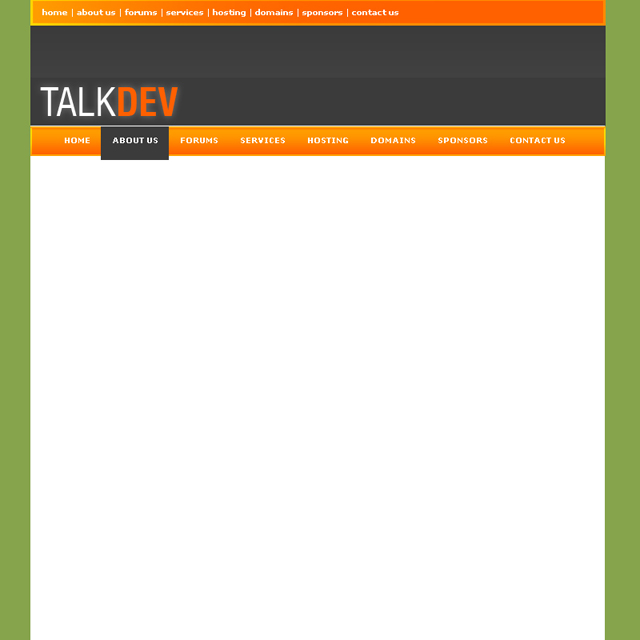
This is the result:

Make a new layer and make a selection with the Rectangular Marque Tool. This will be out rollover image. Fill it with dark grey.
Now i just inserted some navigation links. My result:
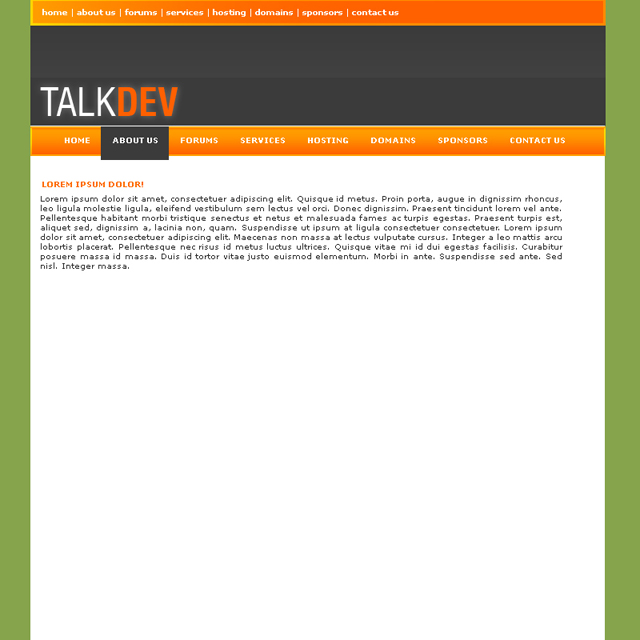
Now go to lipsum.com and copy some dummy text. Dummy text is used as a fill-up for templates so that you get a better idea on what the finished result will be. So copy some dummy text. Select the Type Tool and paste it in (Edit- Paste).
I used verdana on bold for the title and verdana on none for content text. My result:
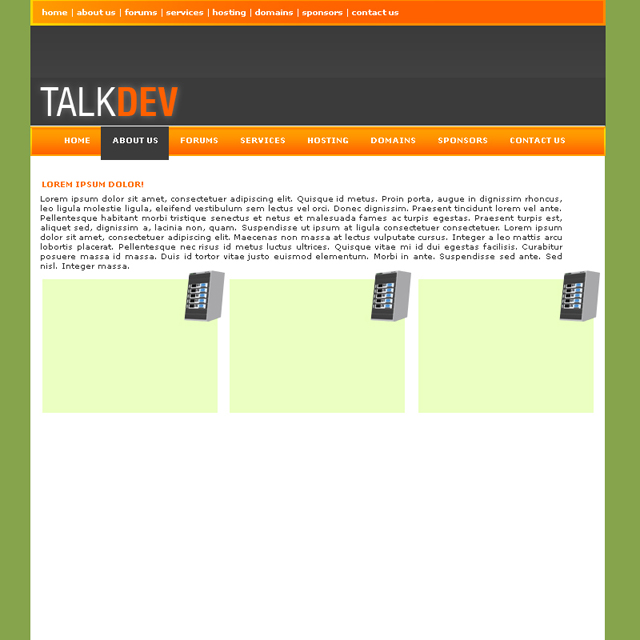
Now make a new layer. We will do the hosting plans. Make a selection for a box and fill it with these color.
The color code is #eaffc1
Now as you see i duplicated them and used the Move Tool to position them corretly.
Now i inserted some stocks. And used the duplicate layer ( Layer- Duplicate Layer ) and use the Move Tool to position them correctly. My result:
Now make a new layer and make a selection for the bar. Make sure your layer is under the servers. Now fill it and go to Layer- Layer Style- Gradient Overlay and use the same settings then for the navigation but use the angle "0". Also use the same Inner Glow settings. My result:
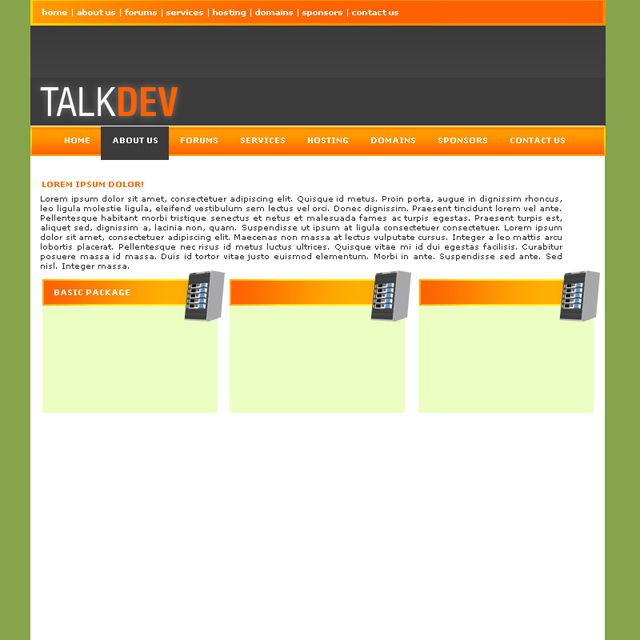
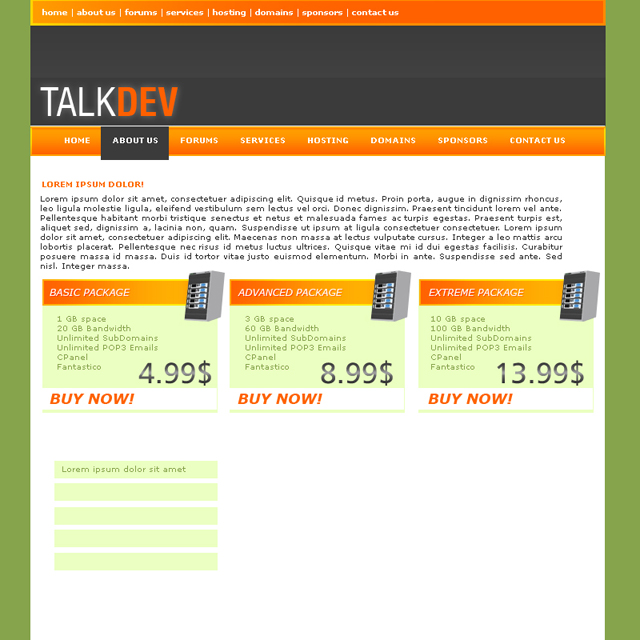
Now insert some text for the boxes. I will use a darker green color, font verdana on none. My result:
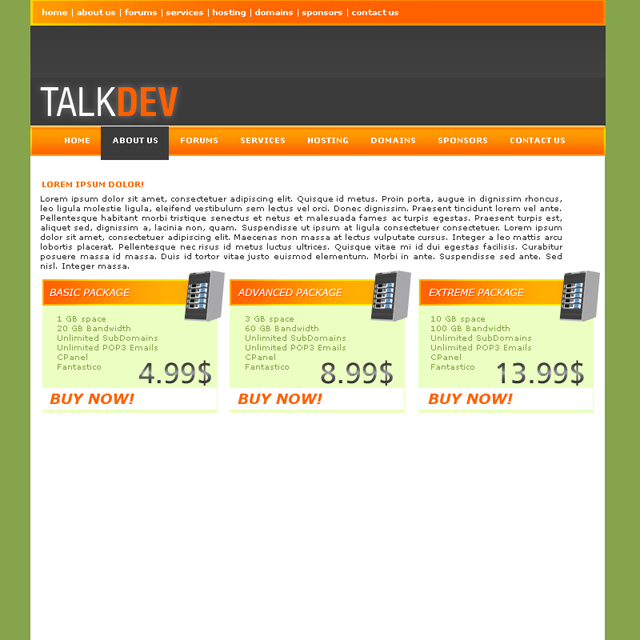
For the prices i used Gradient Overlay again. I won't show you my gradient settings couse the point is to do it yourself.
Now make a new layer and make a bar. Use the same settings then for the hosting plans. Now insert some dummy text again.
My result:
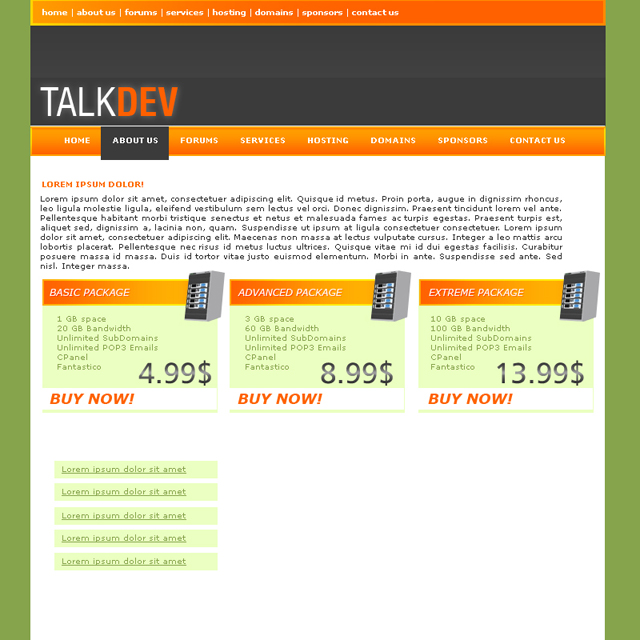
As you can see the text looks boring now so we will spice it up. Mark the text and go to Window- Character and click the "T" icon.

Now just duplicate the text layer 5 times and move it to the bars. My result:
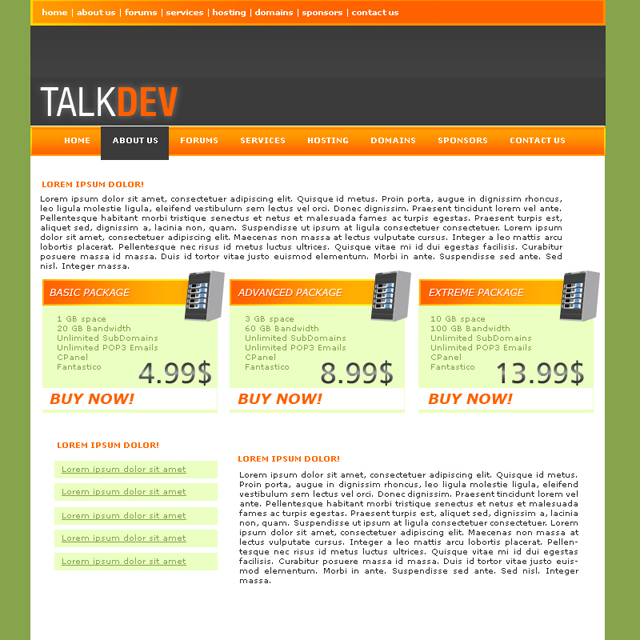
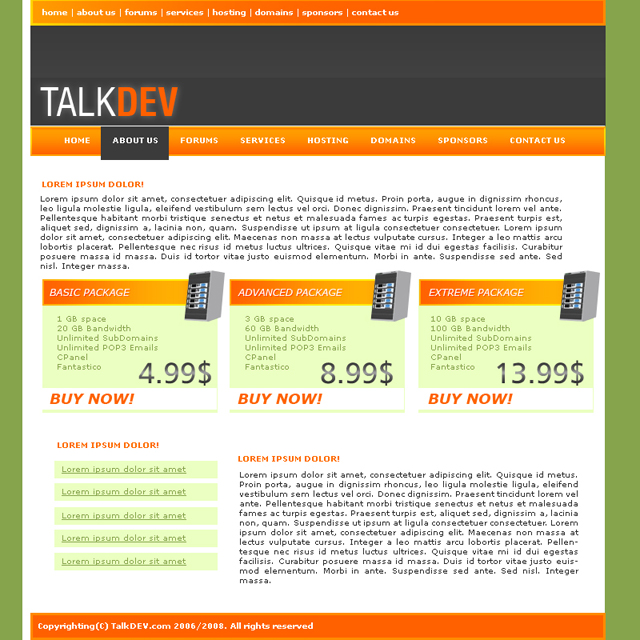
Now do some more dummy text in the bottom right corner. My result:
Looking nice so far huh? Now select the Move Tool and tick the Auto Select Layer and click on the top orange part. Duplicate it and untick the Auto Select layer. Move it to the very bottom of the template and insert some text. My result:
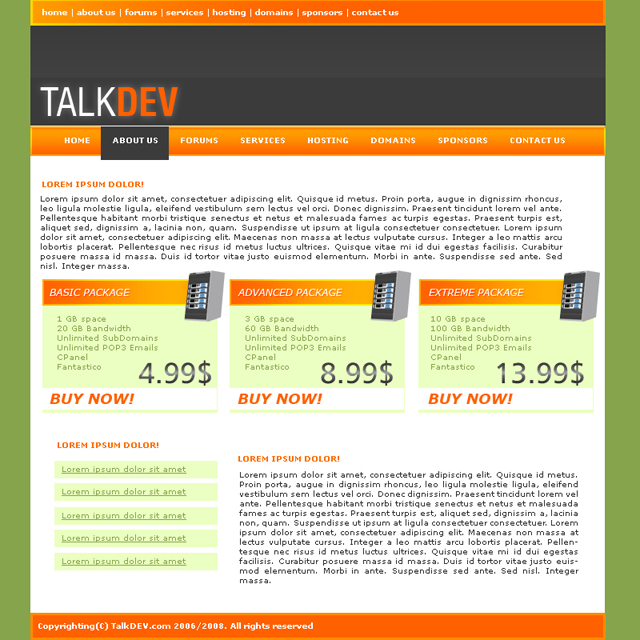
Now make a new layer above the background layer (1st layer) and make a selection and fill it with white. My result:
Notice the whire line on the left side of the template? Set the layer to overlay and on 20% opacity. Now duplicate the layer
and move it on the other side of the template.
There you have it. Template finished! Now you just need to code it and your good to go!
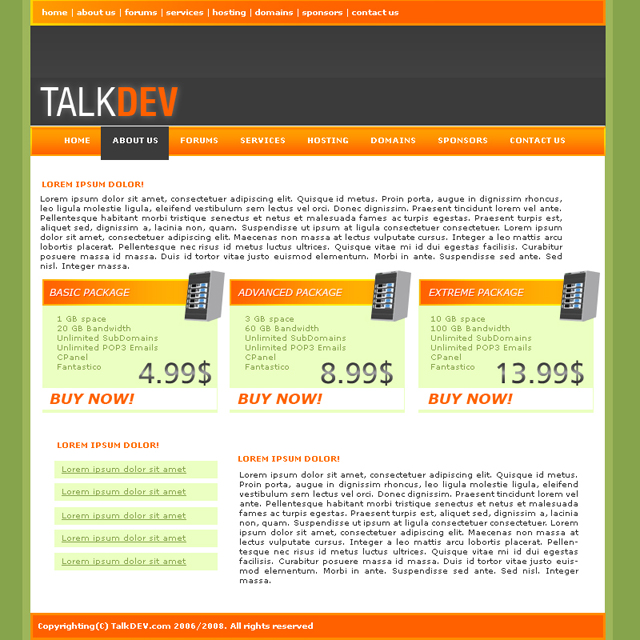
You now know how to design a website in photoshop!