


Firstly we'll create a new file (File>New) of 1280x1024 px and 72 dpi.
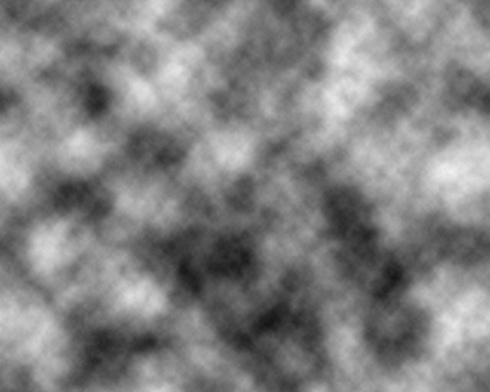
By default Foreground color - black and background color - white. Then select out of the menu the solution Filter>Render>Clouds.
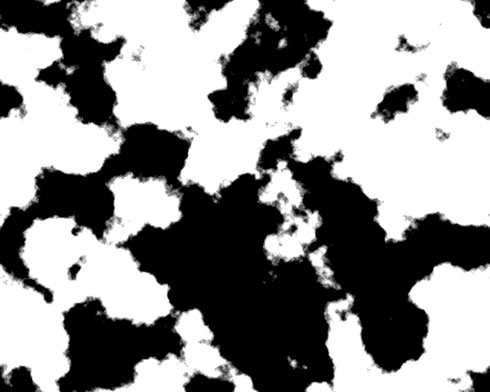
Next we'll press the combination of buttons Ctrl+M. We'll get the dialog box where applying the eyedropper, is possible to obtain a contrast on the edges.
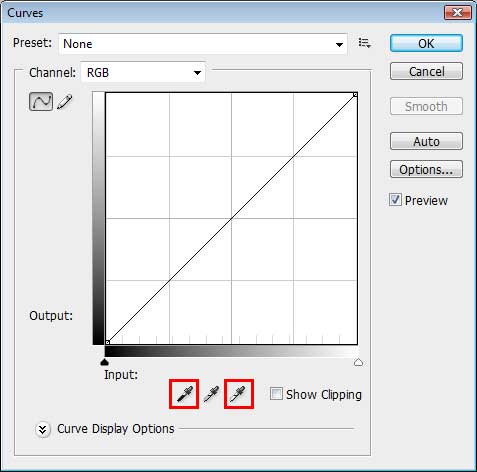
We must get the picture from below:
Next we'll select the next option Filter> Filter Gallery… and set the adjustments as it is represented next table:
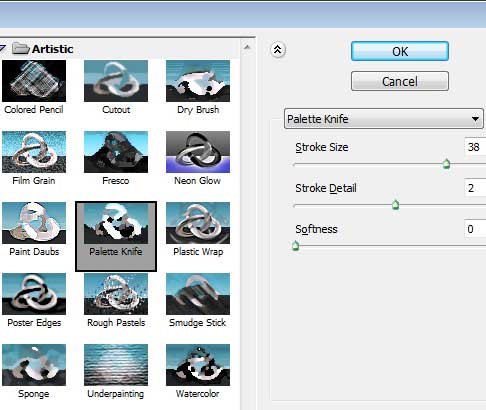
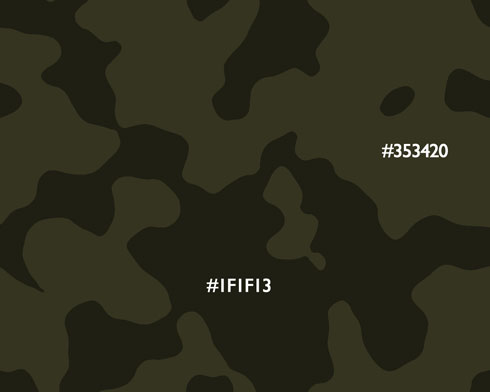
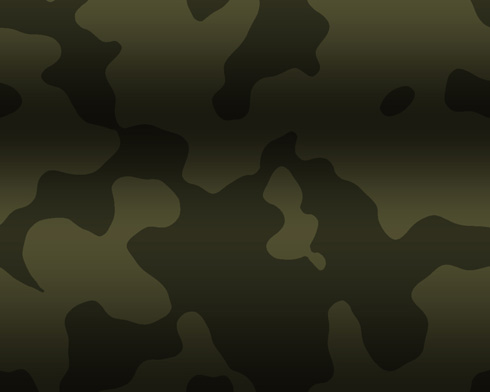
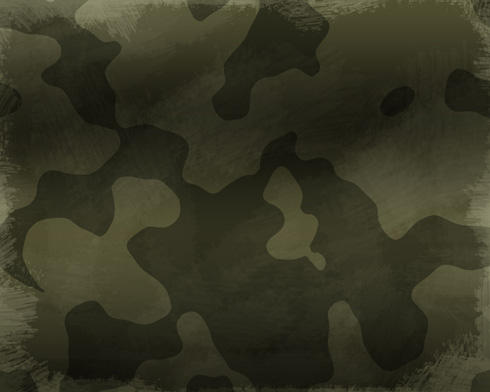
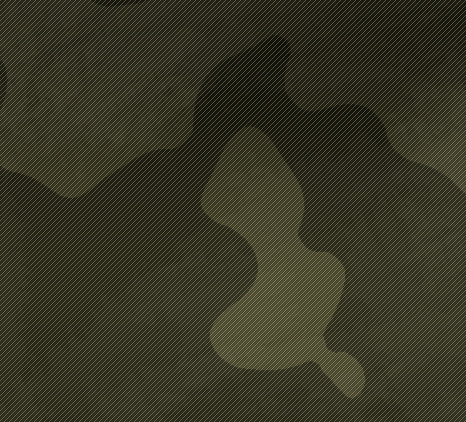
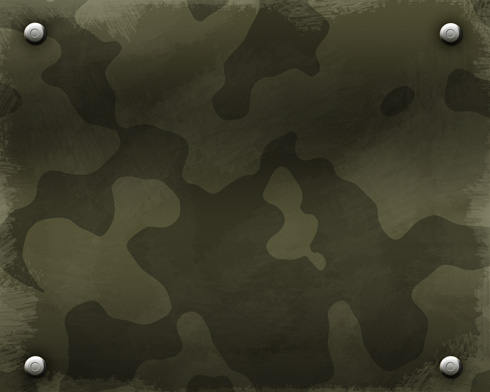
Applying this filter may transform the picture, getting the camouflage ornament.

Choose next the Paint Bucket Tool (G) to fill the spots with two colors, demonstrated below.
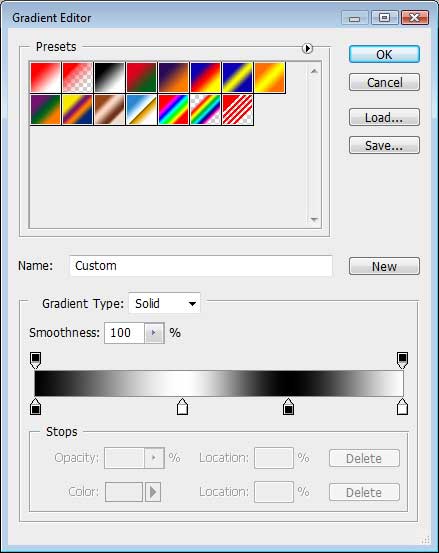
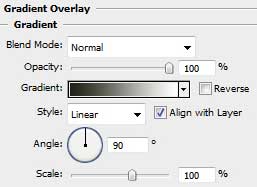
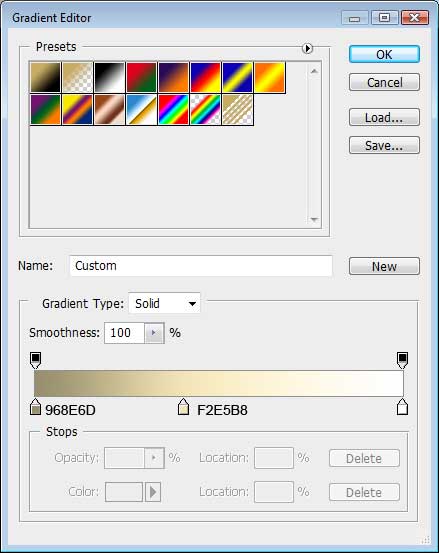
Next select the Rectangle Tool (U) to stretch out the figure on the whole canvas. Choose after that the Blending Options>Gradient Overlay (by making a mouse click on this layer on the layer's palette) and set the next demonstrated solutions.
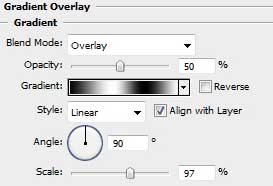
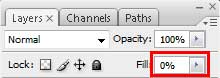
Set the layer's Fill 0% also on the layers' palette.
We'll get the shadows:
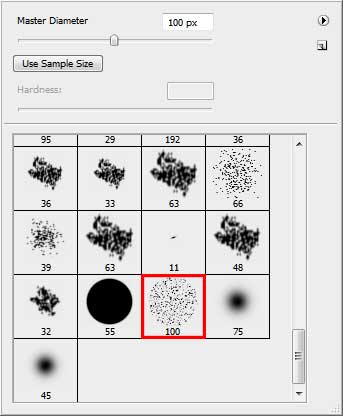
Create next a new layer on which we should apply the Brush Tool (B) to represent a texture like the next one:
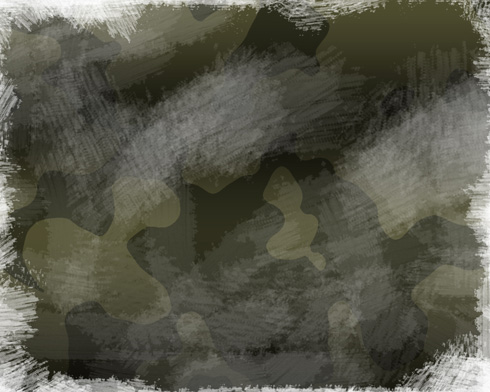
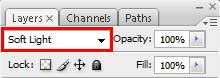
Select the next shown Blending Mode for the layer we work with:
Create a new file of 5x5 px and 72 dpi. On this new layer we'll apply the Pencil Tool (B) to make a horizontal line made out of pixels. The color's code is #484232. This file needs to be saved - Edit>Define Pattern.
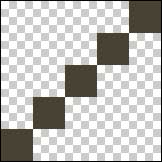
Next select Edit>Fill. Here we'll choose our saved pattern and press OK. The texture multiplies itself, getting something like a net.
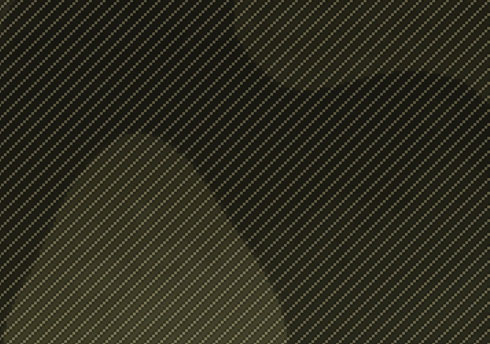
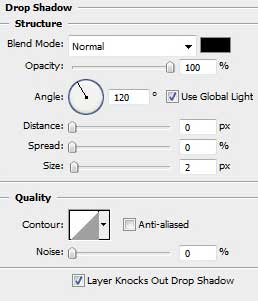
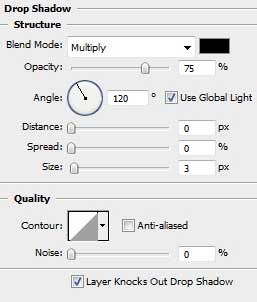
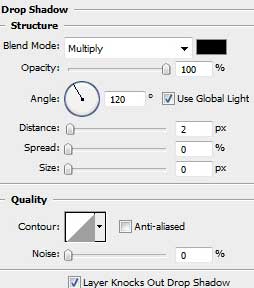
Next we'll represent the shadow for the texture: Blending Options>Drop Shadow
Start creating the metallic rivet on the picture. Here you may find an example of its representation by steps.
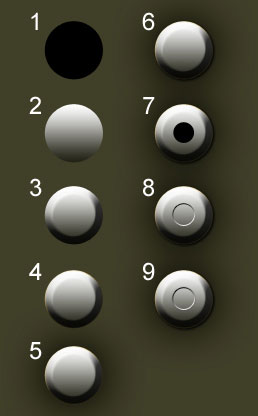
1. Using the Ellipse Tool (U), try to make a circle for the beginning.
2. Create the same gradient demonstrated next table:
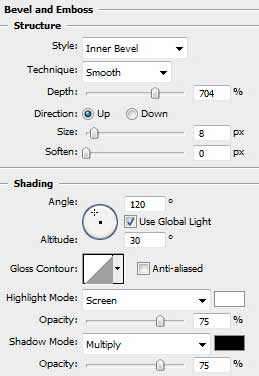
3. Give it some volume.
4. The color's reflex…
5. The shadow…
6. The falling shadow…
7. Try representing a circle as we did with the first one, but this one should be smaller.
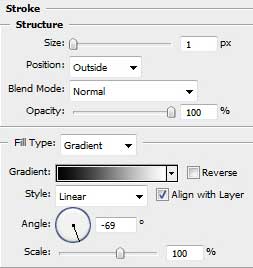
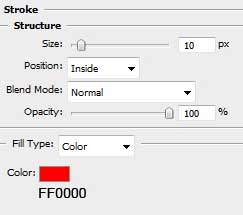
8. Represent its contour.
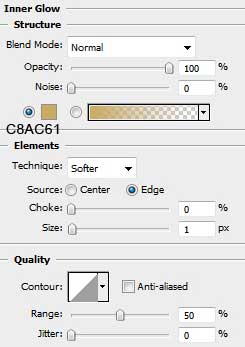
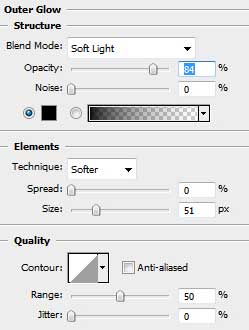
9. Select Drop Shadow option on this layer. Fill 0% on the same layer.
The new rivets we've got should be positioned on the picture's corners.
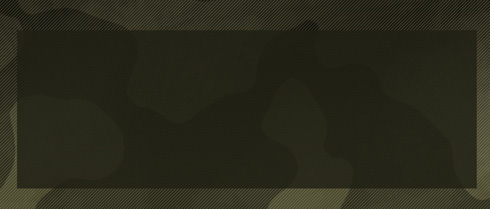
Choose again the Rectangle Tool (U) to create a rectangle of black color. Fill 80% for this last layer.
Next we'll situate the text with the parameters from below on the last made element.
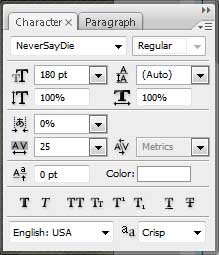
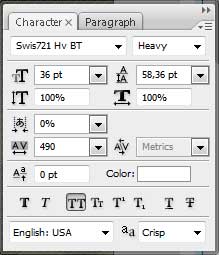
… and the layer adjustments.
On this stage we'll get the next result, shown below:

Represent one more rectangle, applying the same method described above:
Represent its shadow:

… and the red mount. Fill 0% for the layer's transparency.
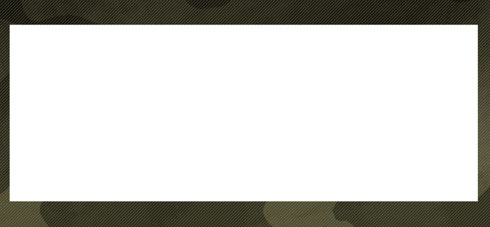
We'll get a kind of frame like the next one. Create one more new layer and put it together with the layer containing the frame. Mark them out and press Ctrl+E. This way we'll rasterize the layer.

Applying the Eraser Tool (E), it's possible to erase the major part of the frame, leaving only its corners.
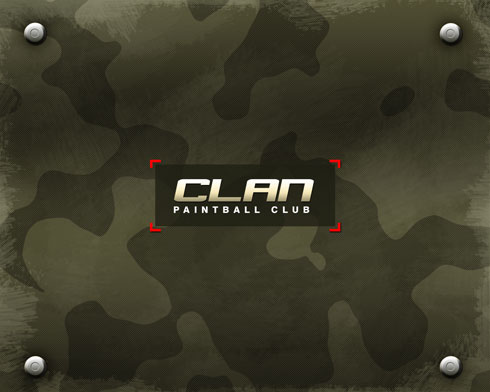
Finished!