


Create firstly a new file (File>New) of 1280x1024 px and 72 dpi. This layer needs to be fill with the color #280025, for this operation we'll choose the Paint Bucket Tool (G).

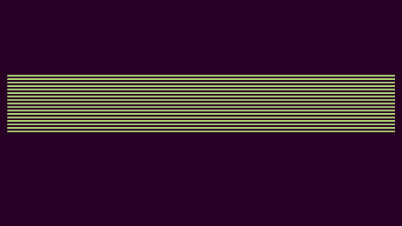
Next step select the Line Tool (U) and represent seventeen lines with 1 px distance between them as in the example below.
Mark out all these layers on the layers' palette by pressing Shift button and then pressing Ctrl+E (Merge Down). This way we put together all the layers that we did.
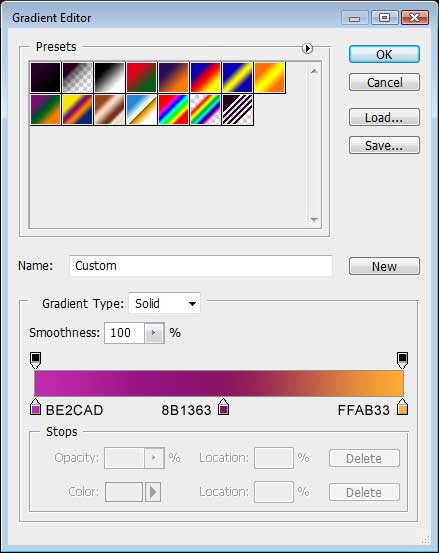
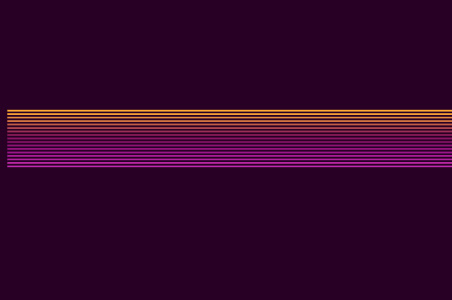
Next select Blending Options>Gradient Overlay by making a mouse click on the layer we work with on the layers' palette. Set the next demonstrated gradient's colors as in the example below.
We'll get the result from below. Then we have to create a new layer which needs to be processed the same way described above in putting together the lines' layers.
Using the option Free Transform (right click on the picture) we'll twist on the lines, choosing the Skew selection.
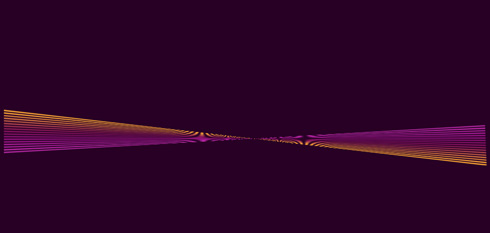
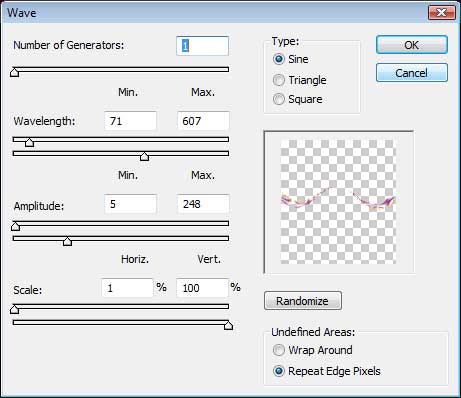
Next select the option from here: Filter>Distort>Wave… out of the top panel and set everything the same way demonstrated next table.
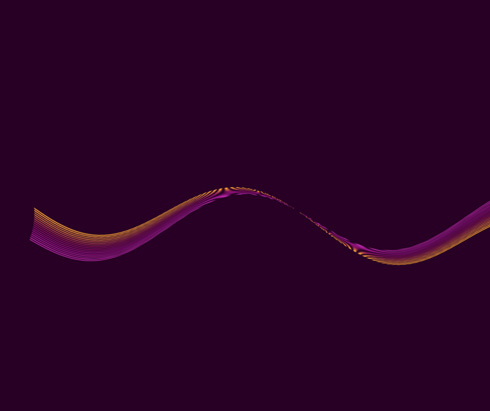
We'll get a wavy line like the next one:
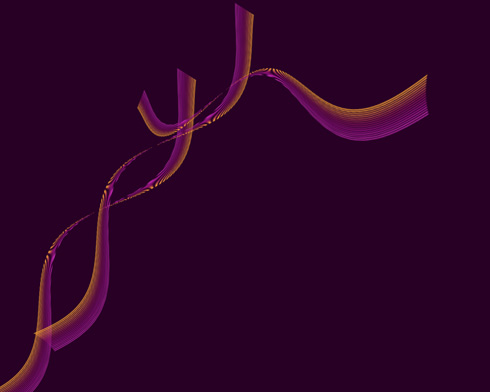
Combining and transforming these lines, we may get an ornament like the one shown next image:

Using the Eraser Tool (E), it's possible to erase the unnecessary elements on the lines' edges.
We'll get the next result:

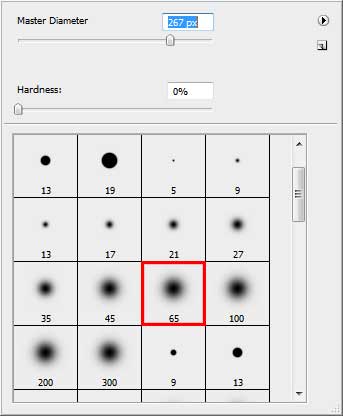
Select now the Brush Tool (B) and its adjustments indicated below:
Let's draw on a new layer a kind of haze as in the picture below, having the color #8C1C6E

Now it's time to start representing several so-called chromatic spheres. Firstly try to make a circle, applying the Ellipse Tool (U).

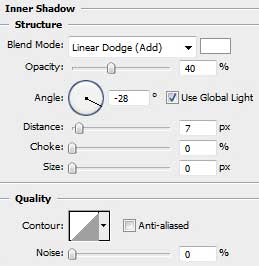
Set the appropriate Blending Options - Inner Shadow.
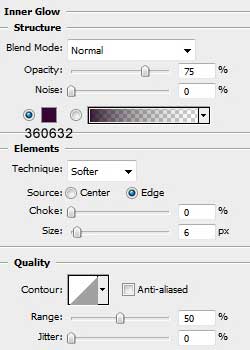
Blending Options - Inner Glow
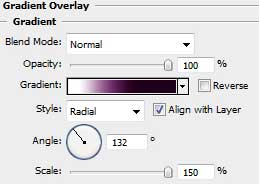
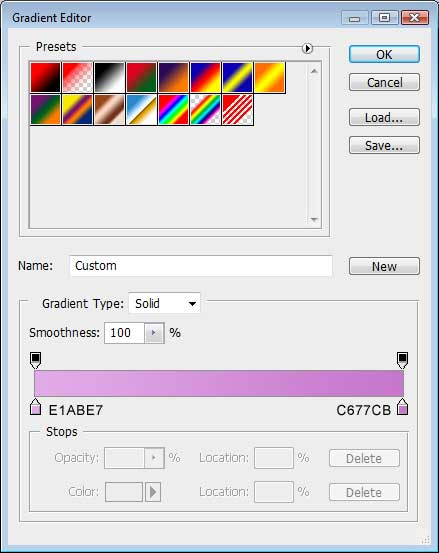
Blending Options - Gradient Overlay
Gradient Editor

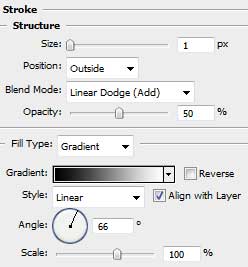
Blending Options - Stroke
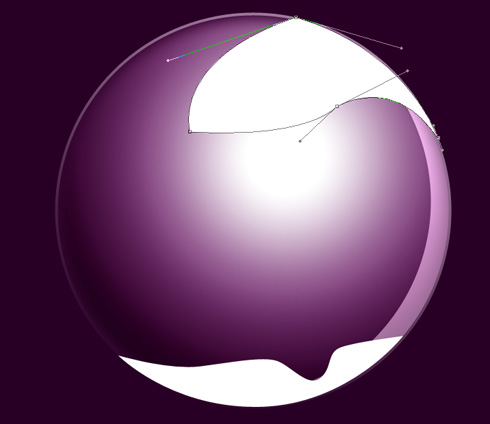
Start drawing the reflexes on the made sphere by choosing the Pen Tool (P) and create kind of figure as the next picture shows it.
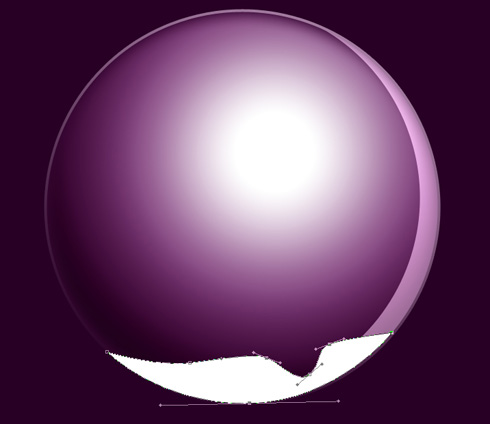
…and another one…
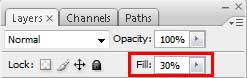
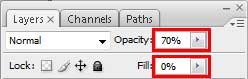
Set the fill's value for the top figure.
We'll get the next result on this stage.

We need to set the next Blending Options - Gradient Overlay values for the lowest figure.
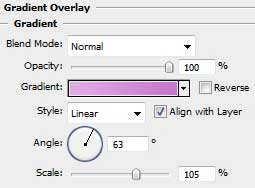
Gradient Editor
Set the Opacity also, choosing the same value shown below:
The next picture shows the result we need to get:

Create a new layer again, picturing on it white highlights with the Brush Tool, getting the same picture from below.
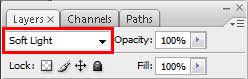
Change for the layer the Blending mode - Soft Light.
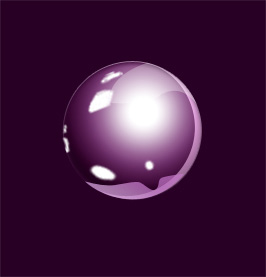
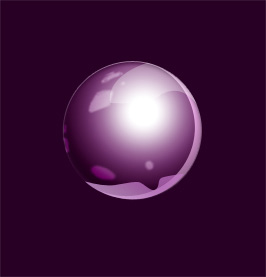
This is the sphere that we must get:
Now it's time to position correctly the spheres on our picture. Making the spheres smaller, we may get the effect of the space's deepness.

Create another new layer and situate it under the layers containing the spheres. Using the Brush Tool (B), try to make the contour around the spheres, choosing the color #954782

Find in Internet a pink butterfly and cut it out of the original picture, applying the Eraser Tool (E).
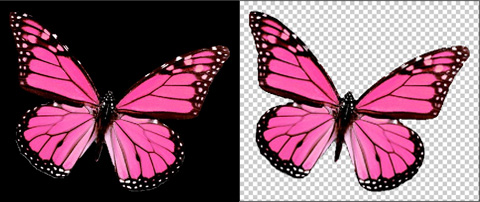
Place it on our picture the way demonstrated next image:

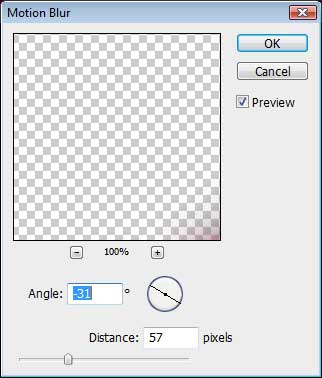
Make a copy of this layer and select the next filter for the copied layer: Filter>Blur>Motion Blur.

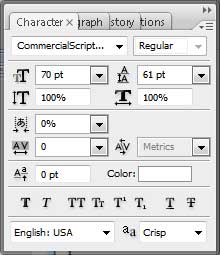
Now we have to write a text:

… applying the demands from here for the text we want to insert:
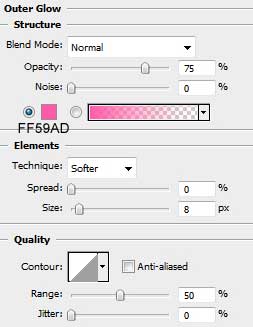
Set the next Blending Options - Outer Glow:

Finished!