


Preparations:
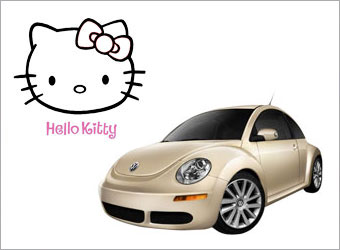
We will need 3 images here, a car, a Hello Kitty logo and its face.
You can download the Hello Kitty images here.
All rights of these resources belong to their respective owners.
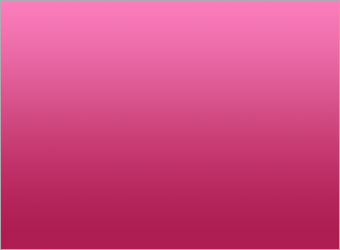
Step 1 - Setting Up Background:
Create a document of size 750 by 550px.
Set your foreground color to #FF84C3 and background to #AE1D51.
Fill the background layer with a linear gradient top-down.
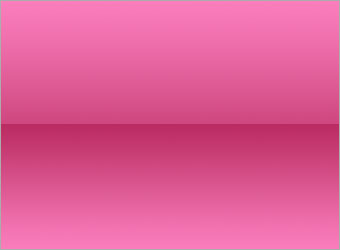
Step 2 - Forming the Floor:
Create a new layer above the background.
Pick the Rectangle Marquee tool and make a selection on the lower half of the document.
Fill the selection with a linear gradient bottom-up.
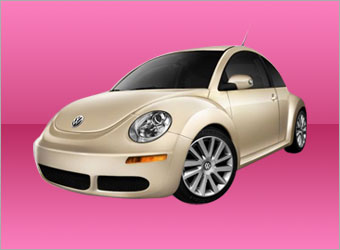
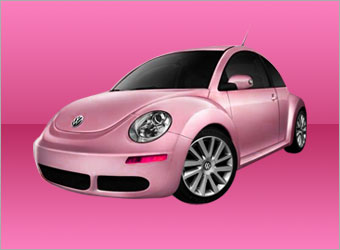
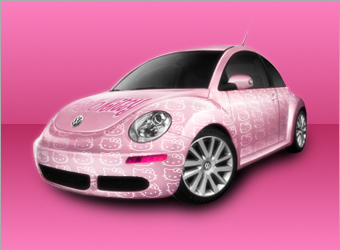
Step 3 - Extracting the Car:
Crop out your car from its background using the Pen tool.
Using the Move tool, place your car at the center of the document as shown in the diagram.
Step 4 - Adjusting Colors:
While you are on the car layer, go to Image > Adjustments > Hue/Saturation. Set the Hue to -55, Saturation to 30, Lightness to 0.
Go to Image > Adjustments > Levels. Set the values to 0,0.85,255.
Step 5 - Defining Pattern:
Open up the Hello Kitty PSD file you downloaded earlier. Hide all other layers except for the face and do a rectangle selection around it. Go to Edit > Define Pattern.
Back to your document and create a new layer above the car. Fill that layer with the Hello Kitty pattern. Go to Image > Adjustments > Invert to turn the pattern white.

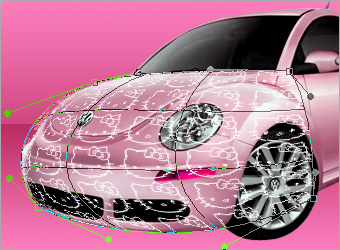
Step 6 - Wrap Pattern on Front:
Duplicate the Hello Kitty pattern and hide one of the two layers.
While on the visible pattern layer, go to Edit > Transform > Warp. Wrap the pattern to the car front by shifting the square corners. Adjust the positions of the points like shown in the diagram.
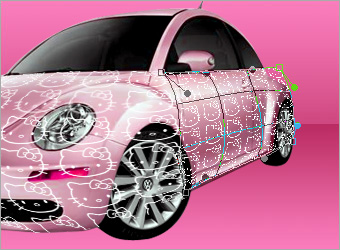
Step 7 - Wrap Pattern on Side:
Unhide the other pattern layer and repeat similar technique used in Step 6 for the side of car.
Merge both pattern layers. Use Soft Eraser tool of size 150px and opacity 50%, fade its border to blend into the car. Concentrate more on those area that seem further away.
Step 8 - Adding Hello Kitty Logo:
Erase to reveal the engine cover.
Drag Hello Kitty logo into the document above all layers. Go to Edit > Transform > Distort the logo like seen in the diagram.
Use Soft Eraser tool of 100px and opacity 50%, fade off the left side of the logo.
Step 9 - Adding the Shadow:
Create a new layer below the car.
Use Soft Brush tool with color #000000 and opacity 80%, paint in the shadows.

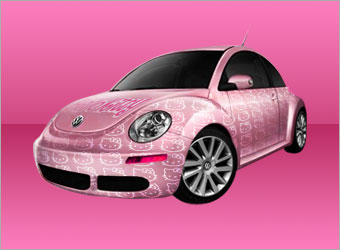
Step 10 - Adding the Glow:
Duplicate the car layer.
Select the duplicated layer and go to Filter > Blur > Gaussian Blur. Set the radius to 5px.
Set the Blending Mode of this layer to Screen and opacity 50%. You can increase the opacity if you wish the car to look even more dreamy.
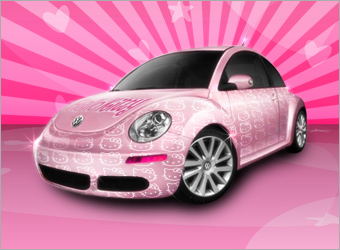
Optional:
You can further add a nice background and some glitters to the car.
 10Steps is a huge resource of Photoshop tutorials, freebies and inspiration for designers.