1. Create a new document (250*250). We're going to create a simple yet astonishing 3D logo for your company or website. The background color doesn't really matter, I chose red #fe0000.

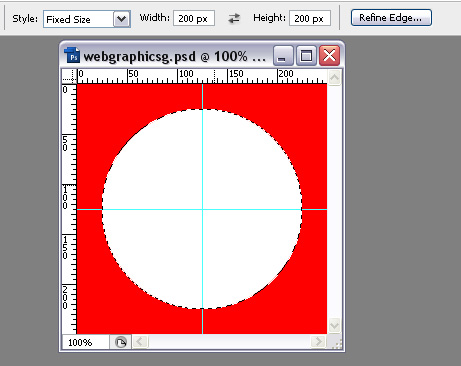
2. Create a new layer (layer - new layer) and grab your elliptical marquee tool and select a circle (width 200px, heigth 200px). You should have something like shown in the following screenshot after filling it with white #fffff using the paint bucket tool.
3. With your circle still selected go to (select - modify - contract) and contract by 10 pixels and then press delete to end up with this.
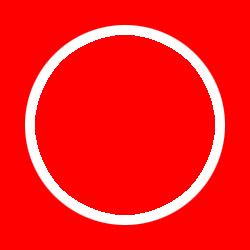
4. Create another new layer and go to (select - modify - contract) and contract by 1 pixel, then repeat step 3 but make sure this circle is within the original one. This should be your outcome after filling it with white #fffff using the paint bucket tool. Make sure you pressed the delete button.

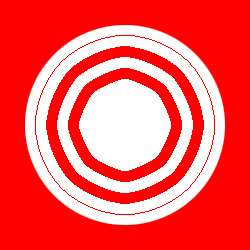
5. Repeat this process again but this time make sure there is about a 10 pixel space in between the circles instead of 1 pixel so you end up with this after deleting the middle part of the circle. Also make sure you create a new layer for every circle you draw!

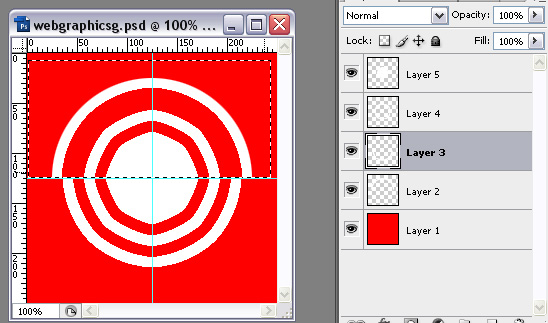
6. Now do this again (layer - new layer) and (select - modify - contract) and contract by 10 pixels and fill the selection with white on a new layer. Don't delete the center of the circle this time!
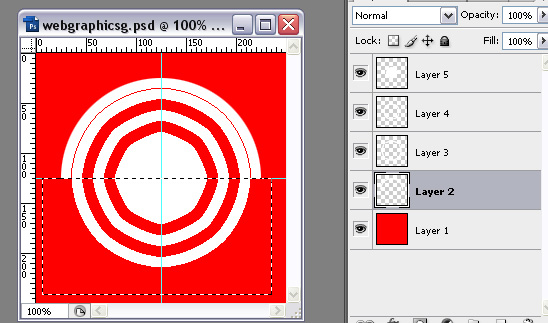
7. Use the rectangular marquee tool to remove a part of the 2 outer circles on the different layers you've created to achieve this 3D logo shape! Use the screenshots as a guide if you don't understand what to do!

8. Merge down all the circle layers (layer - merge down or Ctrl+E) but don't include the background layer!
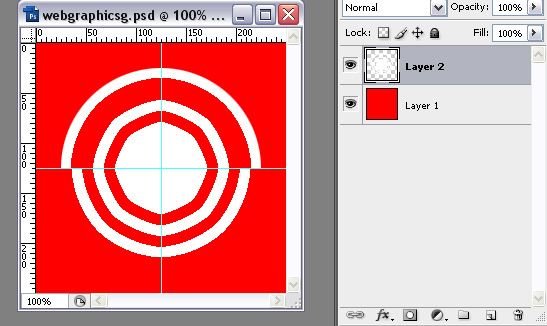
9. Now go to (edit - transform - skew) and transform it until it looks something like mine… it looks terrible right now but don't worry, we'll solve this problem in the last step!

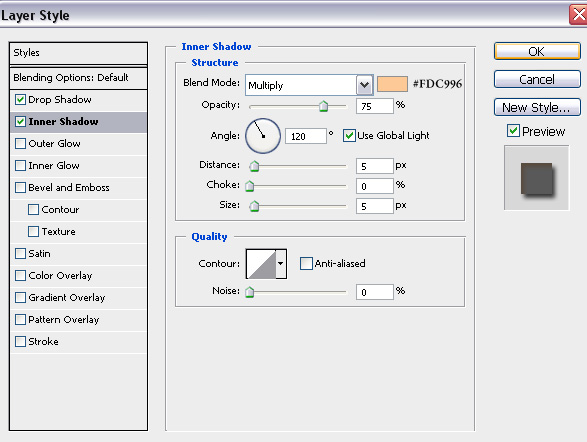
10. Now duplicate the layer (layer - duplicate layer) and select the bottom layer after you've done this because we're going to change the blending options (layer - layer style - blending options) of the bottom one using these settings. Insert a drop shadow with the default settings and an inner shadow with the settings shown below.
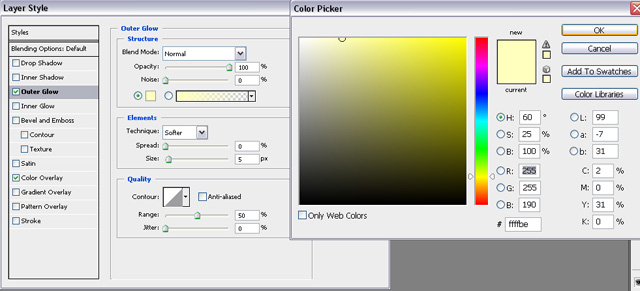
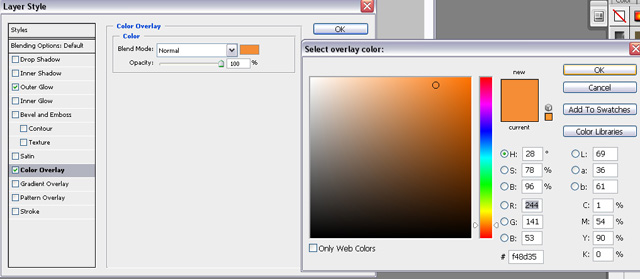
11. Now select the top layer and go to blending options (layer - layer style - blending options) and configure them like shown in these screenshots.
12. Now move the bottom layer a little bit the the left and down to create the 3D effect that we're looking for!

13. After you've done all of this you should select the 2 circle layers and go to (edit - transform - scale) and change the scale to about 60%! Your 3D logo is now finished and you should just add some text to make it complete! You can use this technique for every shape so go on and start playing with this tutorial! You can also change the background color ofcourse!