We start with a blank canvas, and press D to make sure that our foreground and background colors are default (Black and White). Then we goto Filter > Render > Clouds.

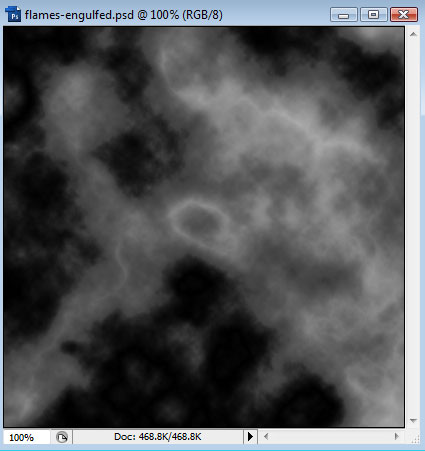
Goto Filter > Render > Difference Clouds. Then press Ctrl+F to repeat this filter. Because the clouds are generated at random, you may not get the effect you're looking for. Remember you can always undo and try again.
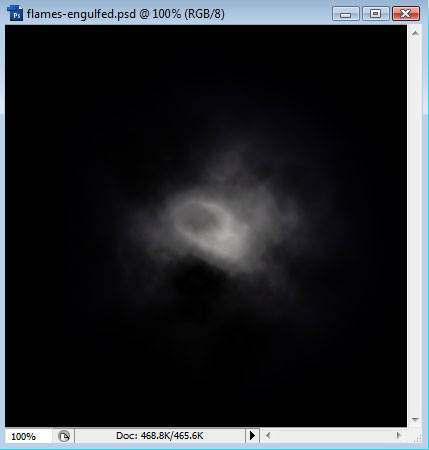
Next, we will goto Filter > Render > Lighting Effects. From the Style menu, choose Flashlight.
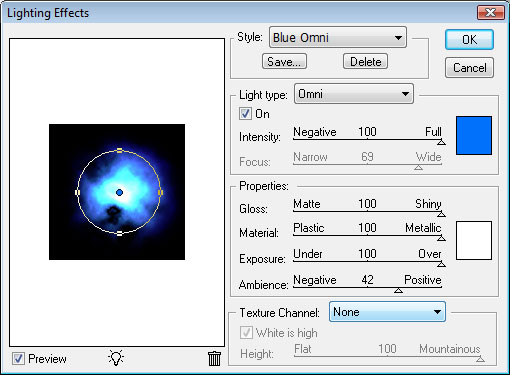
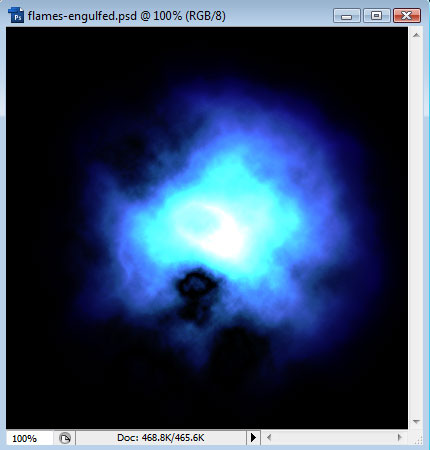
Now go back to Filter > Render > Lighting Effects, and choose the Blue Omni style. Play with the settings to get something really bright:
After we apply this lighting effect, we should have something like this:
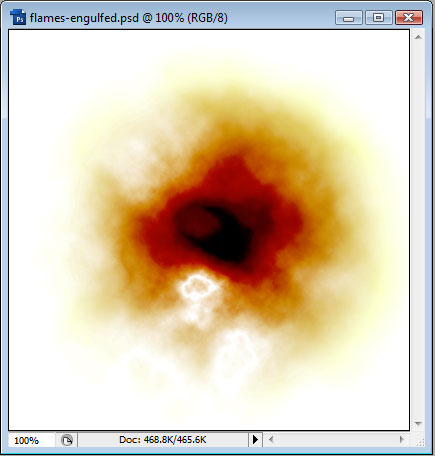
Now goto Image > Adjustments > Invert.
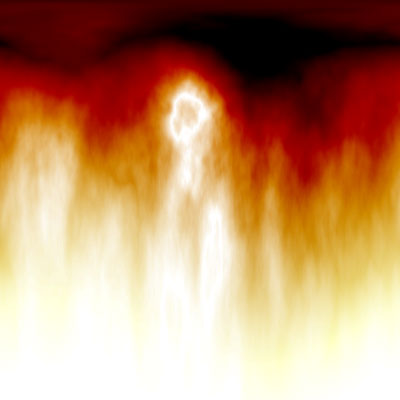
Finally, goto Filter > Distort > Polar Coordinates, and choose Polar to Rectangular. We should end up with something like this: