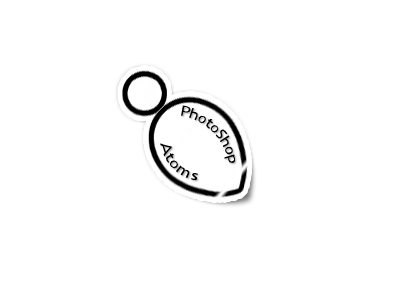
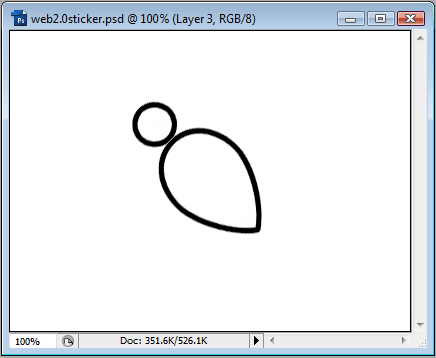
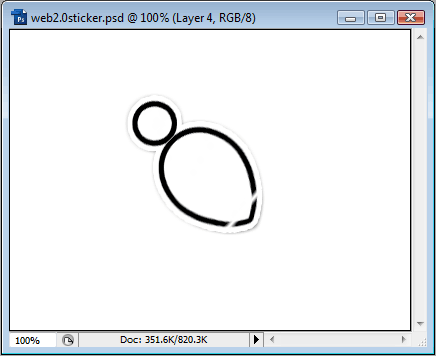
We will start with a shape we want to be our sticker. For this example, we just used a Custom Shape, filled it with white and stroked it with 5px Black:
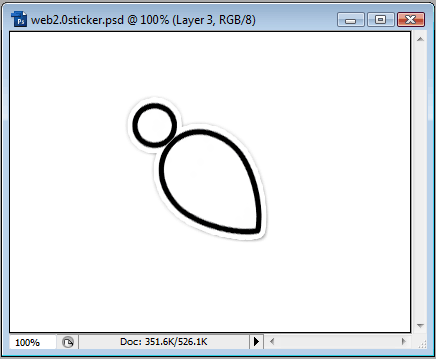
Once we have our base sticker, we will open up it's Layer Styles and add a Stroke to it. We will add a White stroke of 5px or so, and also an Outer Glow of around 9px (so that it just shows beyond the Stroke), and change its Blend Mode to Normal. We will also add a Drop Shadow, default settings. We should end up with something like this:
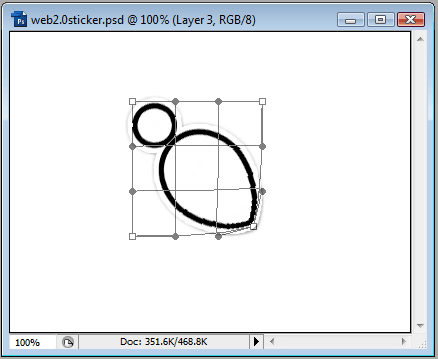
Now what we want to do is to turn up the corner, as if its peeling away. We can do this by going to Edit > Transform > Warp, and pushing in the corner, like so:
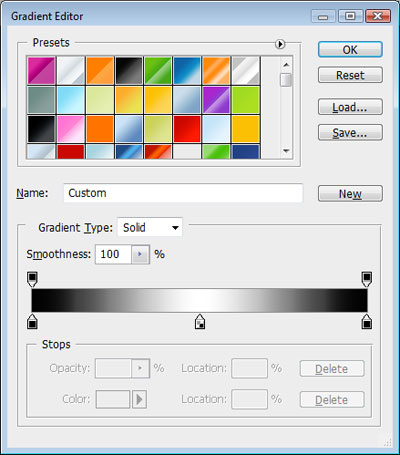
Next, create a new layer above our sticker, and then right-click it and choose Create Clipping Mask. Change the Blend Mode of this layer to Screen and then select the gradient tool. We are going to create a 'shine' where the sticker folds. Choose a gradient like this:
We want to draw a small gradient like below. It may take you a few tries until you're satisfied with it.
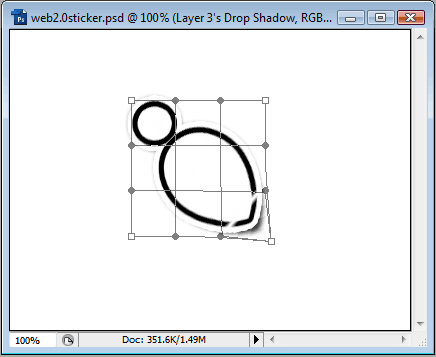
To add extra height to the sticker curl, we can move the Drop Shadow: right-click the fx icon on the sticker layer and choose Create Layers. Select the Drop Shadow layer and now goto Edit > Transform > Warp. Pull out the corner like so:
If you want, you can reduce the opacity of the shadow layer by altering the Fill % in teh Layer panel. Our finished Web 2.0 sticker looks like this: