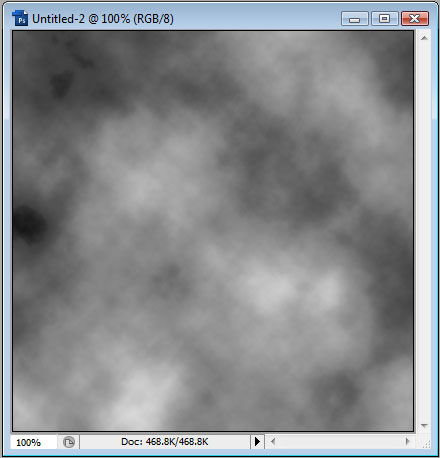
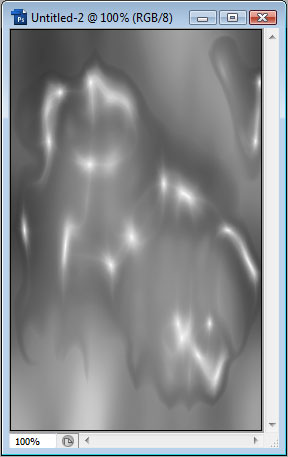
We will be working with a document of dimensions 400x400px. Let's start by making sure our colors are default (black and white) by pressing D, and then we will goto Filter > Render > Clouds.
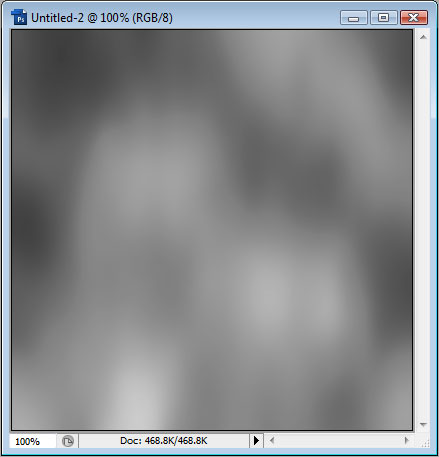
Next, we will goto Filter > Blur > Gaussian Blur, choose and choose between 5 and 6 pixels. Then goto Filter > Motion Blur and choose angle -90° and around 80-90px.
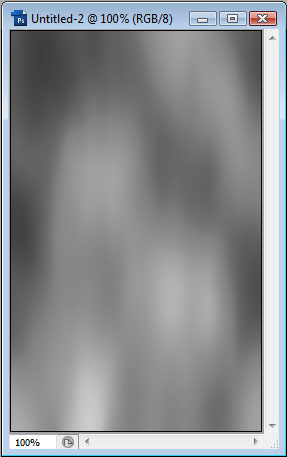
Now let's make the image thinner - goto Image > Image Size, uncheck Constrain Proportions and set Width: 250px.
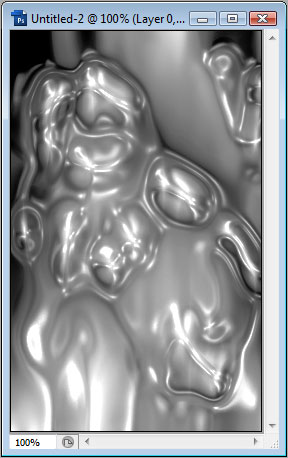
Now goto Filter > Artistic > Plastic Wrap and experiment with the values. Use a Highlight Strength between 15 and 20, Detail somewhere between 5 and 10, and Smoothness somewhere between 10 and 15.
Next up is the Filter > Sketch > Chrome. Choose Detail 0 and Smoothness somewhere between 5 and 10. Then goto Edit > Fade Chrome. Set Opacity to 100% and Vivid Light.
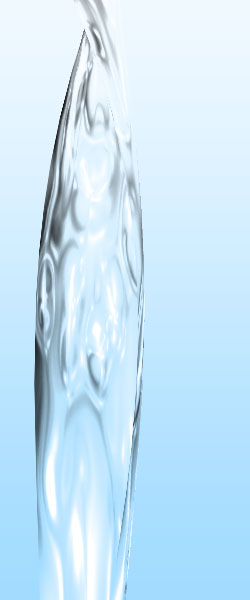
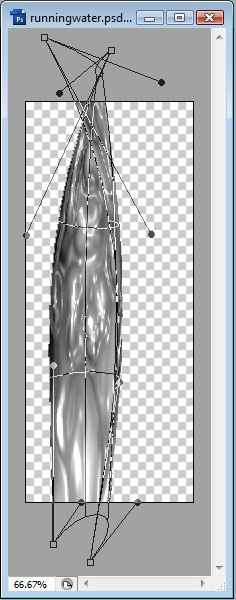
Now we will goto Image > Image Size, and set the height to 600px. Now we need to Edit > Transform > Warp, so that we can mold it into a running water shape. Something like this will work:
Now to color the water, we can add a background layer and fill it with a blue gradient (or solid color, but gradient works better) and set the water layer's Blend Mode to Hard Light. This is what it should look like: