

Let's Begin!
Okay kids, Start off by creating a new document in Photoshop, I'm using 500px by 500px, with a background color of #d5ac67 (this is important.) Type out the text you'd like to use, make sure you're using a nice sans serif font like Interstate Compressed. You text's color should be #b08848.

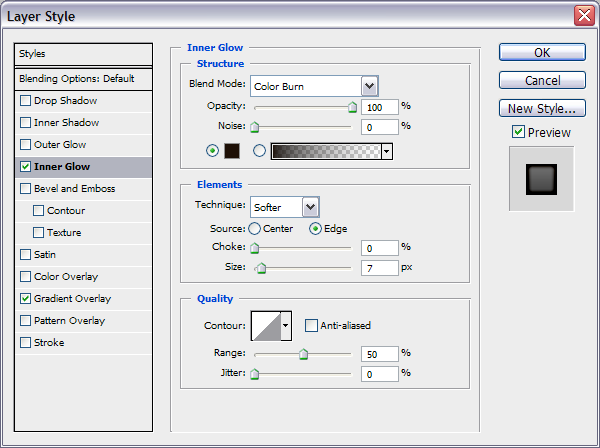
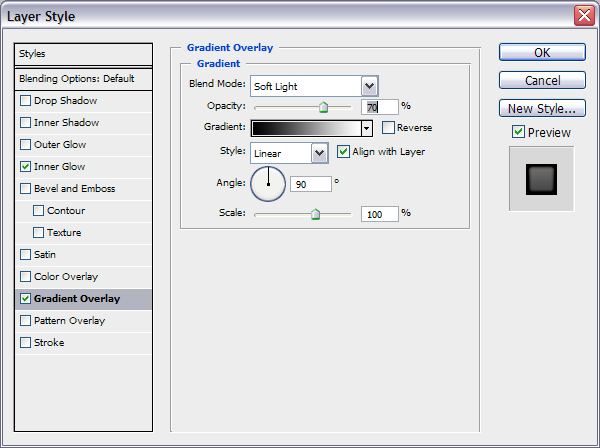
Now we're going to add the basic effect, open up your text layer's Blending Options and set these:
Inner Glow
Gradient Overlay
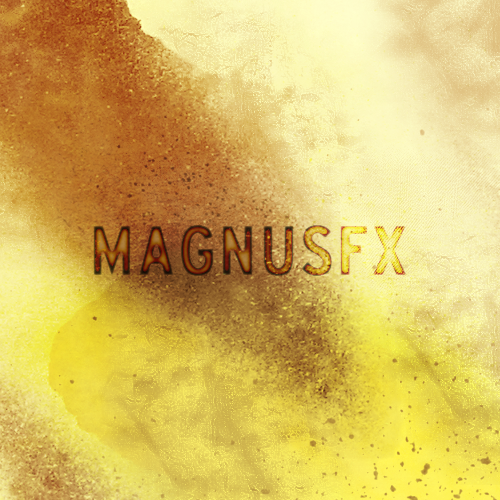
You should come out with something like this:

Really cool looking isn't it? you can take it a step further by selecting the text layer (ctrl+layer thumbnail in layer palette.) then going to select -> lightly erasing the edges, also a really cool background is a MUST. A good idea would be to browse stock photography sites like Stock eXchange for wood paneling or searching DeviantArt for grunge brushes, here is what I came up with after creating an awesome background, and erasing bits of the text:
Don't want to make your own background?
That's okay. I realize this is a short tutorial, it was meant to be a quick text effect. Although I provided a few instructions on how to do it, people seem to want something more hands on. Therefore I'm offering the fully layered PSD file to download, so you can see how I achieved the effect!
Click here to download .psd file.
Hope you enjoyed! Feel free to post your results in the comment section. I love seeing what people do with these tutorials.